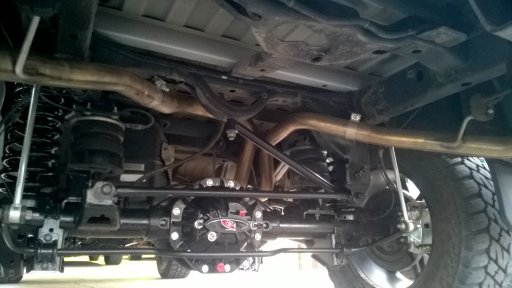
2012 Ram 1500 facelift

  • HTML tutorial

472HemiGTX

Rank V
Launch Member

Member III

2,010
Prineville. OR
First Name
Allen
Last Name
S
Member #

10793

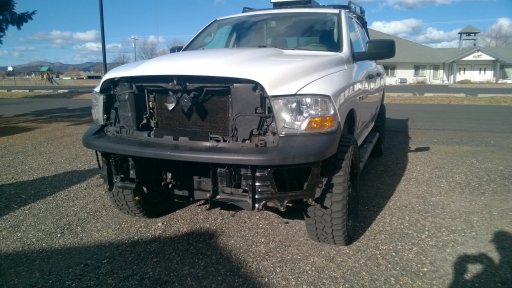
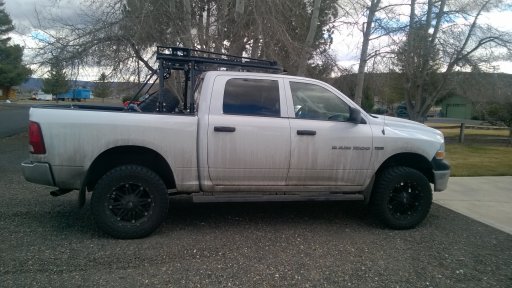
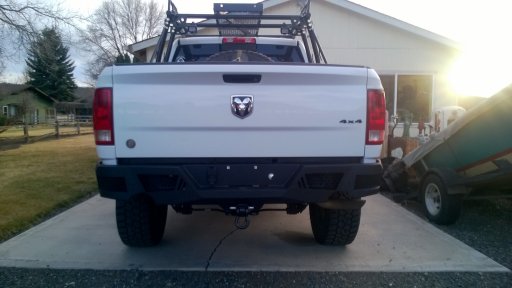
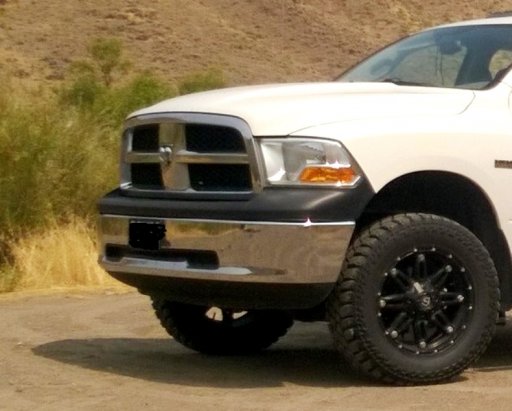
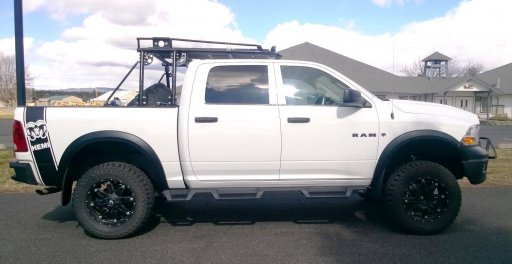
Fairly new to the forum but not to off roading and the outdoors in general. After 110,000 miles of camping, hunting, fishing and daily commuting, it's time to retire my faithful 2012 Ram 1500 to weekend adventure duty and give it some upgrades/facelift. I have been collecting parts for a while to do this. Here's the plan:

Body:
  • Minor touch-up, polish and wax
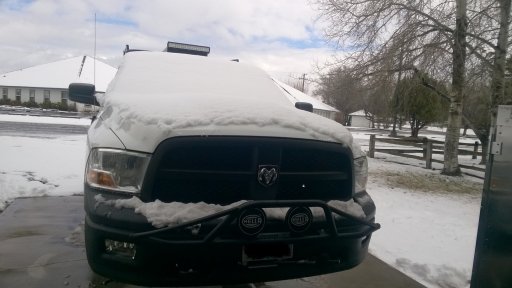
  • New black front bumper with light bar, driving lights and dual Hella 6"er's.
  • Black grill
  • Rebel tow hooks
  • OE style black flares and splash guards
  • Body Armor rear bumper
  • Hidden 9500 winch
  • Wheel to wheel 3 step nerf bars
  • Black emblems
Engine:
  • AEM cold air intake
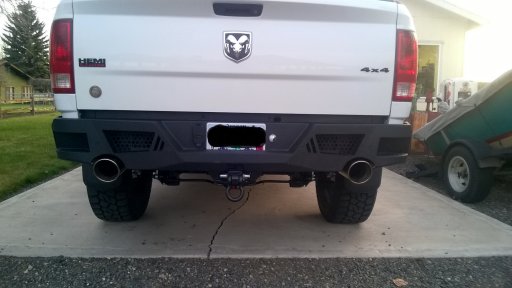
  • Dual cat back exhaust
Suspension
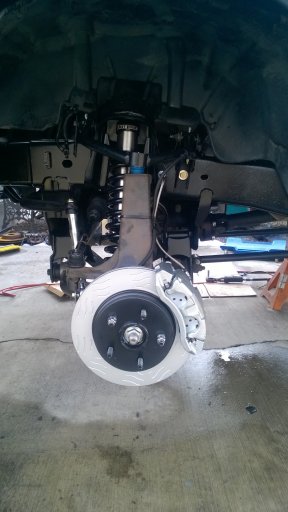
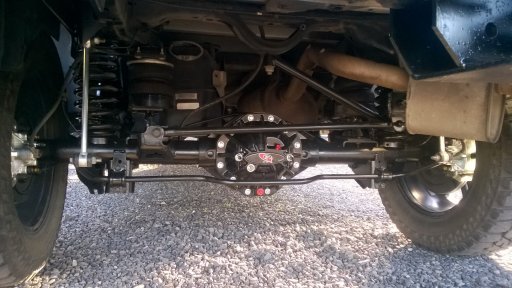
  • Fabtech front coil over conversion
  • Tuff Country tubular upper control arms
  • Braided brakeline
  • Raybestos R300 slotted rotors and plated calipers
  • New front hub assemblies
  • New rear axle bearings
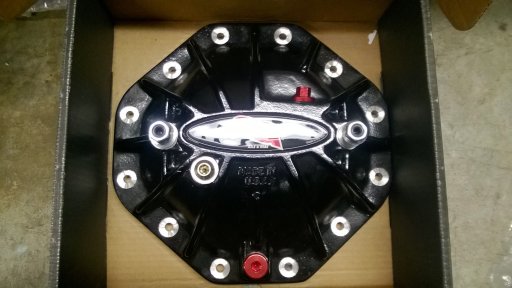
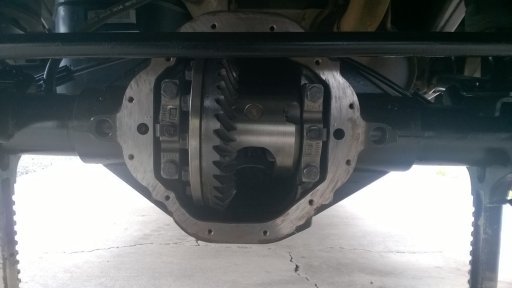
  • Mopar LSD carrier and G2 aluminum diff cover with load bolts
  • New rear driveline u-joints
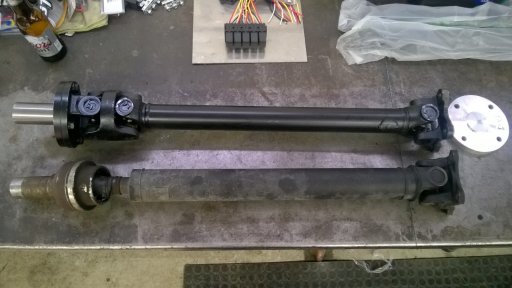
  • Upgraded dual cardan style front driveline
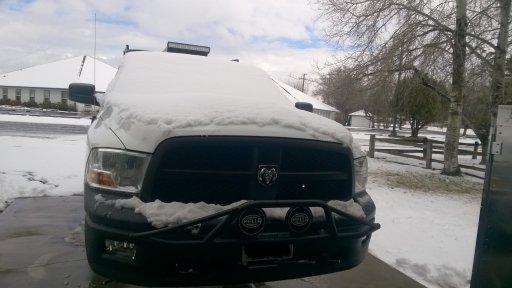
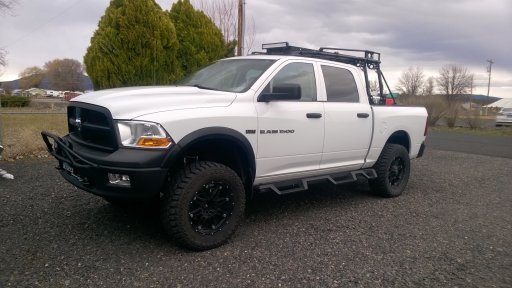
Here's some pictures of the truck currently:upload_2018-2-26_19-31-5.jpeg


upload_2018-2-26_19-31-54.jpeg

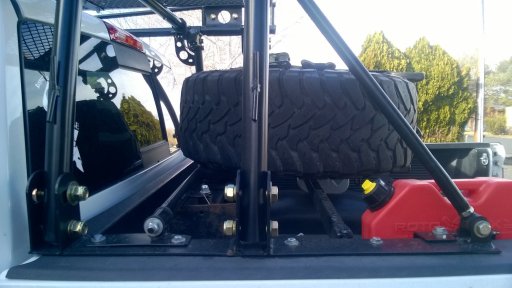
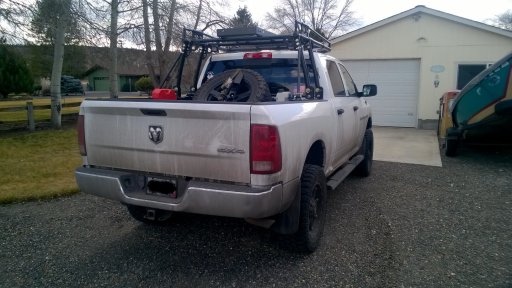
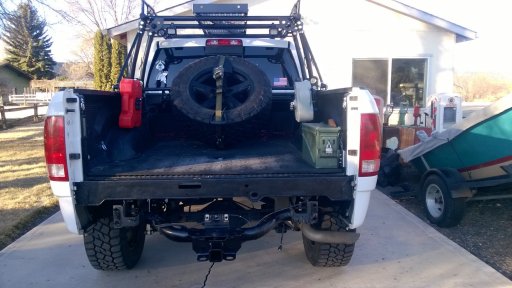
The rack will stay, I built it so the spare pivots up and the full bed can be used:
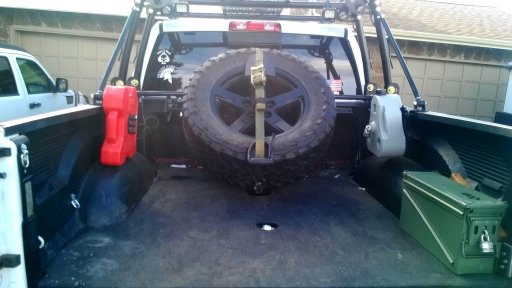
upload_2018-2-26_19-33-29.jpeg
upload_2018-2-26_19-33-51.jpeg
upload_2018-2-26_19-40-0.jpeg
And the crossbar stores in the overhead basket.
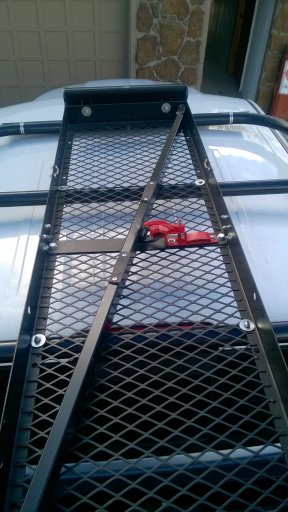
upload_2018-2-26_19-34-43.jpeg
 
Last edited:
  • Like
Reactions: ChewBaccus

472HemiGTX

Rank V
Launch Member

Member III

2,010
Prineville. OR
First Name
Allen
Last Name
S
Member #

10793

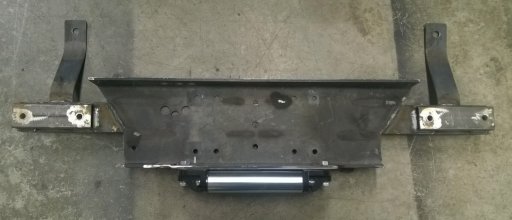
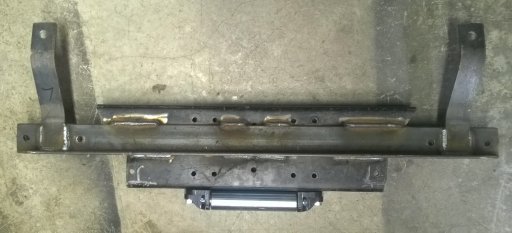
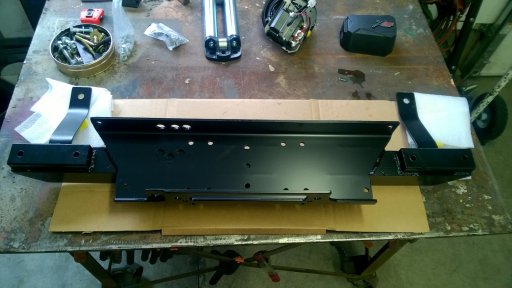
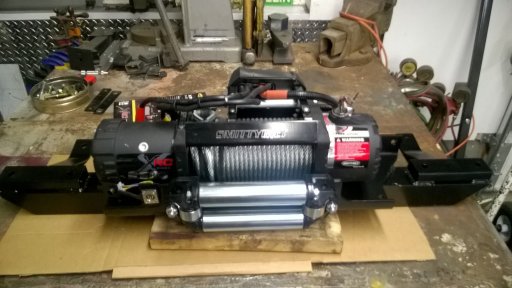
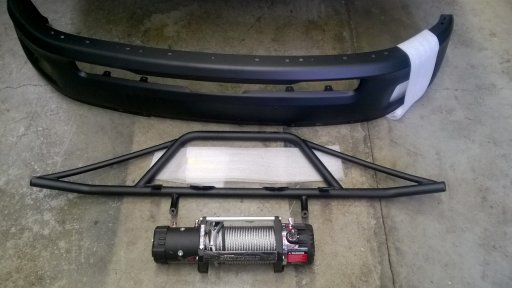
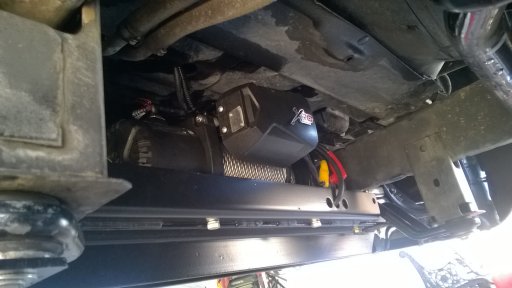
I couldn't find a hidden winch mount that I liked and happened to have the old winch tray from my wife's jeep, so I built my own using ideas that I had found on the internet. It uses the tow hook bolts for mounting and will sit completely behind the bumper including the fairlead roller, kind of like the new Power Wagons.
upload_2018-2-26_19-44-32.jpeg
upload_2018-2-26_19-44-48.jpeg
After powder coating
upload_2018-2-26_19-45-30.jpeg
Loaded ready to install
upload_2018-2-26_19-46-10.jpeg
Found some square Rebel towhooks on E-bay that will go on at the same time
upload_2018-2-26_19-47-7.jpeg
 

472HemiGTX

Rank V
Launch Member

Member III

2,010
Prineville. OR
First Name
Allen
Last Name
S
Member #

10793

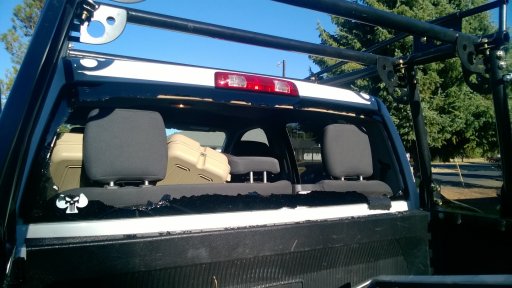
Here's what sort of kick started the whole thing- a .45 richocet will practicing at the range.
upload_2018-2-26_19-51-58.jpeg

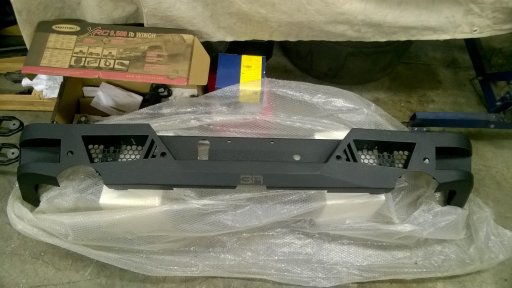
And one of the new rear bumper.
upload_2018-2-26_19-52-51.jpeg
 
Last edited:
472HemiGTX

Rank V
Launch Member

Member III

2,010
Prineville. OR
First Name
Allen
Last Name
S
Member #

10793

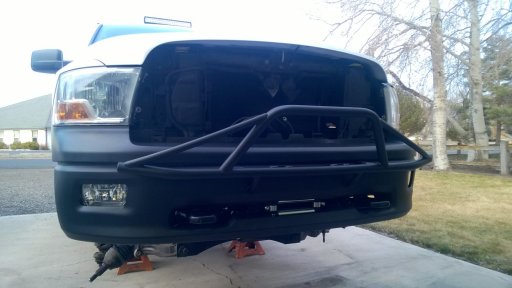
Here's the light bar and front bumper during fab/mockup with the winch mount and tow hooks in place. The bumper started as a painted replacement with foglight holes off of E-bay. I rounded the corners, reinforced it, opened up the lower slot in the front for the winch and adapted my home made pre-runner light bar.

bmu.jpg

And back from the powder coater.

WP_20180225_11_41_40_Pro.jpg
 

472HemiGTX

Rank V
Launch Member

Member III

2,010
Prineville. OR
First Name
Allen
Last Name
S
Member #

10793

More parts have been arriving over the last week. Destruction/construction begins Friday.

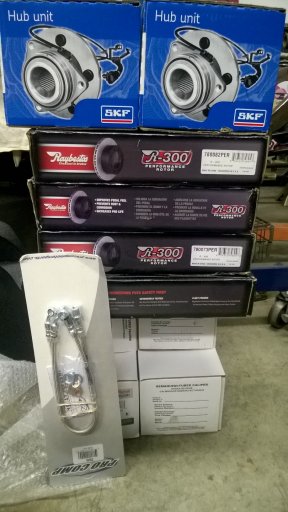
Front suspension
WP_20180306_19_54_40_Pro.jpg WP_20180306_19_55_55_Pro.jpg WP_20180306_19_57_18_Pro.jpg

Limited slip and cover
WP_20180306_20_00_42_Pro.jpg

Brakes
WP_20180306_19_58_45_Pro.jpg
 

472HemiGTX

Rank V
Launch Member

Member III

2,010
Prineville. OR
First Name
Allen
Last Name
S
Member #

10793

Long day of thrashing on the pickup. Thanks to my buddy Mike for the help.
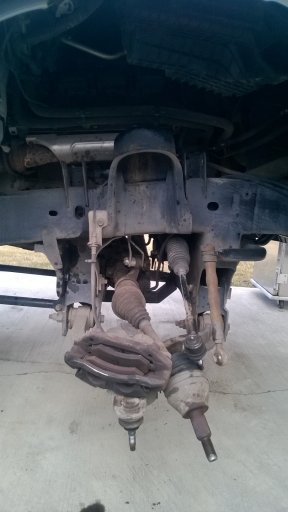
Here's the starting point yesterday afternoon. They use magnesium chloride in Oregon as a de-icer on the roads and the "experts" at ODOT mix it way too heavy. The stuff is like syrup and sticks to everything. The slime on my pickup is after 2 days of driving 65 miles a day to work.


After a good wash with the pressure washer and disassembly.

WP_20180309_15_38_47_Pro.jpg WP_20180309_13_09_11_Pro.jpg WP_20180309_13_09_25_Pro.jpg WP_20180309_13_09_35_Pro.jpg
 
Last edited:
472HemiGTX

Rank V
Launch Member

Member III

2,010
Prineville. OR
First Name
Allen
Last Name
S
Member #

10793

Clean and painting in rear. I did the panel behind the bumper in spray bedliner. Now to get the dual exhaust done. Notice the OB badge.

WP_20180310_07_41_23_Pro.jpg WP_20180310_17_30_18_Pro.jpg
 
Last edited:

472HemiGTX

Rank V
Launch Member

Member III

2,010
Prineville. OR
First Name
Allen
Last Name
S
Member #

10793

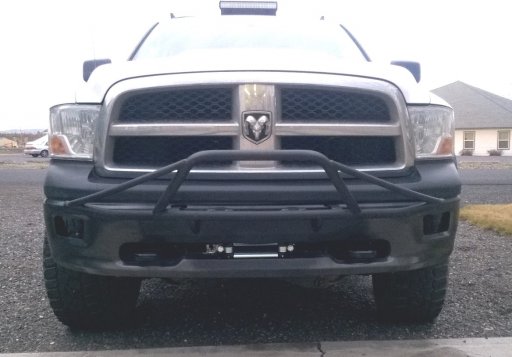
Here's the front bumper, light bar and winch installed. I will get some picks of the hidden winch from underneath and post.

WP_20180310_17_30_46_Pro.jpg

Before and after of the front bumper. I pulled the airdam and rounded the corner of the replacement bumper to better match the shape of the wheel well. also opened up the front slot to make clearance for the winch fairlead roller and added the Rebel tow loops. The bumper lights have PIAA high output bulbs and will be wired in conjunction with the high beams. I will do a separate reply on all of the electrical.

2.jpg WP_20180310_17_30_55_Pro.jpg
 

472HemiGTX

Rank V
Launch Member

Member III

2,010
Prineville. OR
First Name
Allen
Last Name
S
Member #

10793

So here's where it sits as of tonight. The front suspension is pulled apart. The de-icer created some corrosion and rust issues, making it a b!+(h to get apart.

WP_20180310_15_13_20_Pro.jpg WP_20180310_17_30_32_Pro.jpg

Yea, that stuff is perfectly safe for our vehicles! I ruined the end of the axle using a 3lb hammer to get it out of the hub.

WP_20180310_17_30_36_Pro.jpg
 

472HemiGTX

Rank V
Launch Member

Member III

2,010
Prineville. OR
First Name
Allen
Last Name
S
Member #

10793

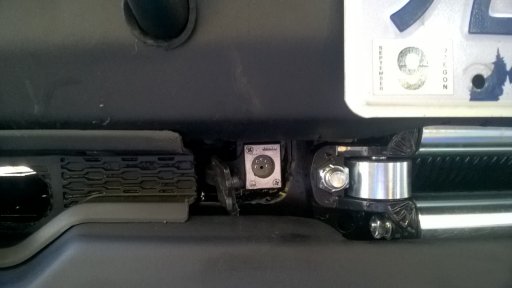
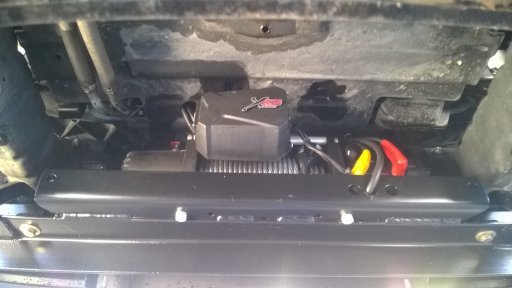
Here's some pics of the winch mount from underneath and where I relocated to the controller plug to for easy access.


WP_20180311_14_08_26_Pro.jpg WP_20180311_14_08_40_Pro.jpg WP_20180311_14_09_00_Pro.jpg
 

472HemiGTX

Rank V
Launch Member

Member III

2,010
Prineville. OR
First Name
Allen
Last Name
S
Member #

10793

With everything mounted and the new grill installed.

WP_20180311_17_56_21_Pro.jpg

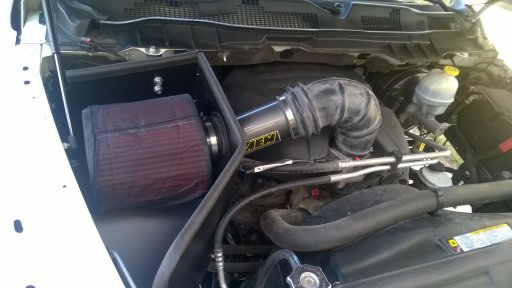
Got the AEM cold air intake installed. The "pantyhose" air filter cover is a habit that I still have from riding dirt bikes in the desert.

WP_20180311_15_19_08_Pro.jpg

WP_20180311_17_07_49_Pro.jpg
 

472HemiGTX

Rank V
Launch Member

Member III

2,010
Prineville. OR
First Name
Allen
Last Name
S
Member #

10793

Had big plans to get more done on the Ram this weekend And woke up to this on Saturday morning.

WP_20180317_12_35_59_Pro.jpg


So by noon it was 50 degrees and was able to make some progress.

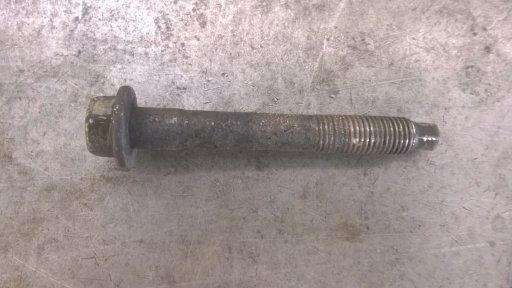
This is the bolt that attaches the bottom of the strut to the lower control arm. Nasty corrosion and this truck is only 6 years old. I ordered new ones form the Dodger dealer.

WP_20180318_11_43_26_Pro.jpg

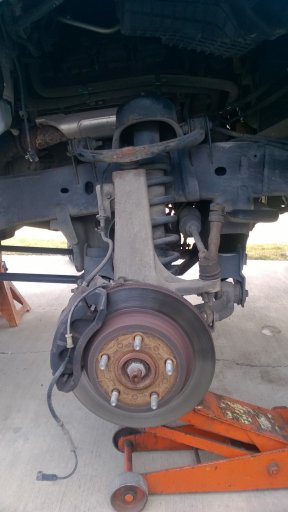
Front suspension and brakes are finished.

WP_20180318_16_09_27_Pro.jpg

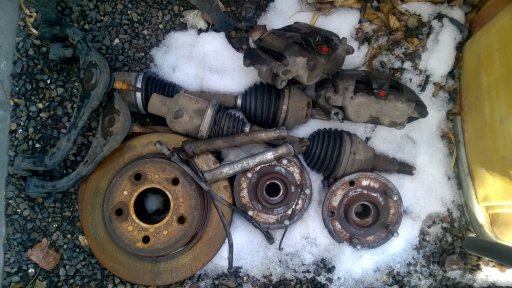
And the pile of scrap metal that was removed.

WP_20180318_11_43_50_Pro.jpg

So here's how it sits tonight with the front suspension done and the new nerf/step bars installed. Turned out to be productive weekend after all. OK, so time for a beer.

WP_20180318_18_12_03_Pro.jpg
 

Attachments

Last edited:
472HemiGTX

Rank V
Launch Member

Member III

2,010
Prineville. OR
First Name
Allen
Last Name
S
Member #

10793

Got the rear flares ,stripes and black side emblems installed on this weekend. Started on the rearend work yesterday, found a leaking rear shock and the u-joint caps on the rear driveline were seized in the yokes. 2 of them broke trying to change them. Will be doing the LSD and axle bearings this coming weekend. Also ordered a Tom Woods dual Cardan style front driveline to replace the crappy OE design.


WP_20180325_15_13_49_Pro.jpg
 

472HemiGTX

Rank V
Launch Member

Member III

2,010
Prineville. OR
First Name
Allen
Last Name
S
Member #

10793

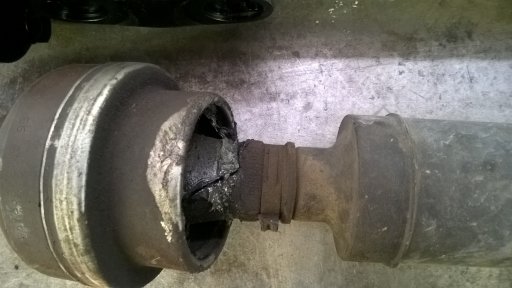
My new Tom Wood's front driveline showed up today. Looks like it will hold up better than the OE's have. I am on number 3 and found out the boot was torn on the upper joint when I pulled it out. These things don't last on a lifted truck.

WP_20180329_19_05_01_Pro.jpg WP_20180329_19_05_18_Pro.jpg
 

472HemiGTX

Rank V
Launch Member

Member III

2,010
Prineville. OR
First Name
Allen
Last Name
S
Member #

10793

New front driveline installed- check
Rear driveline rebuilt, painted and installed - check
New rear shocks installed - check
New rear calipers and slotted rotor - check
New rear axle bearings and seals - check
LSD and cover installed - check

Had a pretty constructive weekend.

WP_20180331_16_52_58_Pro.jpg WP_20180402_18_34_09_Pro.jpg

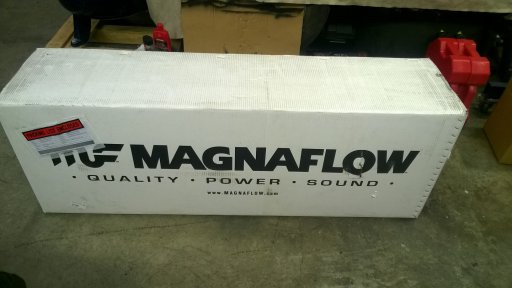
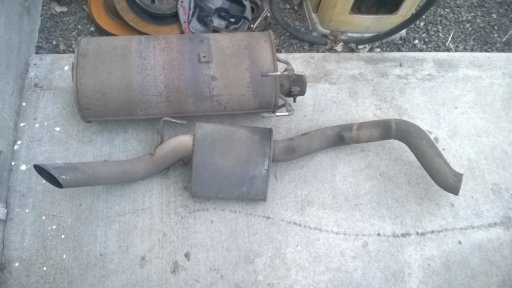
And this was waiting when I got home today - cat-back system with stainless 22" muffler and pipes to replace the ugly crusty kick stand single exhaust.

WP_20180330_19_28_58_Pro.jpg
 

472HemiGTX

Rank V
Launch Member

Member III

2,010
Prineville. OR
First Name
Allen
Last Name
S
Member #

10793

The new exhaust is installed and been put through a heat cycle and re-tightened. The Magnaflow system was definitely worth the extra cost. Nice low rumble but not too loud and no highway drone. Everything fit like it was supposed and took abut an hour the cut the old out and install the new cat-back system.

WP_20180409_19_26_36_Pro.jpg WP_20180407_02_33_23_Pro.jpg WP_20180409_19_26_09_Pro.jpg