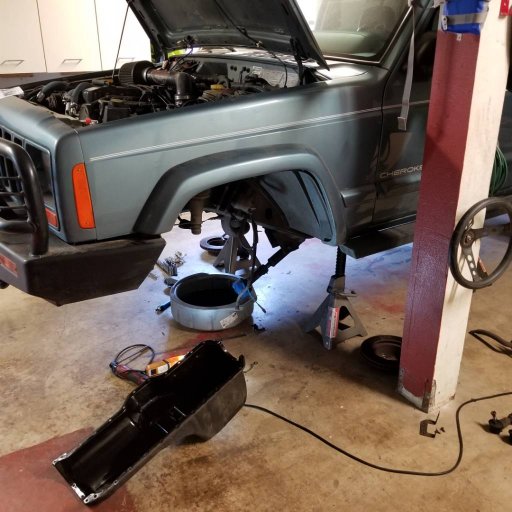
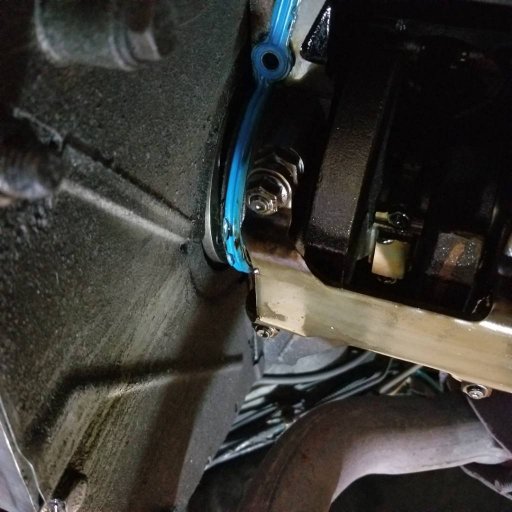
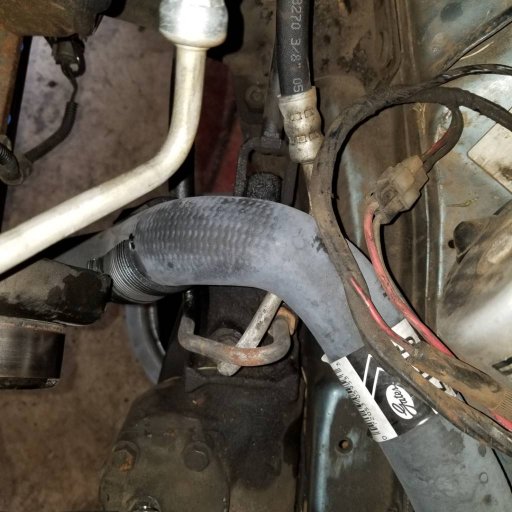
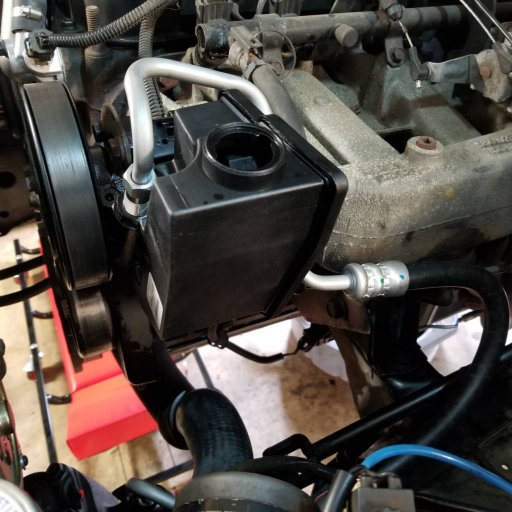
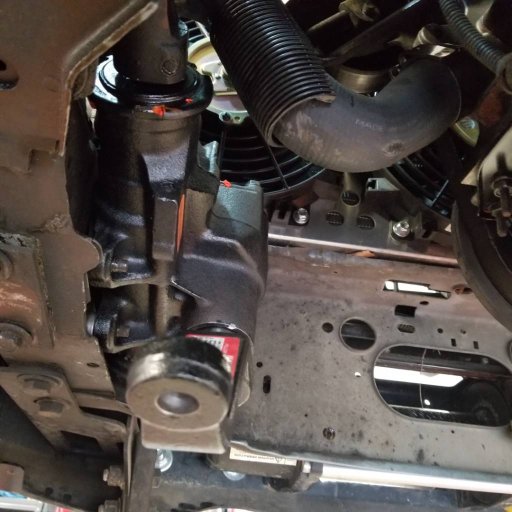
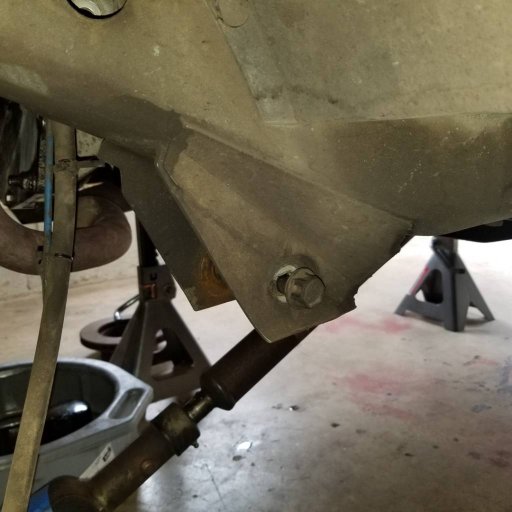
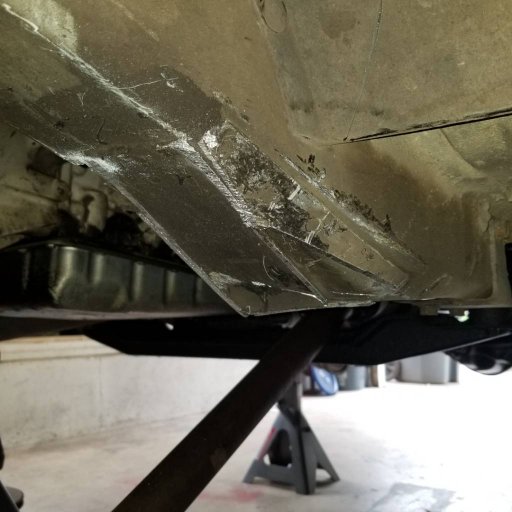
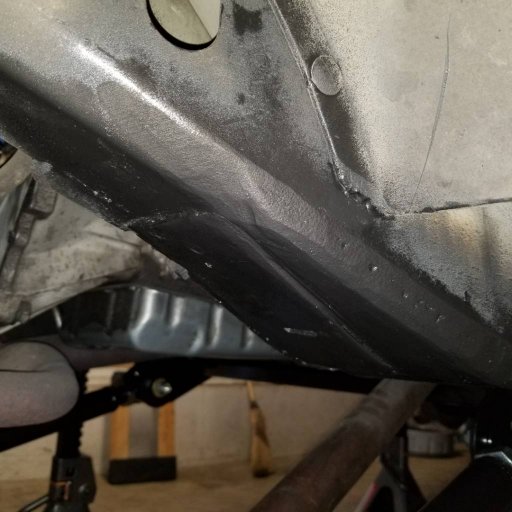
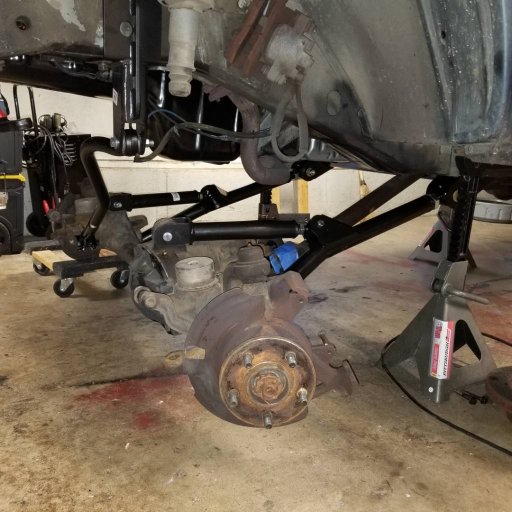
So I thought it would be fun to do a build thread for this XJ I have right now. The previous owner had done some work to it but as I have looked over it I dont think their attention to detail was quite what I would call acceptable. LOL so I'll be going back and fixing everything to my OCD levels. :)
I will probably keep updating this list below as I pick up more parts since I already know I'll forget something.
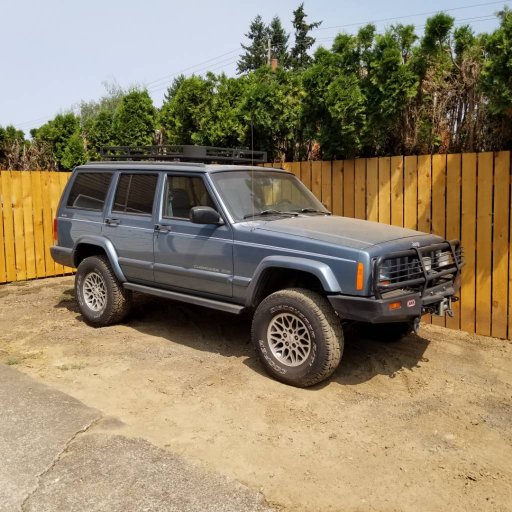
Anyways what the jeep has right now:
- Dana 30 Front
- Dana 44 Rear
- ARB lockers front and rear
- 4 inch Rancho short arm lift (which I have mostly yanked out by now)
- ARB bully front bumper
- XRC 9500 winch
This is what I plan to do to it so far:
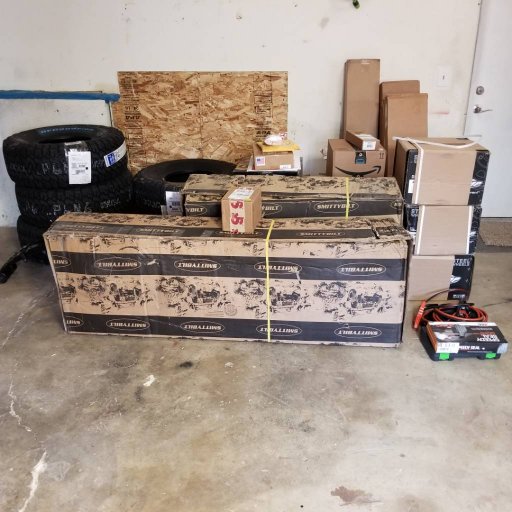
- Rough Country 6.5" long arm lift kit
- Rough Country Dual Steering Stabilizer
- Pro Comp 15" Steel Wheels
- BF Goodrich KO2 33"
- Smittybilt rear bumper and tire carrier
- ARB Twin Compressor (to update the old and tired single compressor. This way I can run air tools if needed)
- ARB 1 gallon reserve tank
- New Synthetic winch rope and new hawes
- 50" light bar on the roof
- 2 7inch led spots for the front bumper
- OSRAM LED headlights
This is just the start but I plan to build a storage solution in the back end as well for all my goodies on the trail. Also thinking of getting an ARB fridge/freezer to incorporate into the storage area. I hope you all enjoy as I build my dream rig. If you have any suggestions or tips i am always happy to listen. Also if you have any questions of what I'm doing I totally welcome all questions.
Thank you,
Don
I will probably keep updating this list below as I pick up more parts since I already know I'll forget something.

Anyways what the jeep has right now:
- Dana 30 Front
- Dana 44 Rear
- ARB lockers front and rear
- 4 inch Rancho short arm lift (which I have mostly yanked out by now)
- ARB bully front bumper
- XRC 9500 winch
This is what I plan to do to it so far:

- Rough Country 6.5" long arm lift kit
- Rough Country Dual Steering Stabilizer
- Pro Comp 15" Steel Wheels
- BF Goodrich KO2 33"
- Smittybilt rear bumper and tire carrier
- ARB Twin Compressor (to update the old and tired single compressor. This way I can run air tools if needed)
- ARB 1 gallon reserve tank
- New Synthetic winch rope and new hawes
- 50" light bar on the roof
- 2 7inch led spots for the front bumper
- OSRAM LED headlights
This is just the start but I plan to build a storage solution in the back end as well for all my goodies on the trail. Also thinking of getting an ARB fridge/freezer to incorporate into the storage area. I hope you all enjoy as I build my dream rig. If you have any suggestions or tips i am always happy to listen. Also if you have any questions of what I'm doing I totally welcome all questions.
Thank you,
Don
Last edited:


