

It happens. I've definitely had to change direction from time to time. Some days I think I should have just done a few things to my truck and not done the Bronco. But, it's been fun too and the rug rats are definitely excited about it. Hopefully the next project goes smooth for you.Looks good buddy. Unfortunately mine is going to be heading the reverse direction as I pull it back to stock and get ready to list it for sale. Life changes have me moving in a different direction.
1984 Ford Bronco Project
- Thread starter Dakota Houligans
- Start date
-
Guest, UPDATE We went through the site migration runbook and completed all steps. We will need to complete the migration next week, but will leave the forums up for the weekend. A few days after maintenance, a major upgrade revision to the forum site will occur.


Advocate III
- 5,584
- First Name
- Michael
- Last Name
- Rose
- Member #
-
20990
- Ham/GMRS Callsign
- W7FSB
- Service Branch
- US ARMY Retired
The next one is going to be super smooth… not doing anything drasticIt happens. I've definitely had to change direction from time to time. Some days I think I should have just done a few things to my truck and not done the Bronco. But, it's been fun too and the rug rats are definitely excited about it. Hopefully the next project goes smooth for you.
Hopefully it goes easy on ya! I'm glad we have my truck to use until I finally get the bronco done.
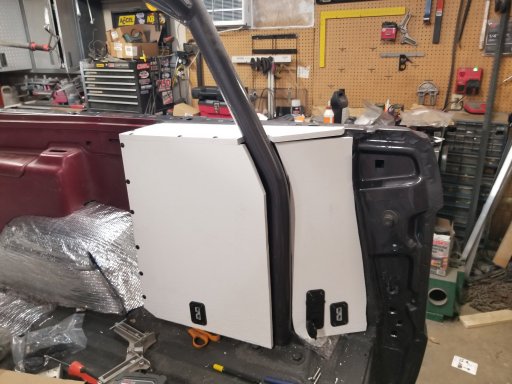
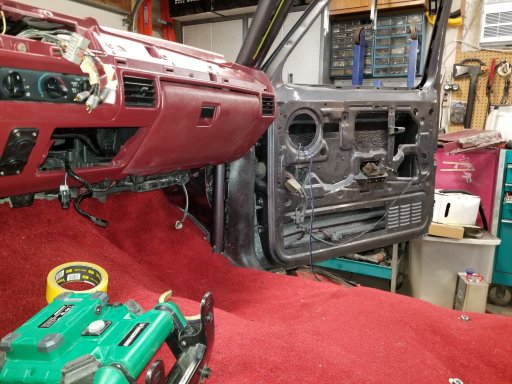
I got the rear speakers in and started the enclosure for the battery.
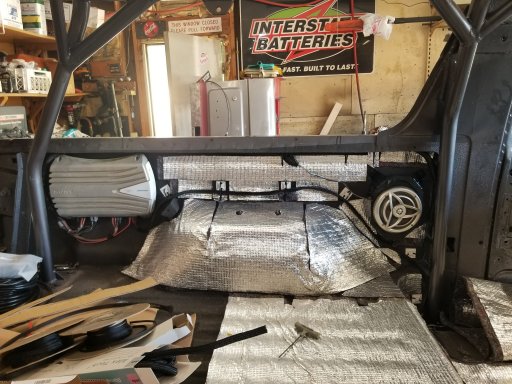
I have a little more wiring to put in then I'll tidy up the wires more.
I trimmed the original panel and cut some pieces from 1/2" pvc panel and shaped it to fit over the electronics and around the roll cage.
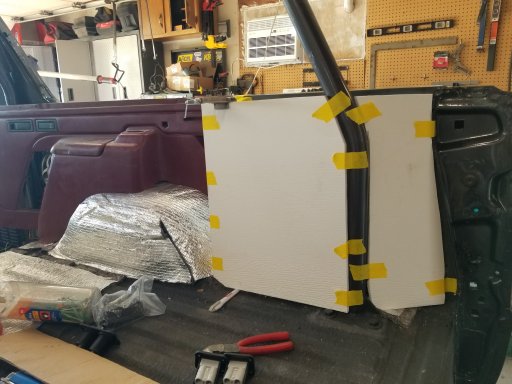
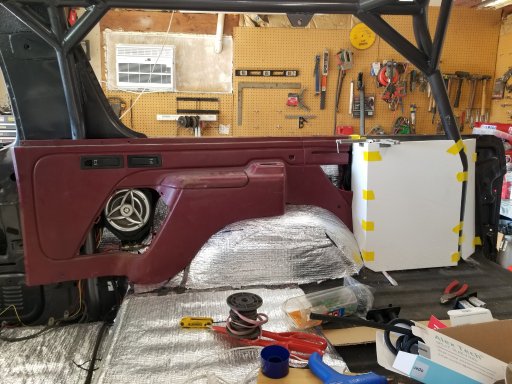
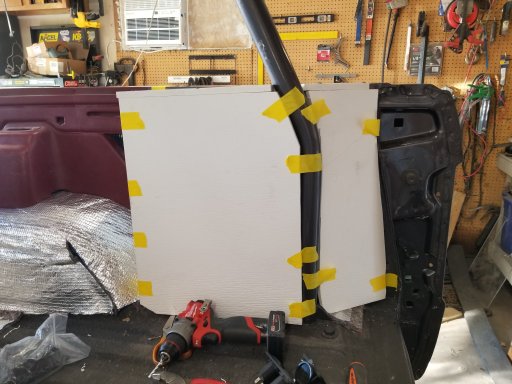
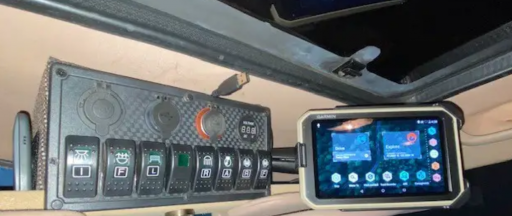
It needs some fine tuning yet. But it's a decent start. I will be adding some usb and anderson plugs. Also plan to texture and paint it to match the interior panels.
I have a little more wiring to put in then I'll tidy up the wires more.
I trimmed the original panel and cut some pieces from 1/2" pvc panel and shaped it to fit over the electronics and around the roll cage.
It needs some fine tuning yet. But it's a decent start. I will be adding some usb and anderson plugs. Also plan to texture and paint it to match the interior panels.
I did get the main shape and mounting figured out. Along with locations for some of the power points.
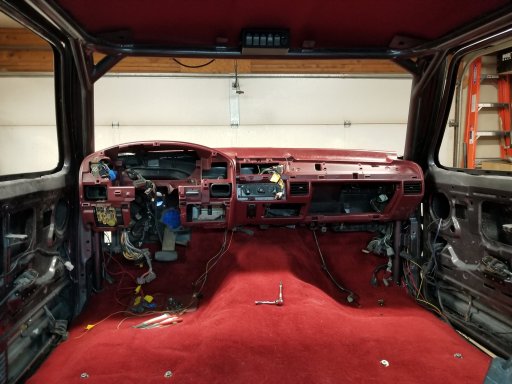
I also got the sound deadening down on the floor and sides. Lots of cutting and spray adhesive.
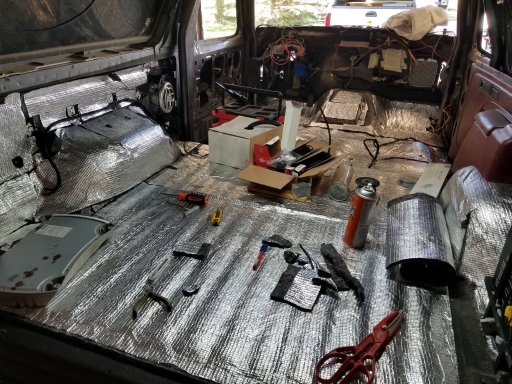
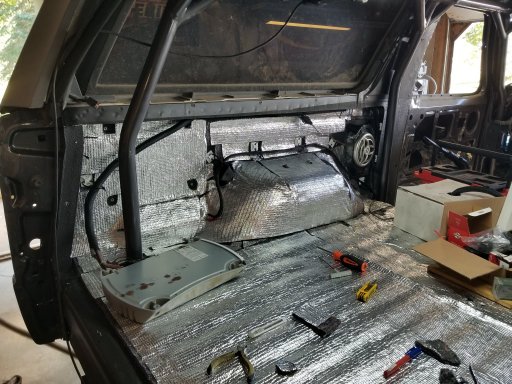
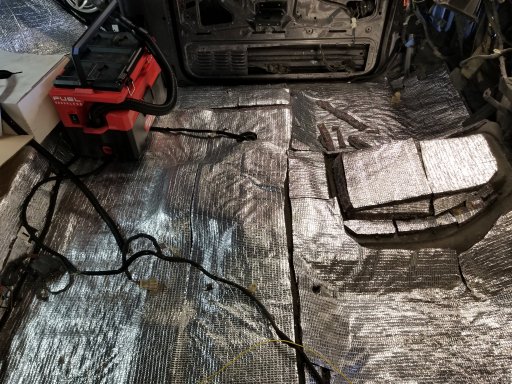
Then it was time to lay the carpet in place and start fitting it.
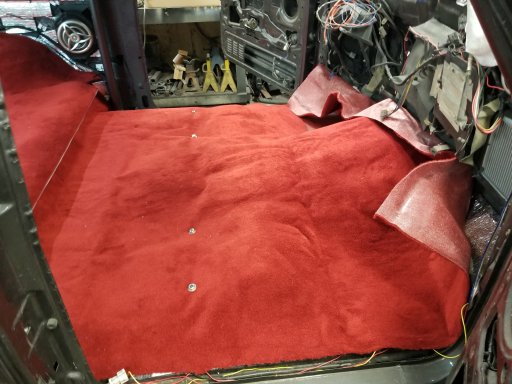
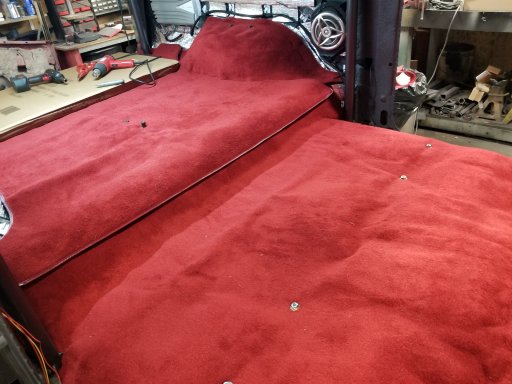
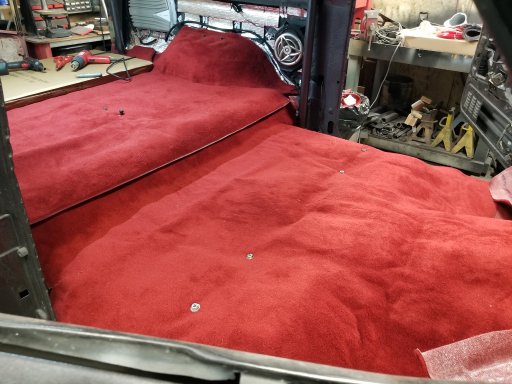
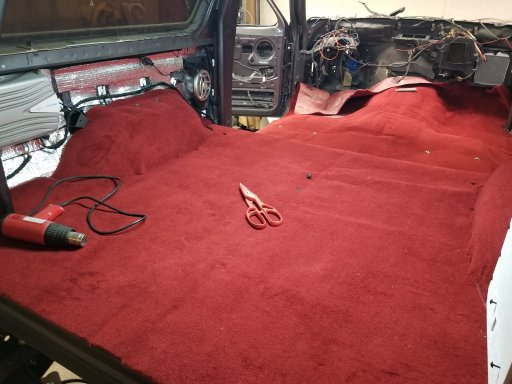
Now more smoothing and trimming of the carpet.
I also got the sound deadening down on the floor and sides. Lots of cutting and spray adhesive.
Then it was time to lay the carpet in place and start fitting it.
Now more smoothing and trimming of the carpet.
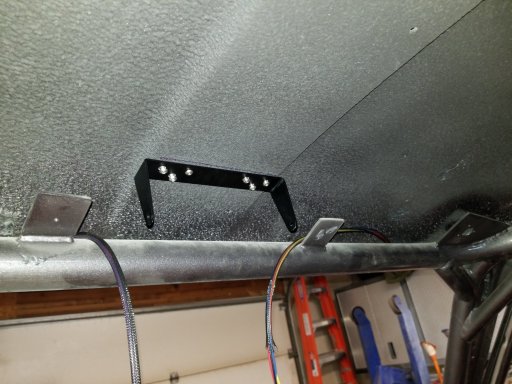
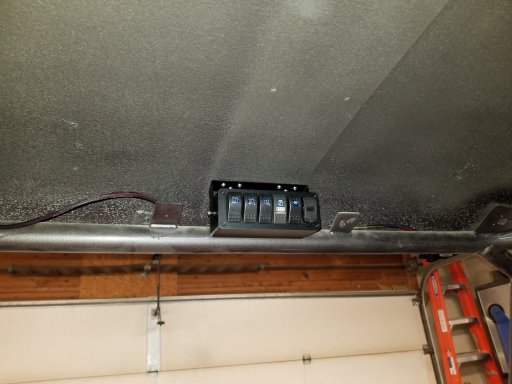
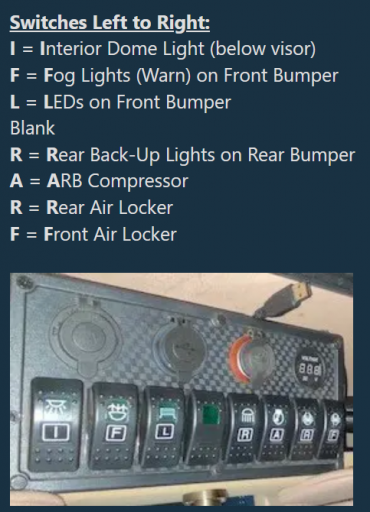
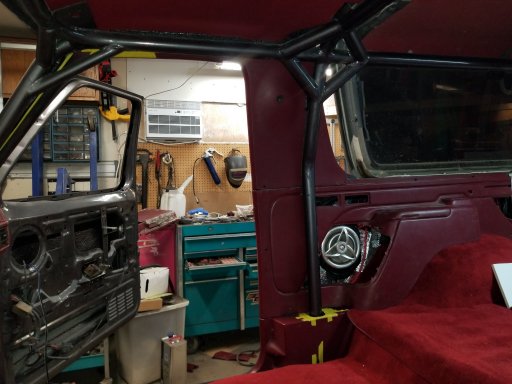
Did a little wiring on the upper switches in the front this weekend. I figured out the location and drilled some holes for the nutserts.
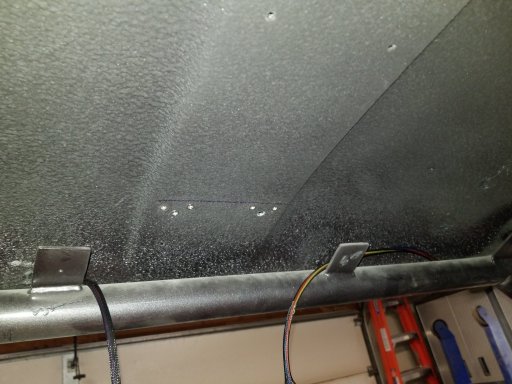
The bracket in place. I ran the wires from both sides up the A pillars.
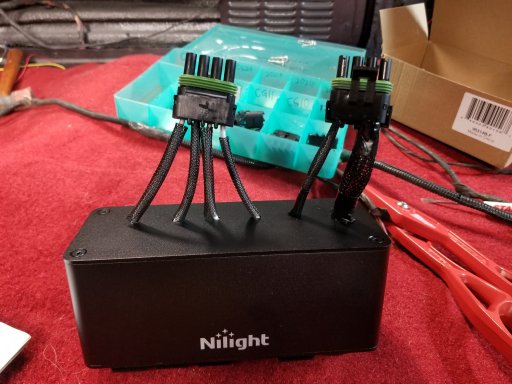
Wiring up the premade switch assembly. It came prewired but I'm running relays on the ground side so had to switch some wiring around.
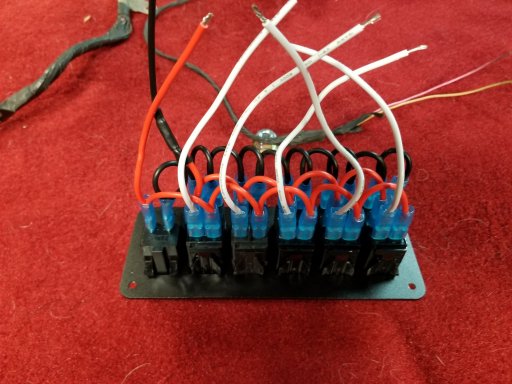
And it assembled with weather pack connectors. Complete with some extra for potential additions or repairs down the road.
Switches mounted up high.
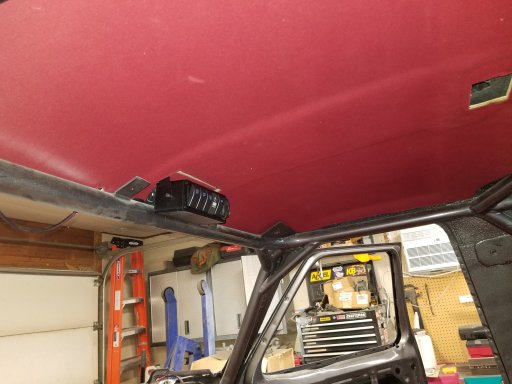
Then I trimmed up and managed to fit the headliner back in place. I still have to trim more of the plastic trim to fit.
The bracket in place. I ran the wires from both sides up the A pillars.
Wiring up the premade switch assembly. It came prewired but I'm running relays on the ground side so had to switch some wiring around.
And it assembled with weather pack connectors. Complete with some extra for potential additions or repairs down the road.
Switches mounted up high.
Then I trimmed up and managed to fit the headliner back in place. I still have to trim more of the plastic trim to fit.
Grit City Paul
Rank II

Off-Road Ranger I
Big fan of overhead switches. . . much cleaner install. Mine's installed on a visor "shelf" in my 1994 Explorer Sport.
Awesome work, enjoying the the build.
Paul
Awesome work, enjoying the the build.
Paul
Nicely done. I got some other wiring done behind the dash this weekend as well. Unfortunately, doing a little furnace shopping the 50+ year old one in my garage final locked the blower motor up. Should be able to keep working on it some though not too crazy cold yet.
Advocate III
- 5,584
- First Name
- Michael
- Last Name
- Rose
- Member #
-
20990
- Ham/GMRS Callsign
- W7FSB
- Service Branch
- US ARMY Retired
You Bronc is coming along nicely… mine is currently tucked away in storage until spring when I can wrench on her again.
Glad to hear you didn't get rid of it yet.You Bronc is coming along nicely… mine is currently tucked away in storage until spring when I can wrench on her again.
Advocate III
- 5,584
- First Name
- Michael
- Last Name
- Rose
- Member #
-
20990
- Ham/GMRS Callsign
- W7FSB
- Service Branch
- US ARMY Retired
After much discussion, it has been decided that it is best I keep it. I had to take a break from working on it, but after this past summer I’m ready to tackle the electrical gremlin one more time…Glad to hear you didn't get rid of it yet.
Only small progress. Garage furnace gave up. So waiting for it's replacement to show up. But managed to finish up the firewall wiring behind the dash.
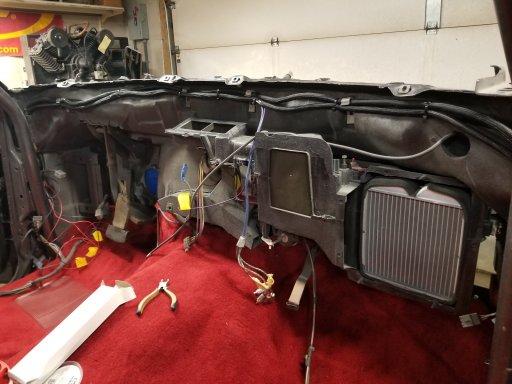
Ran the switch wiring and power and ground for the rear accessories through the firewall.
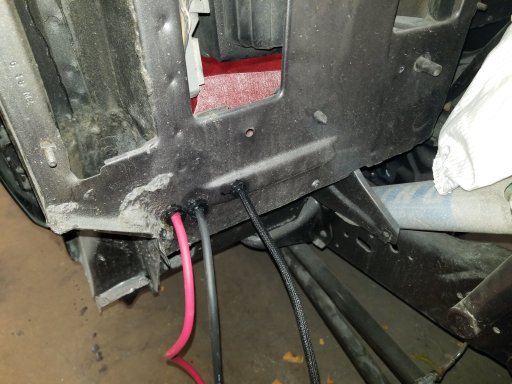
And bolted up one slider.
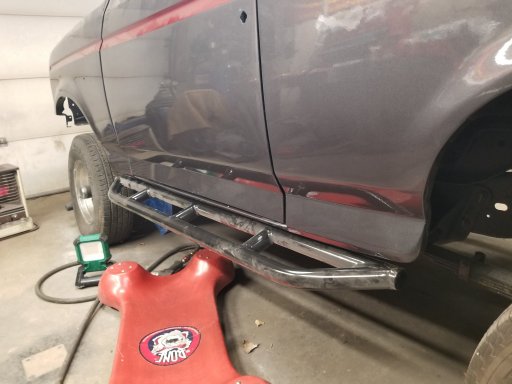
I seem to have forgotten where I put the bolts for the other side. But probably won't install until I have heat again.
Ran the switch wiring and power and ground for the rear accessories through the firewall.
And bolted up one slider.
I seem to have forgotten where I put the bolts for the other side. But probably won't install until I have heat again.
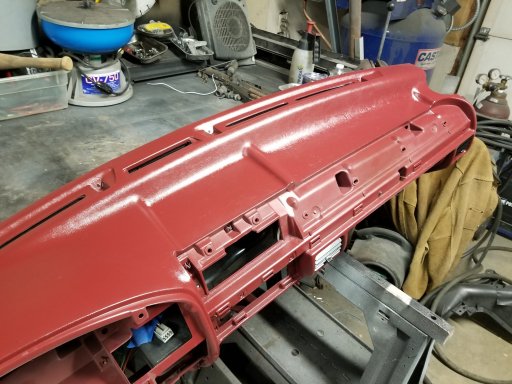
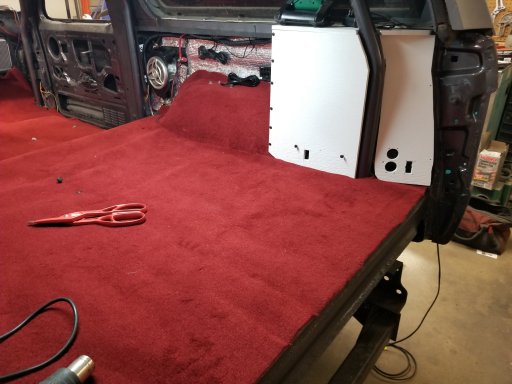
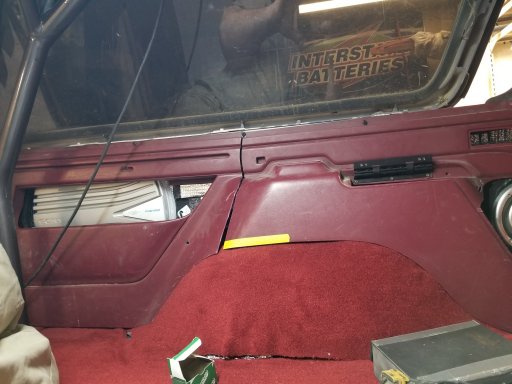
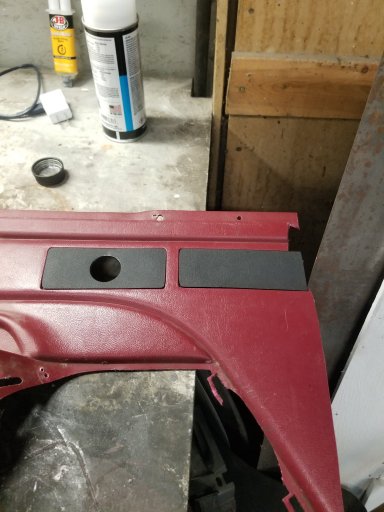
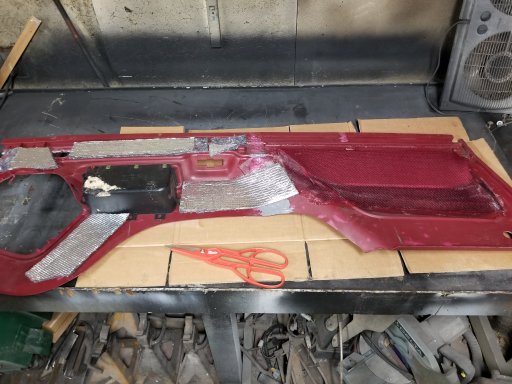
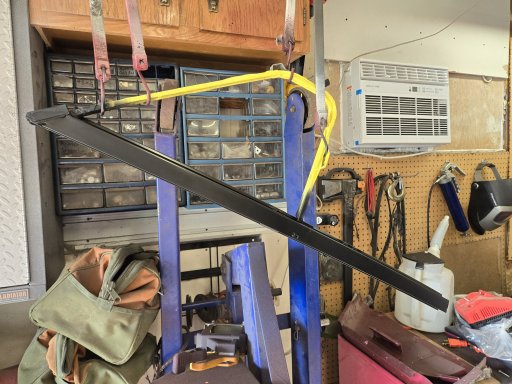
Started trimming more of the interior panels to fit around the roll cage and other modifications.

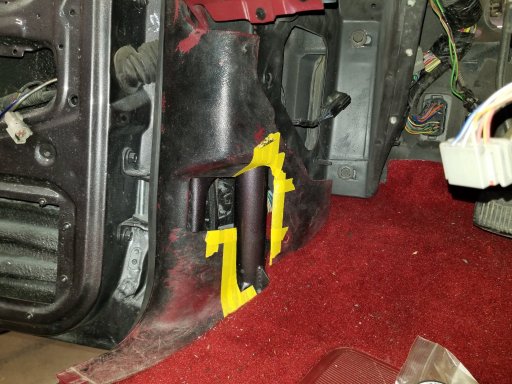
The kick panel and A pillar parts took the longest so far.
2 more to fit on drivers side and then long cleanup and color match work. But closer every time I make it out to the garage.
The kick panel and A pillar parts took the longest so far.
2 more to fit on drivers side and then long cleanup and color match work. But closer every time I make it out to the garage.
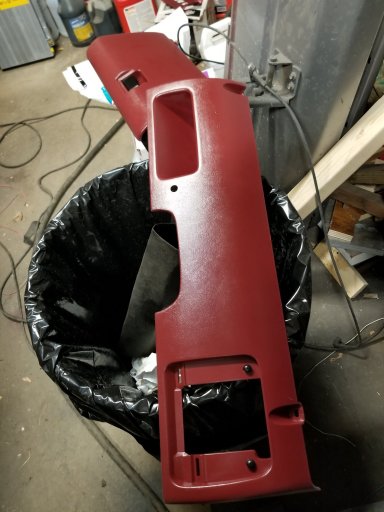
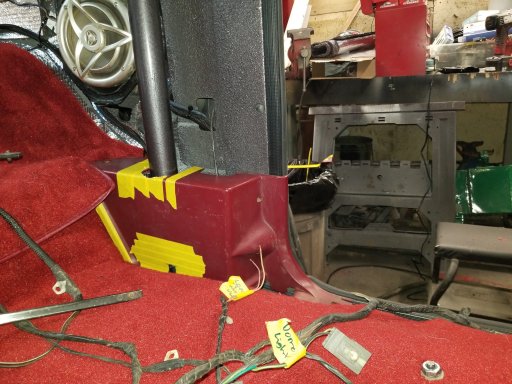
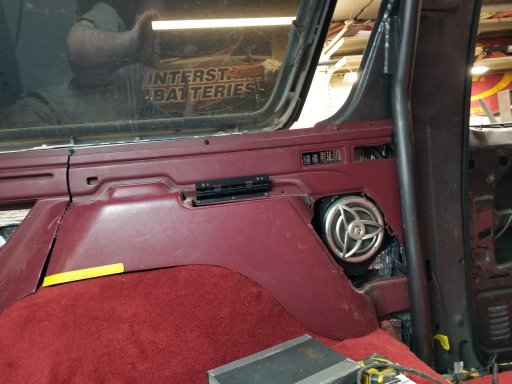
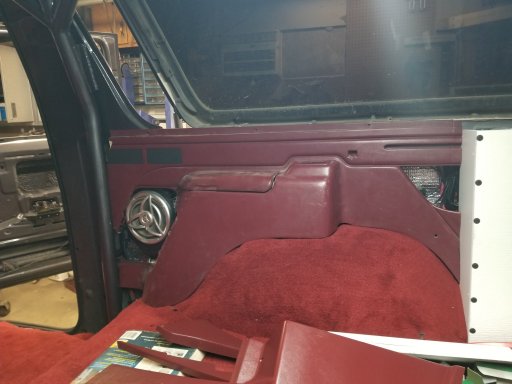
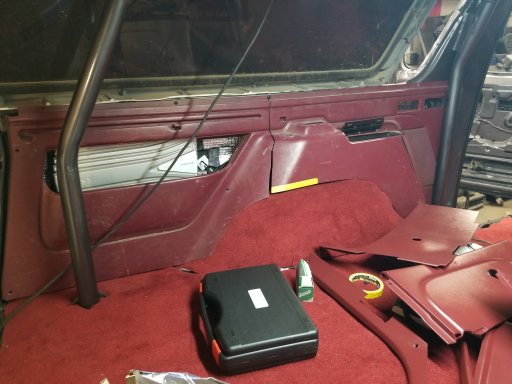
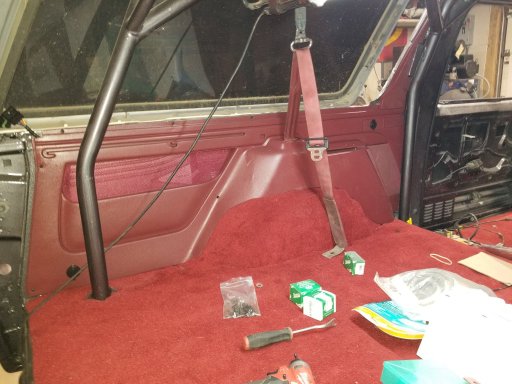
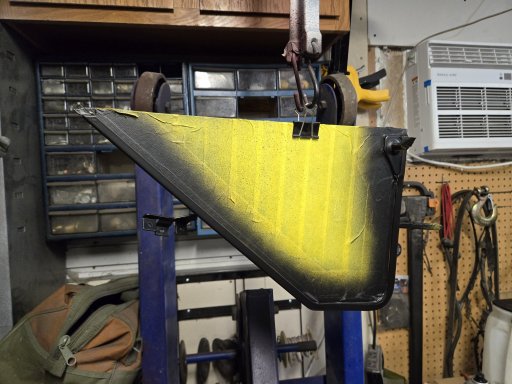
Had some time for more interior work. Got both rear panels trimmed to fit.

Now it was time to make some repairs. So I cut some leftover parts into strips and figured I'd play with homemade plastic welding
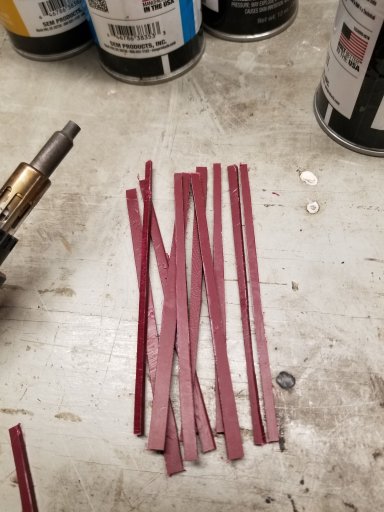
I used a hot air tip on a butane soldiering gun to melt the plastic together and used the cut strips as filler material.
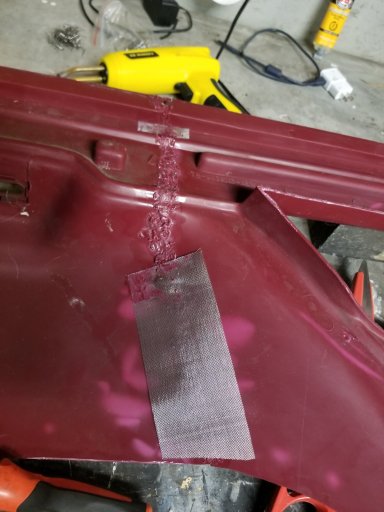
Not real pretty bit seems ok. Also used some plastic repair staples and then melted a wire mesh into the plastic. Then finished the backside off with plastic weld epoxy.
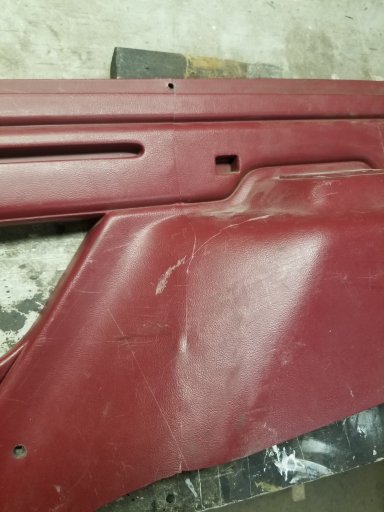
Turned out ok. We'll see how it looks after prepped and painted. I also made and attached filler pieces. One will be used for rear seat usb power ports.
Now it was time to make some repairs. So I cut some leftover parts into strips and figured I'd play with homemade plastic welding
I used a hot air tip on a butane soldiering gun to melt the plastic together and used the cut strips as filler material.
Not real pretty bit seems ok. Also used some plastic repair staples and then melted a wire mesh into the plastic. Then finished the backside off with plastic weld epoxy.
Turned out ok. We'll see how it looks after prepped and painted. I also made and attached filler pieces. One will be used for rear seat usb power ports.
Attachments
-
 394.7 KB Views: 2
 -
 328.9 KB Views: 2
 -
 394 KB Views: 2
 -
 413.6 KB Views: 2
 -
 383.8 KB Views: 2
 -
 463.7 KB Views: 2
 -
 443.1 KB Views: 2
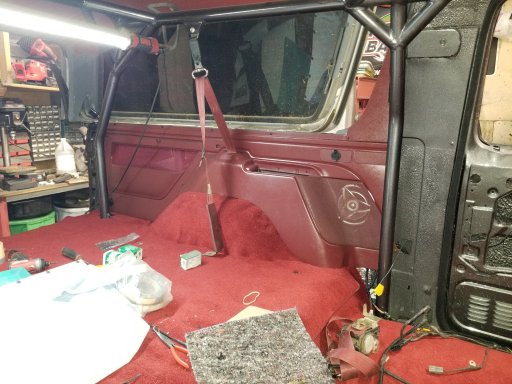
After getting it put together. I put some extra sound deadening material on the back side. Along with covering the opening I made to clear some things with a speaker covering fabric.
All cleaned painted and installed.

Lots of updates. I will try to get some posted.Any updates?

Wow. Wish I had your knowledge and skillsEventually while in the Black Hills in South Dakota the Bronco ended up like this.
View attachment 44401
While out there to camp and explore the transmission decided it wanted to let the transmission fluid go free. So thanks to a good friend we got a spare vehicle hauled to us and he took the bronco home for us. It was time for the transmission to come out and get a rebuild/upgrade.
View attachment 44402
The front pump seal was no longer doing it's job. Seemed like a good time to freshen up the C6.
View attachment 44405
While taking it apart I found a nice grove worn in a drum and some burned clutches.
View attachment 44406
With it apart and cleaned up it was time to reassemble and modify the valve body.
View attachment 44429
View attachment 44408
I upgraded both planetary gears to needle bearings from bronze bushings. As well as going to six pinion gear sets instead of three. Also swapped the thrust washers with torrington bearings.View attachment 44412
And then time to reassemble it.
View attachment 44413
View attachment 44428
Next I drilled a hole in the side of the pan to weld in a bung for the temp sensor.
View attachment 44425
View attachment 44426
For a little added protection for the sensor I cut a piece of tubing and welded it around the sensor.
View attachment 44430
View attachment 44431
Made a bracket to mount the second transmission cooler to.View attachment 44432 View attachment 44427
I made the transmission cooler lines out of -6 braided stainless steel.
View attachment 44404
Almost back in.
View attachment 44403
Made a few changes to the transmission cross-member to make room for the exhaust and strengthened it up a bit.
View attachment 44433
Now with a lower first and second gear, a custom torque converter and all thrust washers replaced with bearings it was a whole new animal. A lot less power wasted on friction and even gained a little mileage.
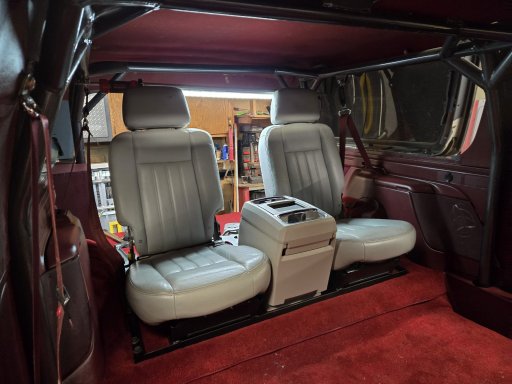
Rear seats for the kids. If we like them I'll probably change the color in time.
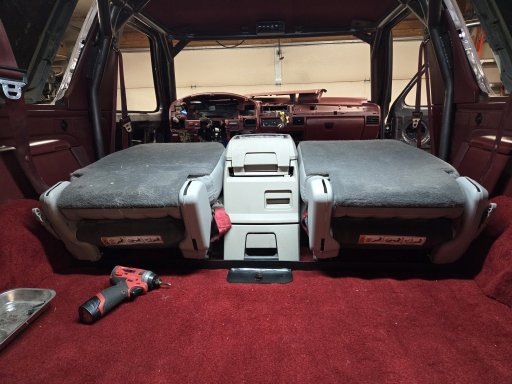
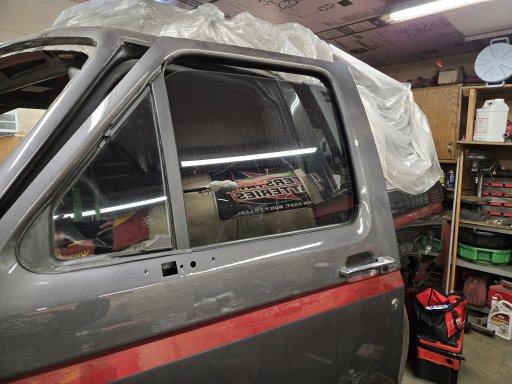
Also have worked on getting door glass prepped to reinstall.
I will try to get some more up.
