1984 Ford Bronco Project

  • HTML tutorial

Enthusiast II

1,250
Hartford, SD
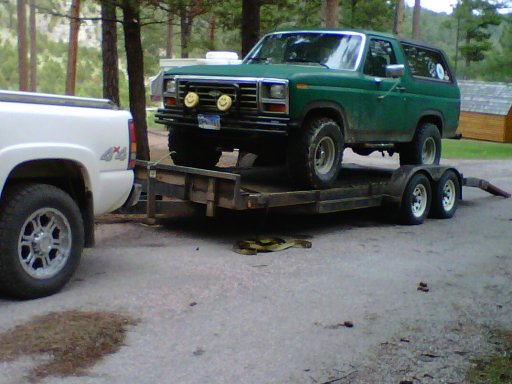
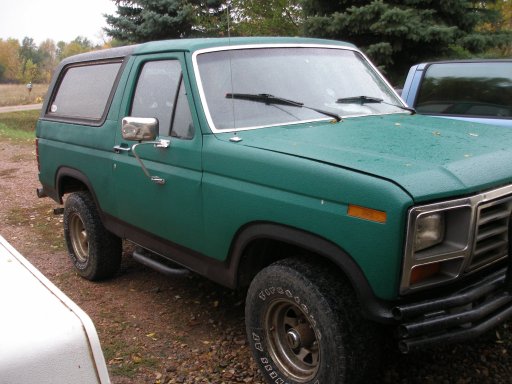
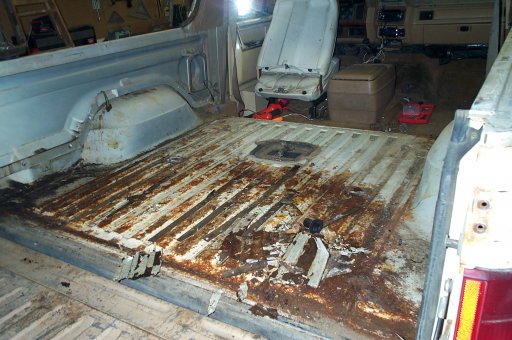
I've had the bronco for about 12 years. Needed some work when I got it.
View attachment 44108 View attachment 44107
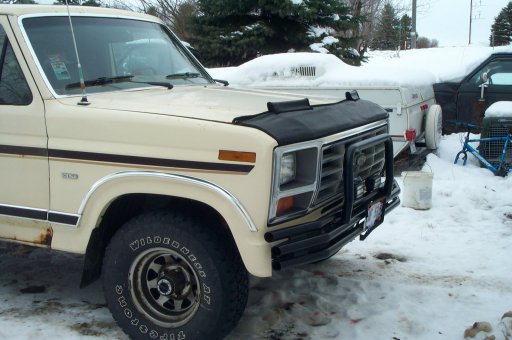
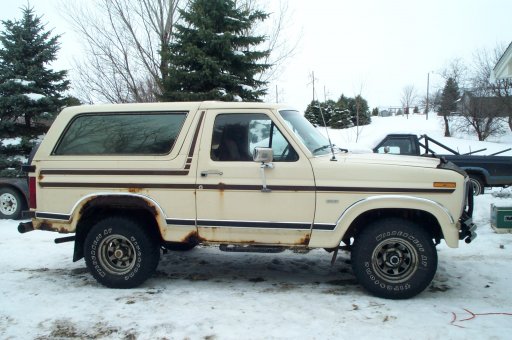
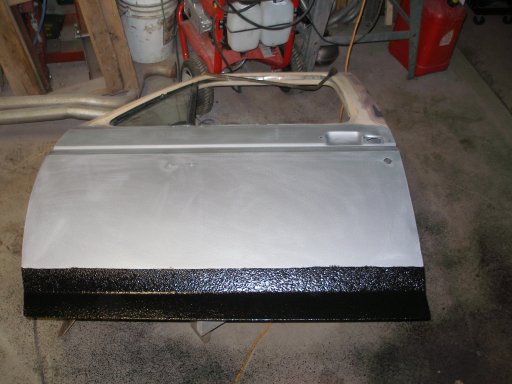
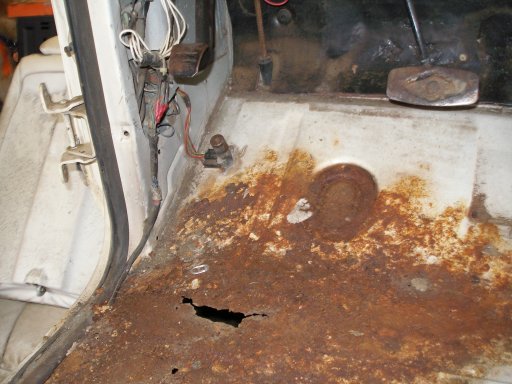
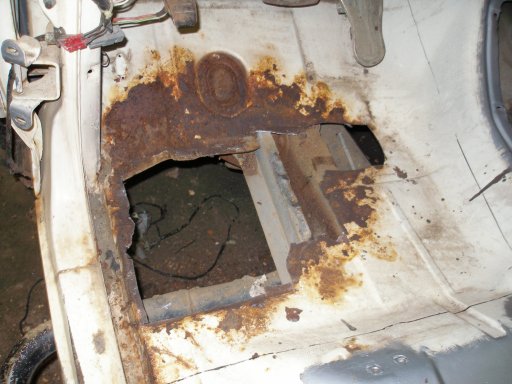
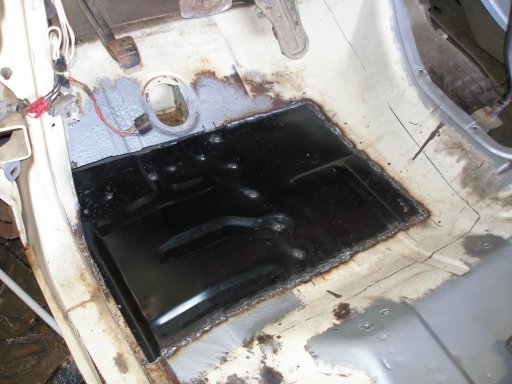
So I fixed some rust and started making changes.View attachment 44109 View attachment 44110 View attachment 44111 
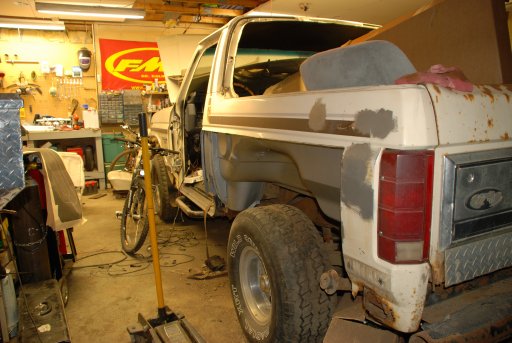
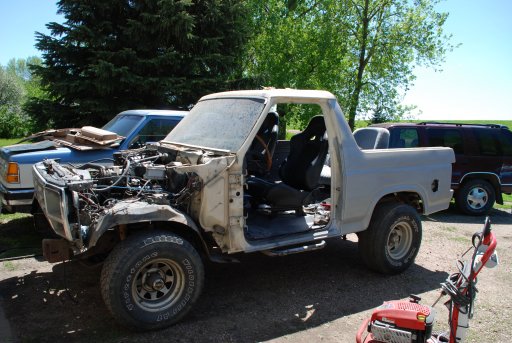
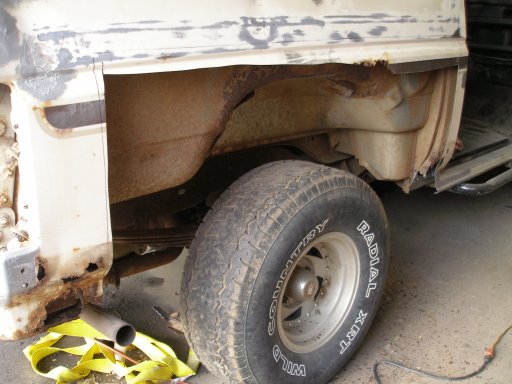
It got a little more involved than I had hoped. View attachment 44112
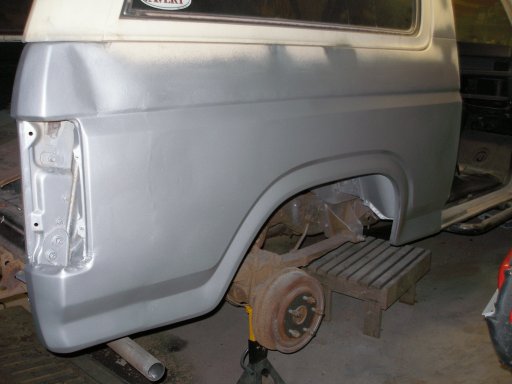
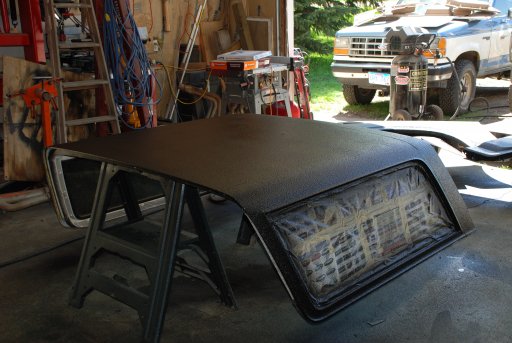
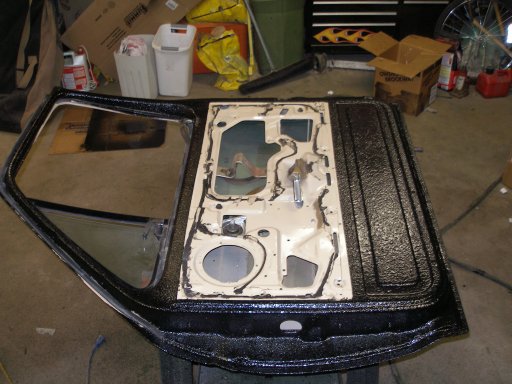
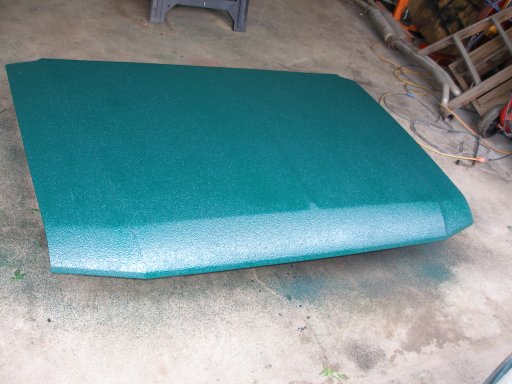
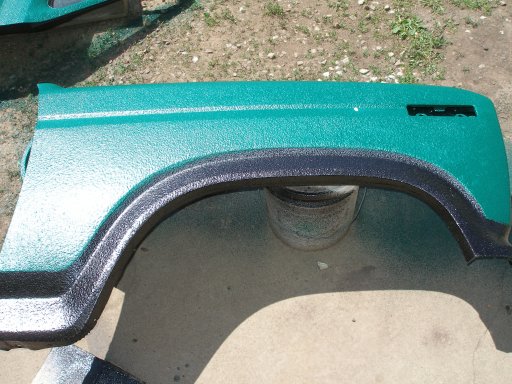
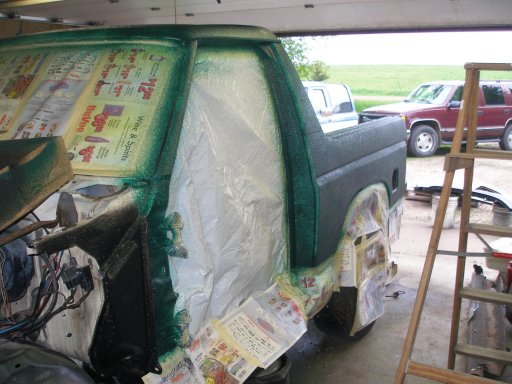
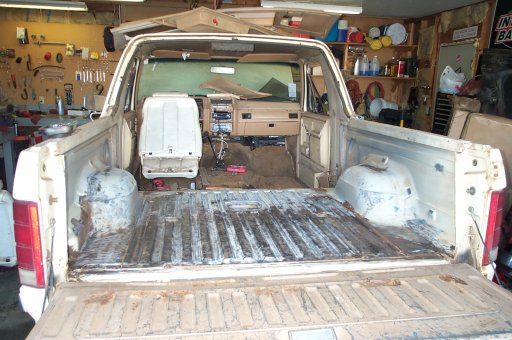
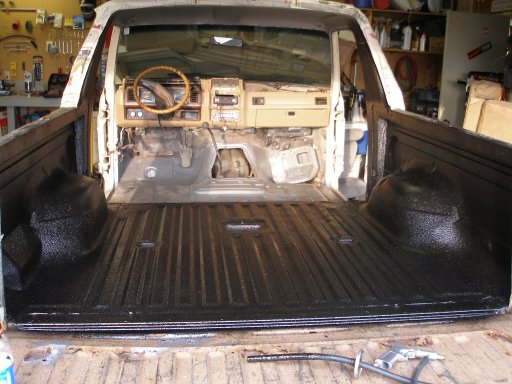
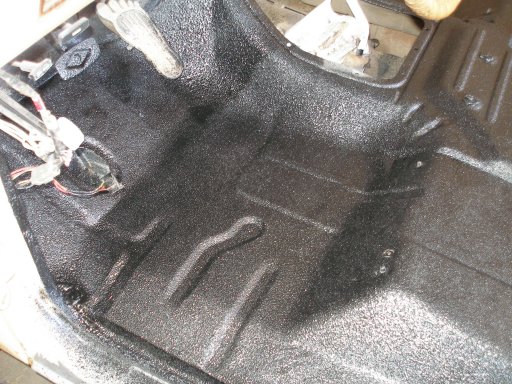
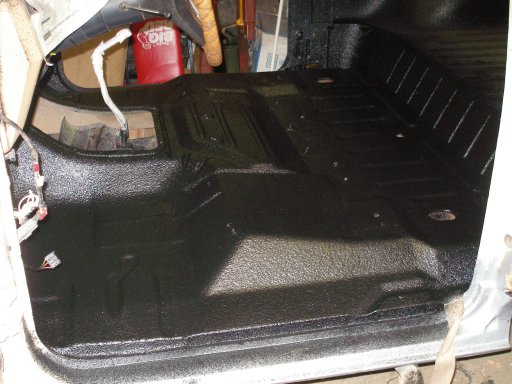
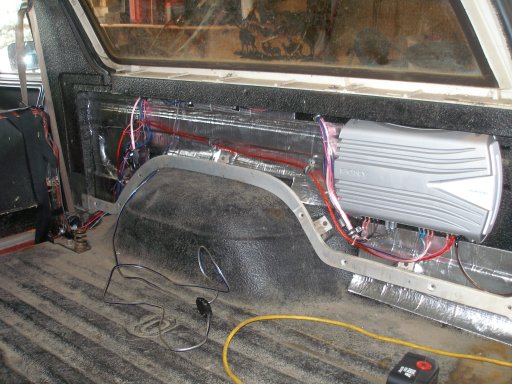
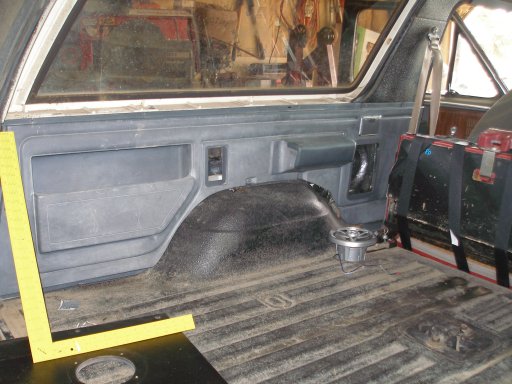
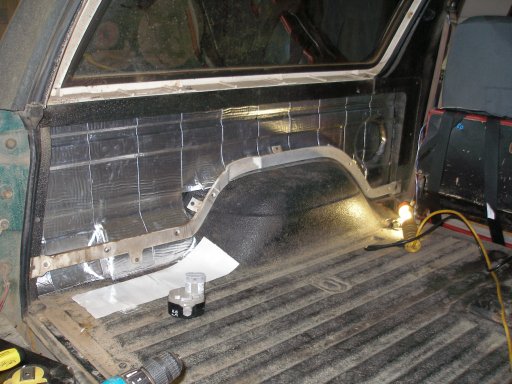
But eventually we started spraying bed liner on it.View attachment 44113 View attachment 44114 View attachment 44115 View attachment 44116 View attachment 44117 View attachment 44119 View attachment 44118 View attachment 44120 View attachment 44122 
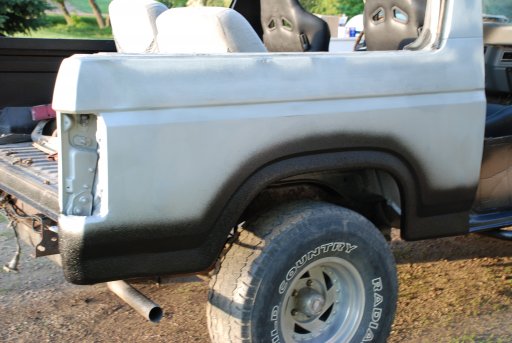
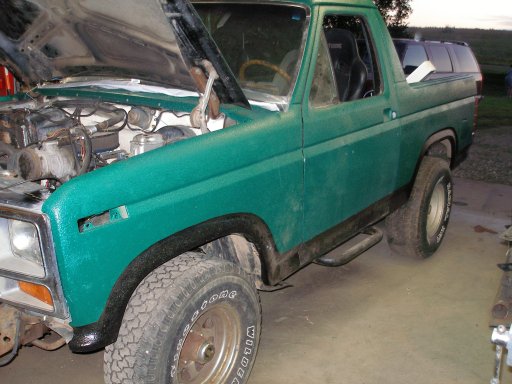
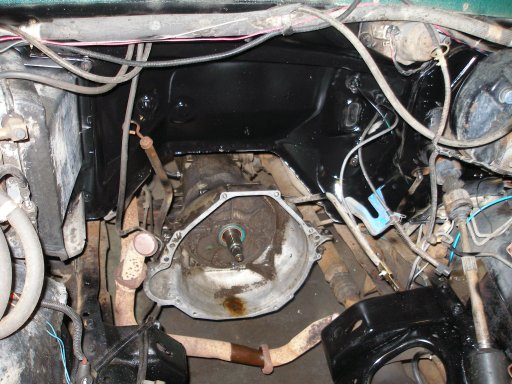
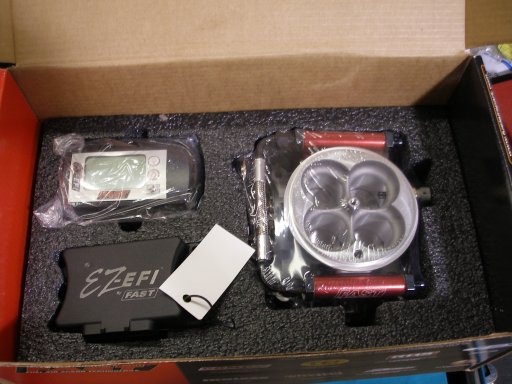
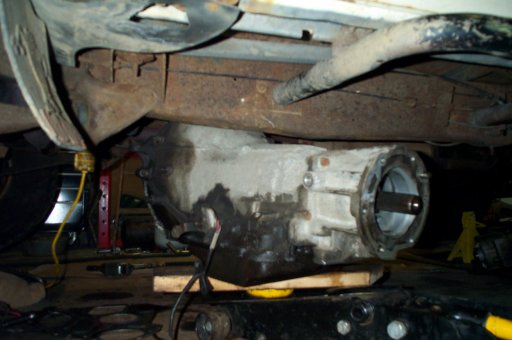
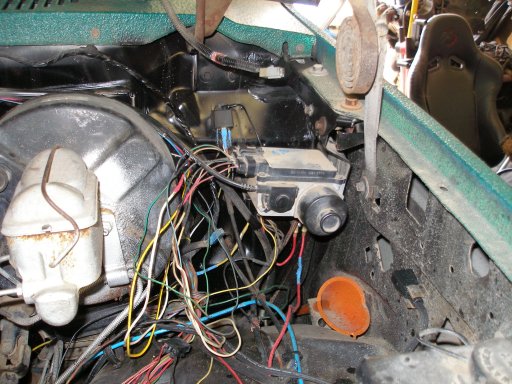
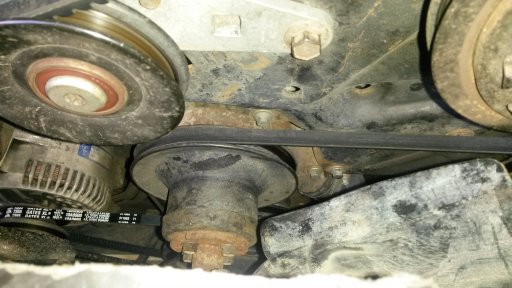
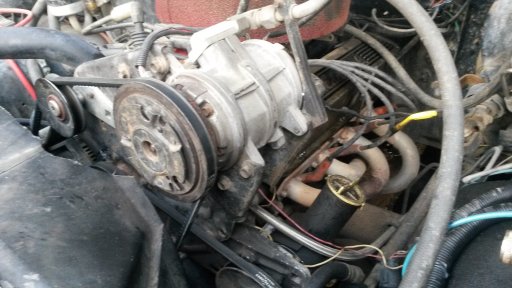
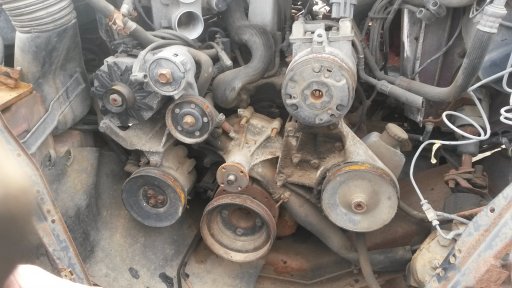
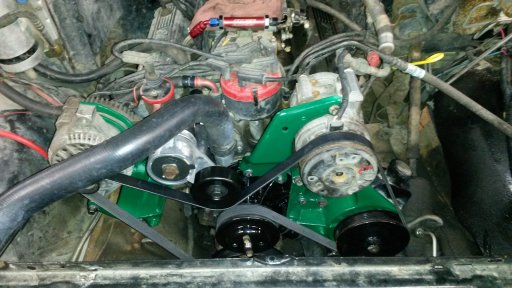
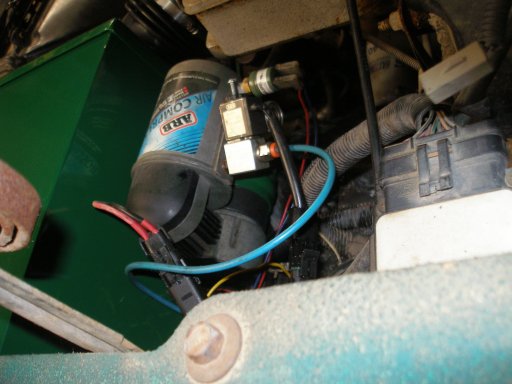
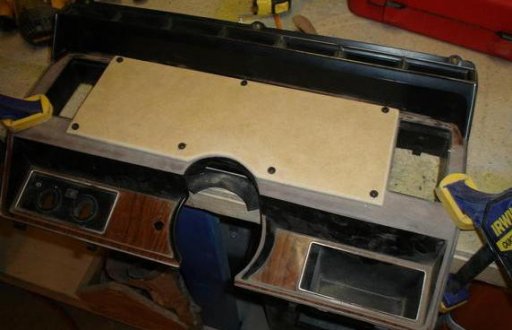
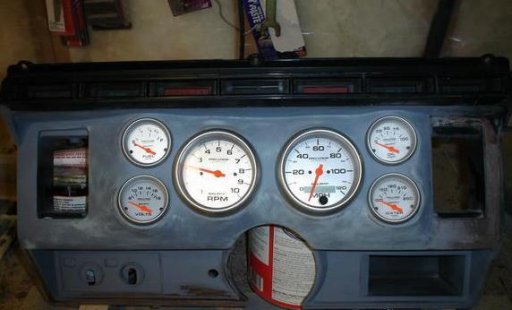
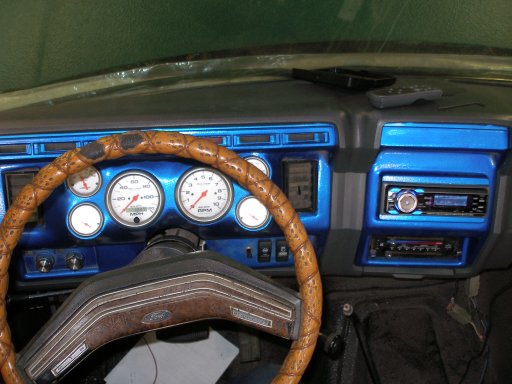
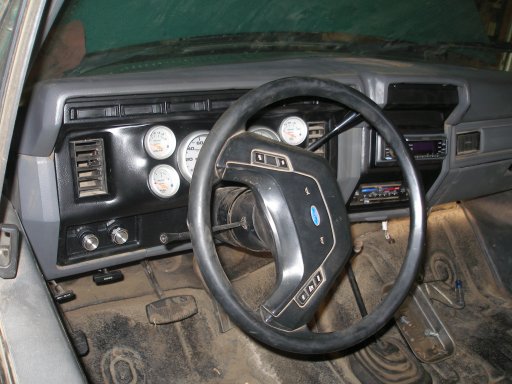
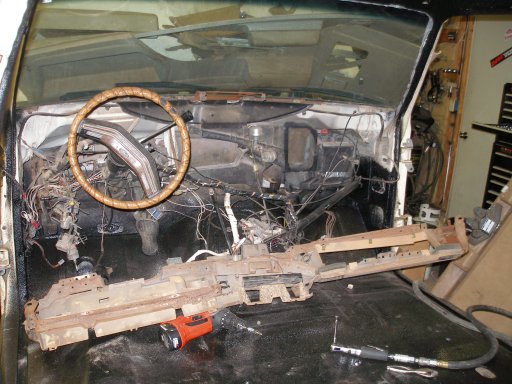
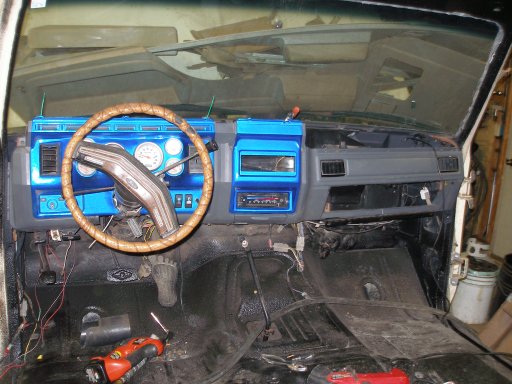
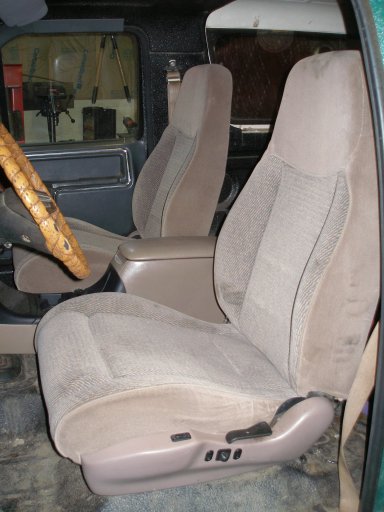
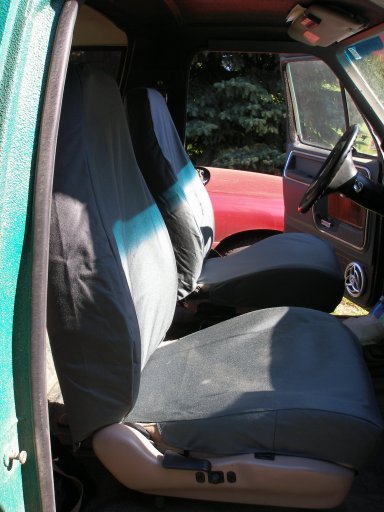
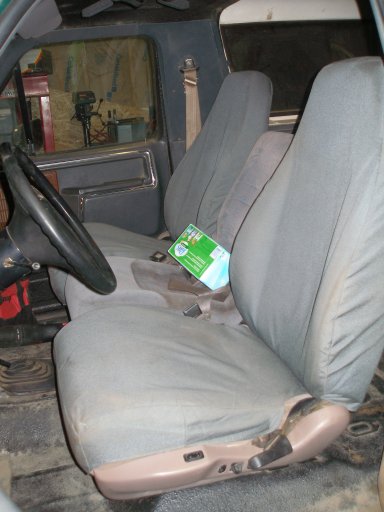
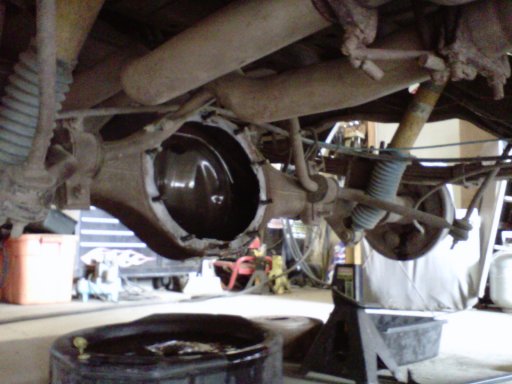
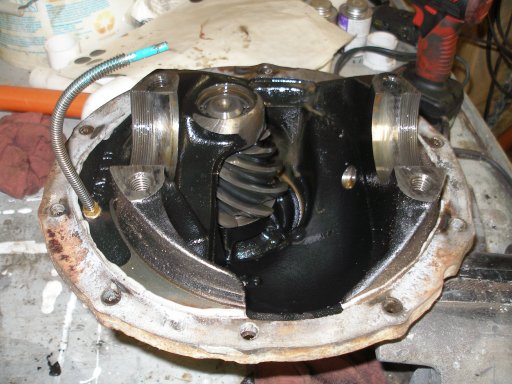
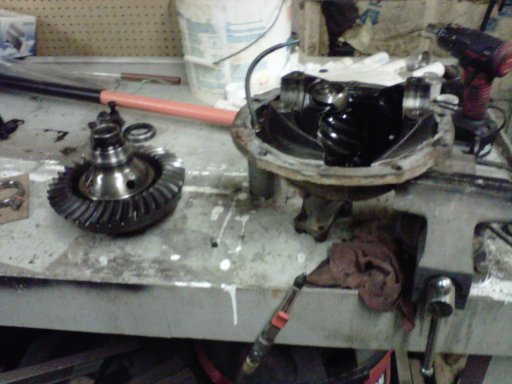
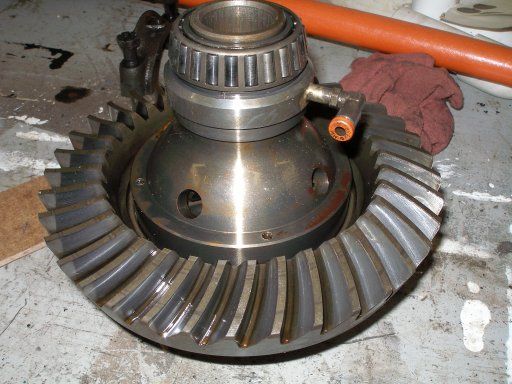
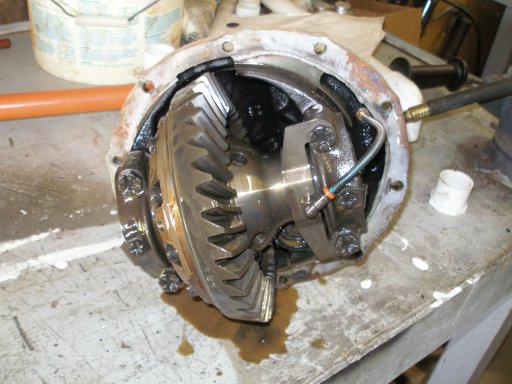
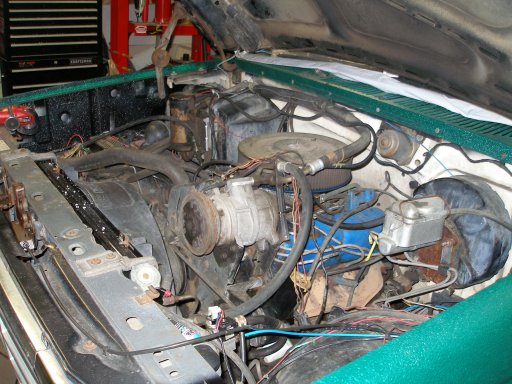
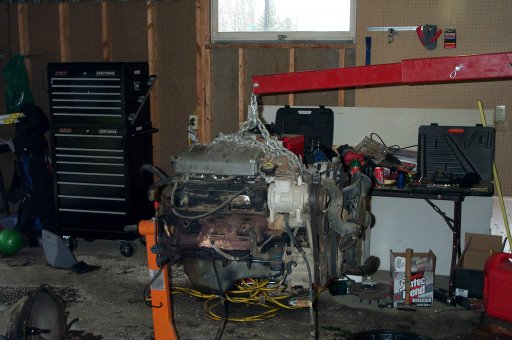
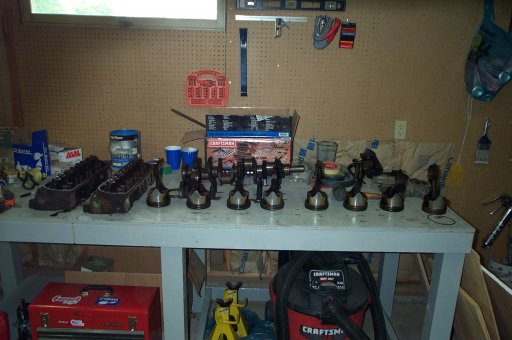
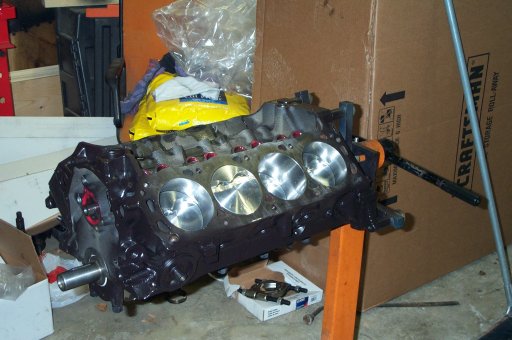
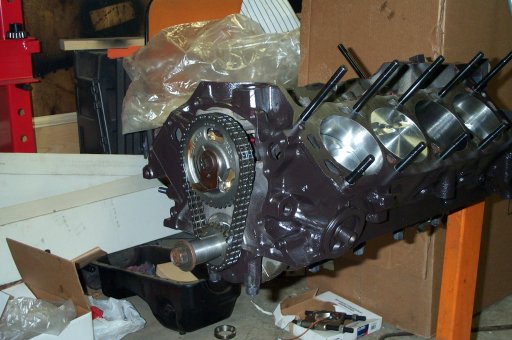
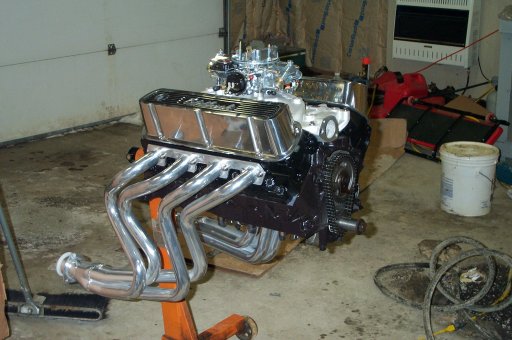
After all the body stuff was done It was time to start on the rest of the stuff. The old engine was tired. The axles where open diffs with 3.55 gears. And the interior needed some help.
 

Enthusiast II

1,250
Hartford, SD
Time to start on the interior. Since the engine was going to get some upgrades figured the gauges and interior could use some help.
View attachment 44123
View attachment 44124
View attachment 44125
I have very little fiberglass skill so I enlisted the help of a friend to do this.
View attachment 44126
View attachment 44127
View attachment 44128
View attachment 44132 View attachment 44133 Still not sure why he painted it blue before he gave it to me...
This is how it looked when I bought it.
View attachment 44131
and after. I swapped the entire dash from a truck to get the gray interior.
View attachment 44135 I decided it was time to get rid of the old steering wheel. I also upgraded to newer electronic cruise control when I up dated the steering column.View attachment 44137
I also decided to change the blue to black.
View attachment 44138 View attachment 44139 View attachment 44140
 

Enthusiast II

1,250
Hartford, SD
We went looking for some front seats and the local salvage yard and found some from a newer explorer that we liked. I also got the center console that had a blower motor and some ducting in it for a later project.View attachment 44163Then we had some seat covers made so our miss matched seats would match.View attachment 44164 View attachment 44165 Then we added some sound deadening material to the sides and put the panels on.
View attachment 44166 View attachment 44168 I used a center seat/armrest from a newer ford truck and modified the bracket to fit between the front seats.View attachment 44169
 

Enthusiast II

1,250
Hartford, SD
The old engine was tired. It had lots of miles and low compression. I pulled a newer ford 302 to rebuild and put in.View attachment 44177
The new one is out and starting to tear it down.View attachment 44179 View attachment 44180
Painted oil pan while machine work is being done.View attachment 44181 The heads were ported and polished. Larger valves installed and everything port matched.View attachment 44182 View attachment 44183
The block was bored .030 over with flat top pistons. All internals were balanced and upgraded arp racing bolts/studs used for all internal parts.View attachment 44184
Mild roller cam and torirngton thrust bearings used on cam to reduce friction.View attachment 44185
Timing chain installed and the head studs going in.View attachment 44186
Heads on and roller rockers going on.
View attachment 44187
Intake and valve covers on and test fitting headers.
View attachment 44188
Bronco waiting for new engine.
View attachment 44176
 

Enthusiast II

1,250
Hartford, SD
After while it was time for another upgrade. Time for the carburetor to go. I ordered a FAST ez-efi kit and started installing it.
View attachment 44203
Carb off and starting to install the fuel injection. Regulator and wiring started.View attachment 44205
New fuel sender with a port for fuel return.
View attachment 44206
Welded in a bung for the oxygen sensor.
View attachment 44202 View attachment 44204
Throttle body on and plugged in.
View attachment 44200
View attachment 44201
with the air cleaner on you don't even see much.
View attachment 44207
 

Enthusiast II

1,250
Hartford, SD
I have a few other projects that I have already completed that I'll post. Also we will be adding a roll cage, rock sliders, winch bumper, rear tire carrier, possibly a snorkel of some sort. Lots of stuff to build still.
 
  • Like
Reactions: Justin Roach

persquank

Rank V
Launch Member

Enthusiast III

2,191
DFW
First Name
Randall
Last Name
Stephens
Member #

9377

This is amazing. I'm a Ford guy at heart. Full size Broncos are the best.
 
  • Like
Reactions: BobsGarage

Enthusiast II

1,250
Hartford, SD
Eventually while in the Black Hills in South Dakota the Bronco ended up like this.
View attachment 44401
While out there to camp and explore the transmission decided it wanted to let the transmission fluid go free. So thanks to a good friend we got a spare vehicle hauled to us and he took the bronco home for us. It was time for the transmission to come out and get a rebuild/upgrade.
View attachment 44402
The front pump seal was no longer doing it's job. Seemed like a good time to freshen up the C6.
View attachment 44405
While taking it apart I found a nice grove worn in a drum and some burned clutches.
View attachment 44406
With it apart and cleaned up it was time to reassemble and modify the valve body.
View attachment 44429
View attachment 44408
I upgraded both planetary gears to needle bearings from bronze bushings. As well as going to six pinion gear sets instead of three. Also swapped the thrust washers with torrington bearings.View attachment 44412
And then time to reassemble it.
View attachment 44413
View attachment 44428
Next I drilled a hole in the side of the pan to weld in a bung for the temp sensor.
View attachment 44425
View attachment 44426
For a little added protection for the sensor I cut a piece of tubing and welded it around the sensor.
View attachment 44430
View attachment 44431
Made a bracket to mount the second transmission cooler to.View attachment 44432 View attachment 44427
I made the transmission cooler lines out of -6 braided stainless steel.
View attachment 44404
Almost back in.
View attachment 44403
Made a few changes to the transmission cross-member to make room for the exhaust and strengthened it up a bit.
View attachment 44433
Now with a lower first and second gear, a custom torque converter and all thrust washers replaced with bearings it was a whole new animal. A lot less power wasted on friction and even gained a little mileage.
 

Enthusiast II

1,250
Hartford, SD
Decided while I was at it to upgrade the cruise control from vacuum operated to the new electronic version. I already had the electric speed sensor for the new speedometer so it was just a matter of switching the connector and adding the speed signal.
Only photo I have of the old vacuum version.
View attachment 44436
And the new electronic version.
View attachment 44435
wired up and all hooked up. Just need to clean up the wiring.
View attachment 44434
The swap was pretty easy the cable snapped right in place and the only wiring difference was the speed signal.
 

Enthusiast II

1,250
Hartford, SD
Dual batteries was a good upgrade for future planes.
I cut and welded some angle iron to for the base of the box.
View attachment 44437
Then added a divider and some studs to mount the hold down to.View attachment 44438 View attachment 44440
Test fitting the batteries.
View attachment 44439
View attachment 44442
How it was.
View attachment 44443
And with the two batteries in place.
View attachment 44444
I made my own batter cables out of 1/o and an alternator cable out of 2 gauge wire. Now it has no shortage of amperage available.
 
  • Like
Reactions: JCWages and Tinker

Enthusiast II

1,250
Hartford, SD
After converting to a 130 amp 3g alternator I ran into troubles with the v belts slipping even with double belts on the alternator. Also the factory location for the alternator was down low so I had some issues with snow and water intrusion. Which was hard on the alternator.
View attachment 44525
View attachment 44524
So it was time to look for a solution. I looked at aftermarket kits but they are expensive and require the use of their accessories and spare parts aren't readily available. While wandering around the salvage yard I found the solution. A 1987 ford van uses most of the same accessories as my 1984 just with serpentine belt pulleys. And it included a power steering pump upgrade.
View attachment 44526
It was also a smaller package and raised the alternator up higher. Also I needed a newer water pump due to the rotation change. Since I had all the brackets cleaned up I decided to add some paint. Some turned green and some black.
View attachment 44527 View attachment 44528
It all fit nicely. had to find a different power steering hose but, it wasn't too hard. Swapped the a/c compressor pulley.View attachment 44530
View attachment 44531
View attachment 44532 View attachment 44533
It actually went pretty smooth and no more slipping belts. I figured I'd better get full use of the alternator before I added the winch.
 

Enthusiast II

1,250
Hartford, SD
Since I had an updated belt setup. I figured I'd try an electric cooling fan. My ecm is capable of controlling the relays to run a fan so why not try it. I decided to use the fan from a v8 thunderbird since it is a very high flowing 18 inch fan. I make an aluminum bracket to mount it to the radiator.
View attachment 44753
I wasn't the prettiest but I don't have a way to weld aluminum yet so it was panel bond and rivets. The fan would mount into the bracket which would fit in the factory mounts for the original fan shroud.
View attachment 44754 and it actually fit pretty good.
View attachment 44755
So now I had to wire this thing up. I forget now but I believe this fan can draw up to 60 amps on startup. Well since a 60 amp relay is expensive and a hassle to find a place to mount I decided to wire it using 2 40 amp relays in parallel to split the load. I had some other relays for lights and such that I wanted to clean up the mounting and wiring for. Eventually I decided to take the underhood relay/fuse box from a parts tahoe I have and rewire it to fit my needs.
View attachment 44756
It has one power input and six fused and relay controlled outputs along with 6 control wires all with weather pack connectors.
View attachment 44757
Then to find a place to mount it I decided to make a mount to hold the relay box and my msd and rev limiter box all together.
View attachment 44761
With a little metal work and more panel bond I made a mount to hold them and made room by the batteries.
View attachment 44758
It fit pretty good.
View attachment 44759
View attachment 44760
I wired the fan and some of the other relays and am still working on cleaning it up. Put so far the fan is plenty to keep up with the engine.
 

Enthusiast II

1,250
Hartford, SD
With some of the water and mud I've been silly enough to go through it was time to build and air box with the ability to seal it and possibly turn into a snorkel eventually. I picked up a plenum or hat for the throttle body and some flexible elbows.
View attachment 44767
Eventually I came up with a plan and figured out what type of air filter I wanted to use. I used some 4 inch exhaust tubing.
I figured out the air box size and built it.
View attachment 44769
Time for a test fit.
View attachment 44770
View attachment 44771
Then with the mounts and final size figured out it was time to finish welding and assembly.
View attachment 44773
Lid made and fit. Mounts for the air box and coolant overflow tank welded on.
View attachment 44774
A view of how the internals work out. For now the intake air will come from inside the fender. Eventually I'll probably make a snorkel.
View attachment 44775
Final test fitting before I weld the top on and start painting.
View attachment 44776
Primer is on.
View attachment 44777
View attachment 44778
And the green. The daughter wanted pink with sparkles but I decided to go with the leftover green. The back side of the air box is where I decided to remount the compressor the the air locker.
View attachment 44779
View attachment 44782
All bolted in and assembled. About now is when I noticed I forgot to paint the plenum, opps. Maybe another day. View attachment 44780 The air compressor mounted up.View attachment 44781 It was a fun project. I think eventually I'll build the rest of the snorkel into the fender but this will due for now.