1977 Ford transit MK1 4x4 conversion

  • HTML tutorial

labtecpower

Rank I

Enthusiast I

201
below sea level
First Name
rick
Last Name
lake
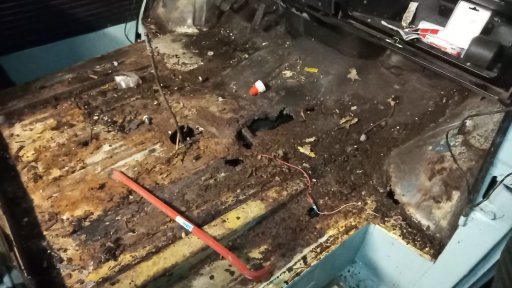
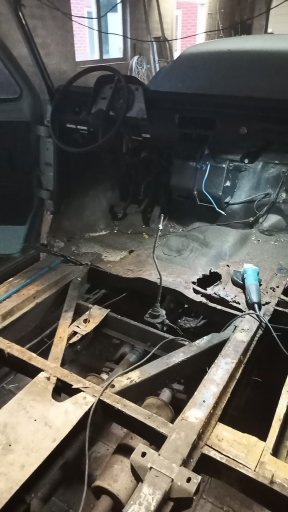
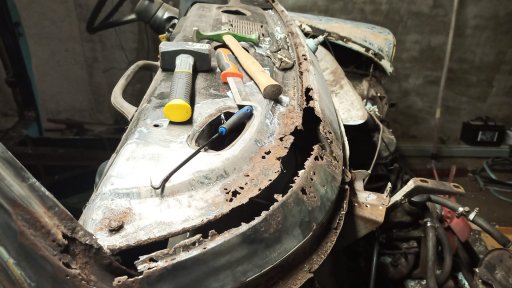
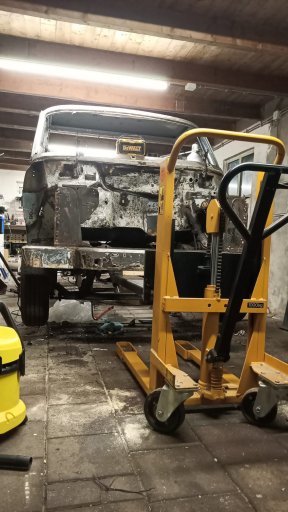
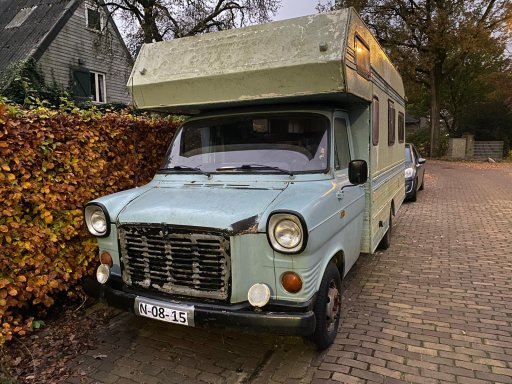
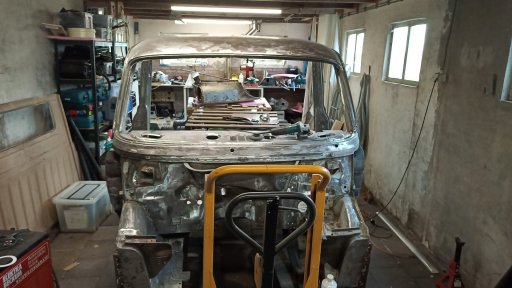
About a year ago I bough an old Ford Transit mk1 RV in pretty bad shape (turned out to be even worse than I expected) to refurbish. During disassembly I noticed it had a solid front axle, and it seemed feasible to put a front axle from a 4x4 on. I have always wanted a proper 4x4 camper van, so I went for it and got out the angle grinder. First I needed to cut out all the rust and remove the camper box, after I was finished not much was left of the car.


vloer.jpg
vloer weg.jpgdashboard.jpg

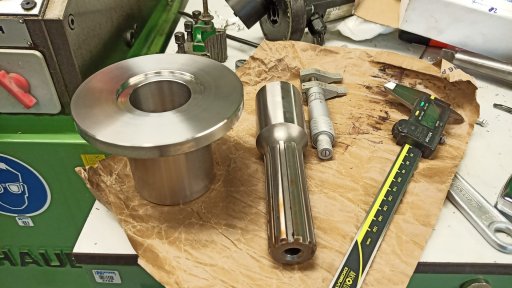
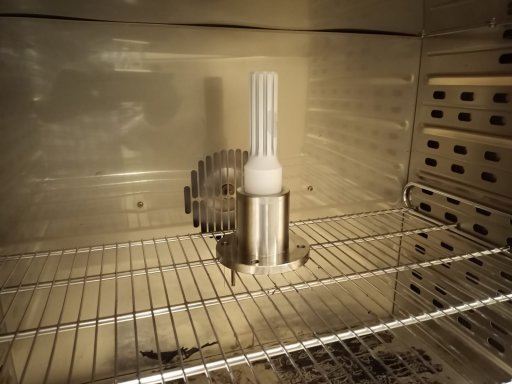
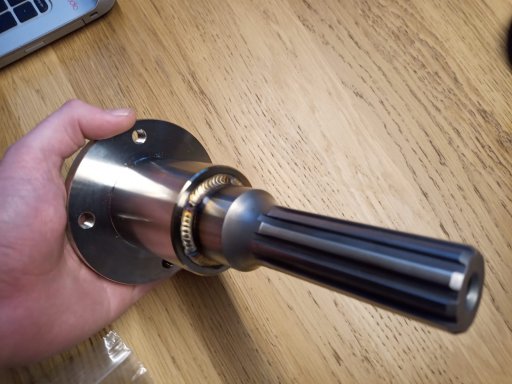
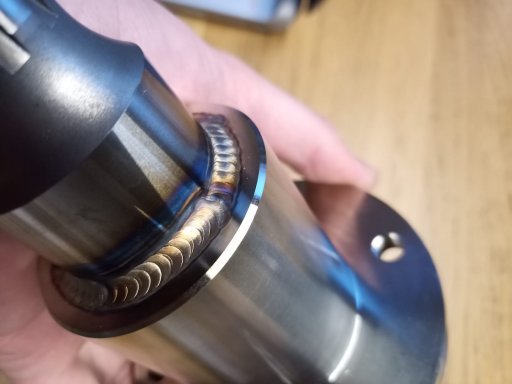
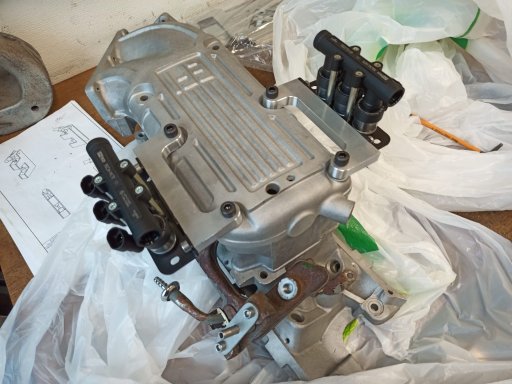
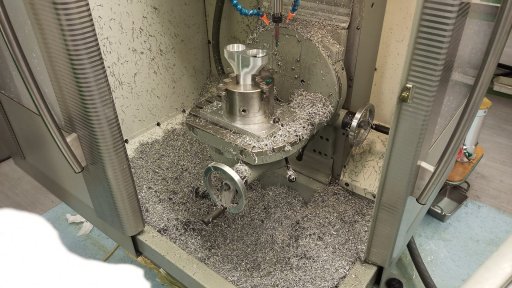
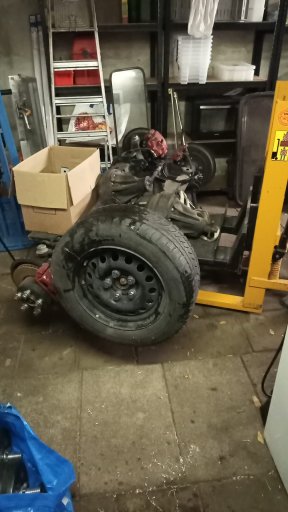
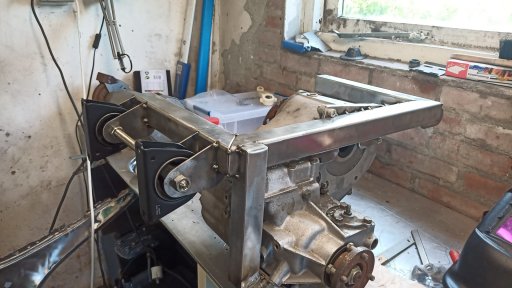
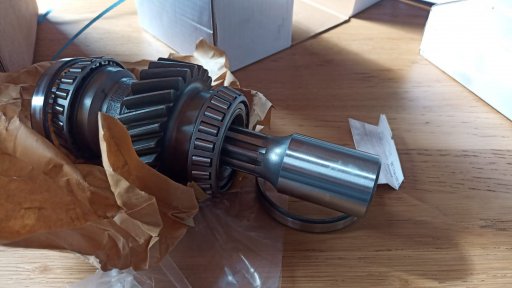
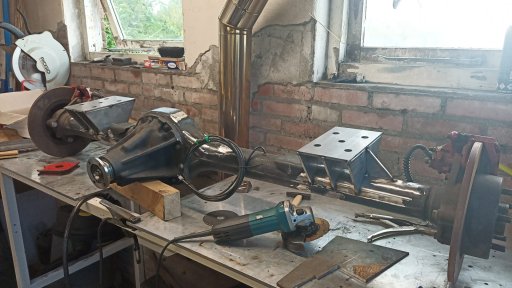
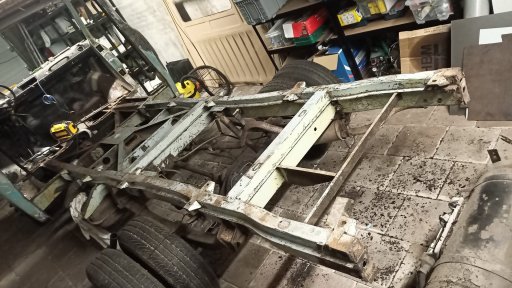
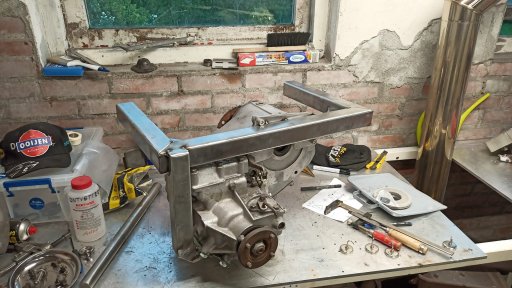
I found some second hand Land Rover Discovery 2 axles and an LT230 transfer case online, luckily without the land rover attached. To use the transfer case in the ford I will make it divorced from the original Ford gearbox, mounted in a subframe in between the chassis tubes. I am going to weld a propshaft flange to a FTC5090 ZF input shaft I purchased from Ashchroft to attach the gearbox to the transfer Case. Pay attention when you order stuff from Ashcroft, I received Britpart parts from them. Hope it will last, i may order some NOS gear from Ebay.
disco axles.jpgtransfer case mounted.jpgtransfer case subframe 2.jpgas.jpg

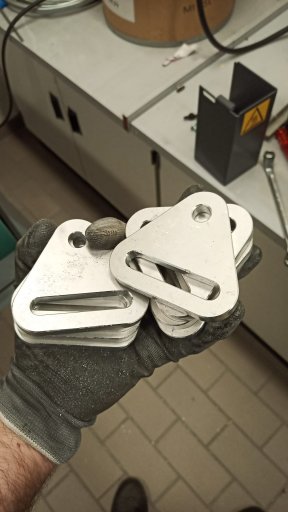
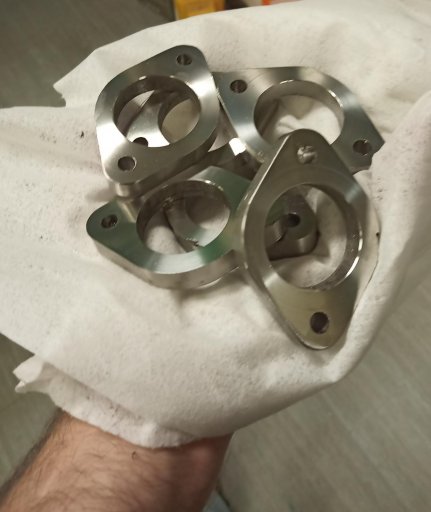
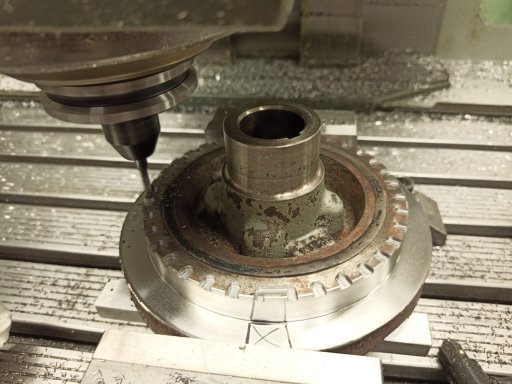
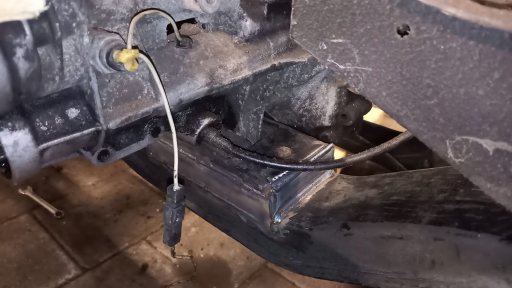
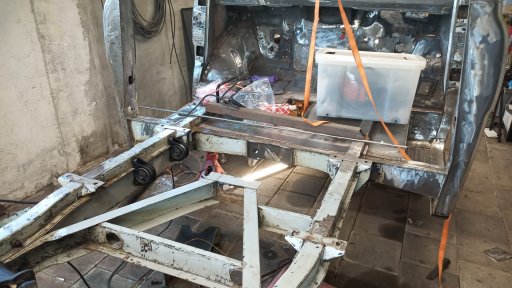
The Discovery 2 rear axle needed some mods in order to be used with leaf springs, I cut off the original mounting points and had some 6mm steel plate laser cut in the right shape.
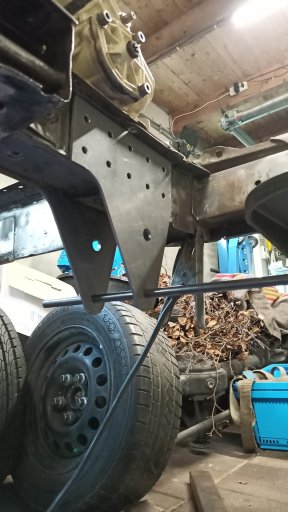
The front axle needed less modification, with some cutting and grinding I managed to weld leaf spring mounting plates to the original attachment points.front axle mounted.jpgrear axle.jpg

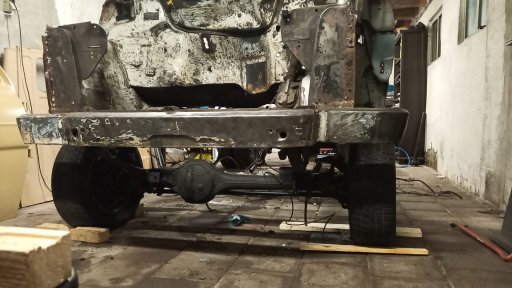
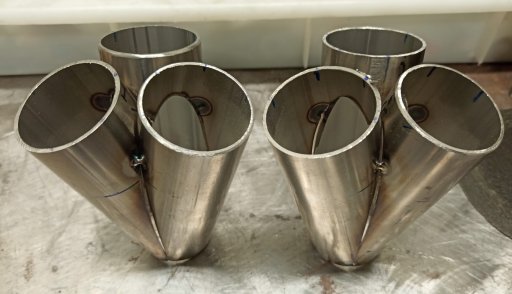
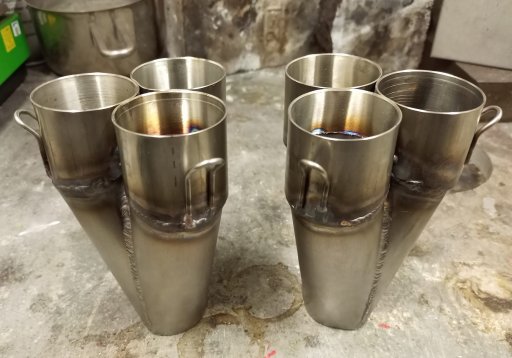
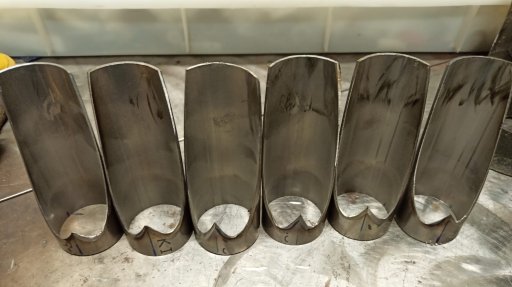
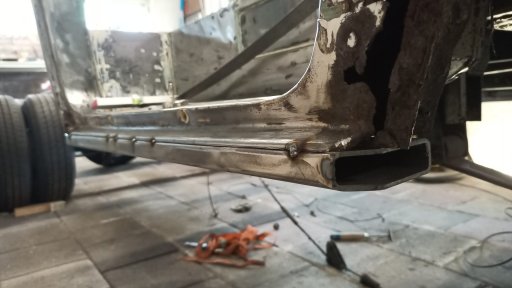
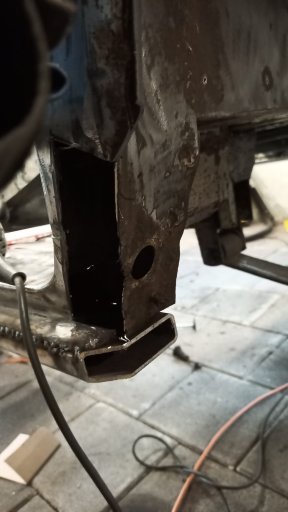
Tube sills as the original ones were completely rusted through, and I want to be able to put a high jack underneath
tube sills.jpgtube sills 2.jpg

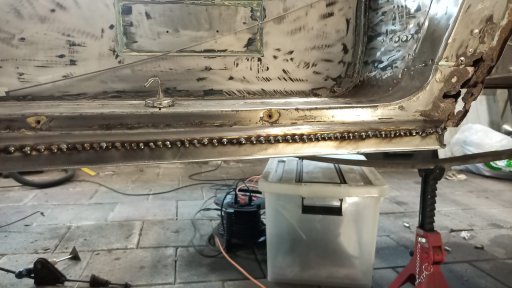
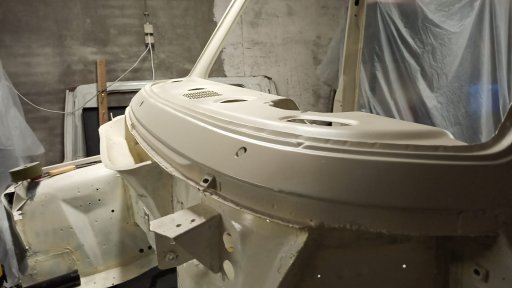
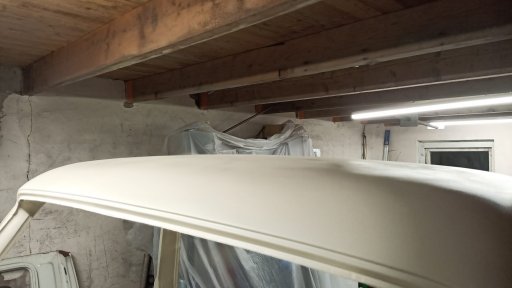
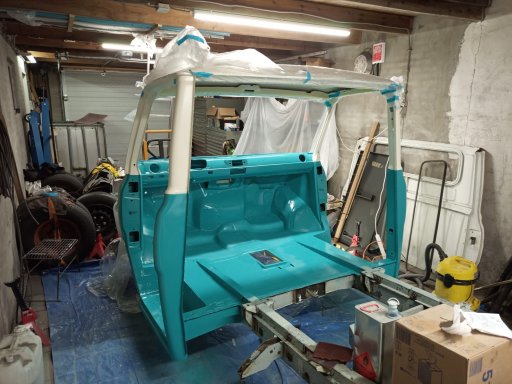
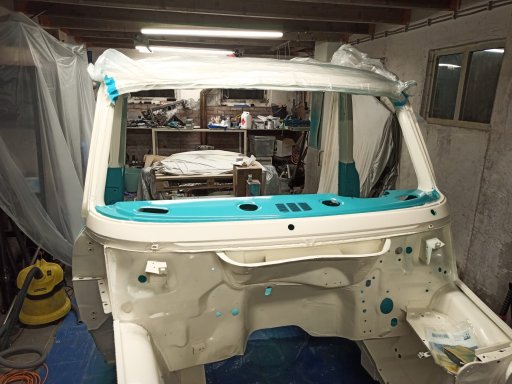
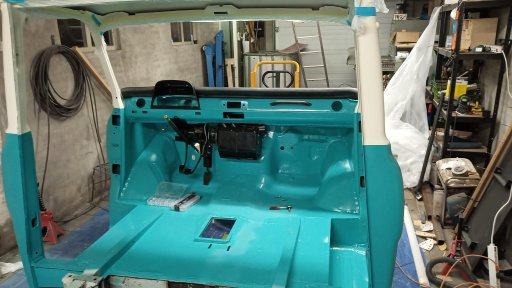
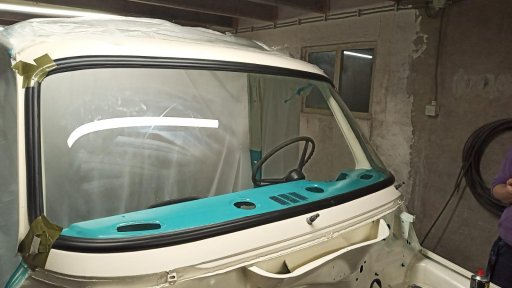
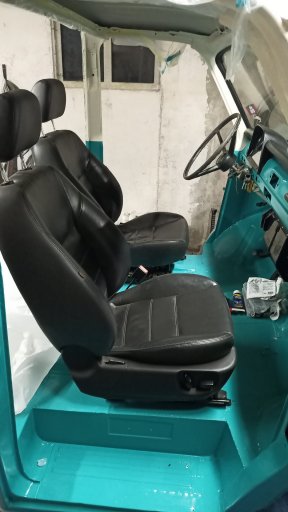
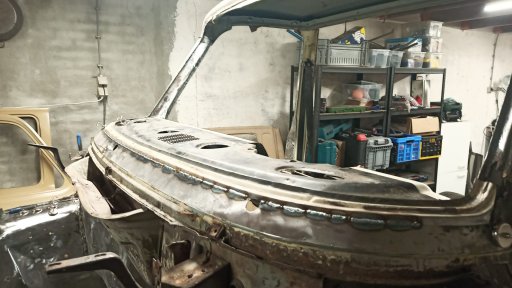
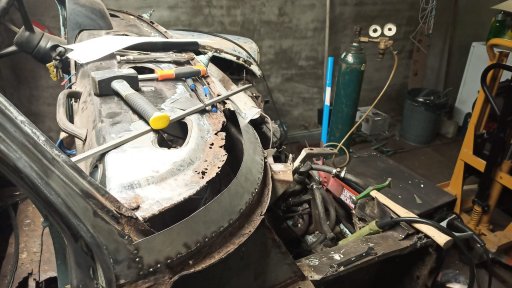
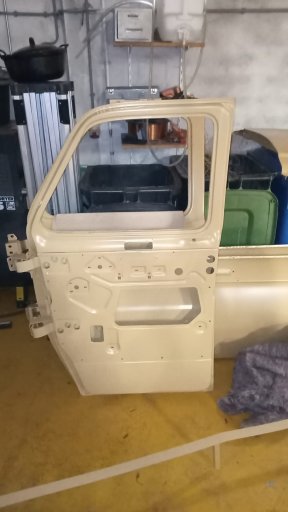
spent a lot of time cutting and welding in new pieces of sheet metal, but this week I finally came to the point of applying the first layer of primer and sealing all the welds and seams with seam sealant.

paint.jpgsealant.jpg

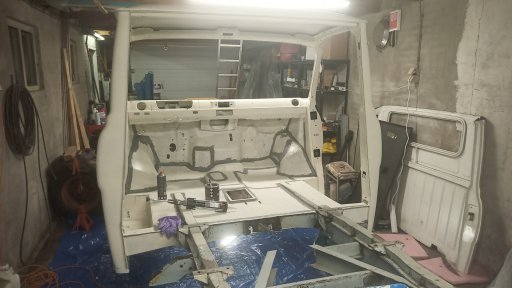
Still lots of work to be done, but the car looks a lot nicer now there's some paint on it.
 

Attachments

Last edited:

labtecpower

Rank I

Enthusiast I

201
below sea level
First Name
rick
Last Name
lake
Today's project: connection flange to hook up my original Transit propshaft to the LT230 transfer case. Turned a flange with a 0,08 mm. interference fit to connect to the FTC5090 spudshaft, dunked the spudshaft in liquid nitrogen and the flange in the oven, and put them together. After that the combination went in the oven again for pre-heating, after which I welded them together followed by another oven cycle for stress relief. Now I have everything I need to make shorten my propshafts to the correct length, and permanently install my drive train again.
shaft4.jpgshaft3.jpgshaft.jpgshaft5.jpg
 

labtecpower

Rank I

Enthusiast I

201
below sea level
First Name
rick
Last Name
lake
Today I machined some buckles for the limiting straps I am going to make to prevent my shocks from bottoming out. (threw some money at Koni heavy tracks and I don't want them to start puking out their internals). The strap itself will be made from seat belt material, good for me to have some practice on the sewing machine as I am planning to make myself a pop top in the future.
limit strap buckles.jpg

Also gave the cabin a coat of spray filler, tomorrow morning i'll sand it down and give it the first layer of the final color. Nice to see some serious progress on this car, when the final paint is on I can install the seats and all the hardware in the cab. I got my hands on some nice leather seats from a jaguar X-type (seat heating and all), only problem I need to figure out is that they need a wiring loom to function.

front.jpgroof.jpg
 

Enthusiast III

1,212
Grand Falls-Windsor, NL, Canada
First Name
Steve
Last Name
Adams
Today's project: connection flange to hook up my original Transit propshaft to the LT230 transfer case. Turned a flange with a 0,08 mm. interference fit to connect to the FTC5090 spudshaft, dunked the spudshaft in liquid nitrogen and the flange in the oven, and put them together. After that the combination went in the oven again for pre-heating, after which I welded them together followed by another oven cycle for stress relief. Now I have everything I need to make shorten my propshafts to the correct length, and permanently install my drive train again.
View attachment 243118View attachment 243117View attachment 243116View attachment 243119
WOW, You can lay dimes like nobody's business. I am so in on this build. Great work so far.
 
  • Like
Reactions: labtecpower

labtecpower

Rank I

Enthusiast I

201
below sea level
First Name
rick
Last Name
lake
Started bolting the equipment I had lying around in my garage to my car before I lose it, wouldn't be the first time. After I finish the cab I'll start working on the front panels which still need a lot of TLC. I also threw together a new dashboard with a GPS speedometer and a tachometer, still need some gauges for the fuel tank and other stuff. I found an injection manifold for my 2.9 V6, it's kind of begging me to buy a programmable ECU, which would also enable me to get rid of the TFI module and the distributor. I drive on both petrol / LPG so it needs to be switch between those two.

IMG-20221102-WA0011~2.jpegIMG-20221104-WA0010~2.jpeg
 

Marty_d3f81b

Rank III
Member

Enthusiast III

646
Medford, Jackson County, Oregon, United States
First Name
Marty
Last Name
LaDuke
Member #

30854

labtecpower

Rank I

Enthusiast I

201
below sea level
First Name
rick
Last Name
lake
Progress has slowed down a bit in the past few weeks, busy working and fixing up the house, so the car gets a second place. Luckily i found the time to do some small jobs.
Installed the windscreen (messy job), started fitting the new seats (Jaguar X-type) shich I picked up really cheaply, got them to work after hooking up a battery and bridging some sensors, they are useless without electricity as there is a button for everything. They even have some kind of compressor to inflate an air cushion for your lower back.. Not quite used to this amount of luxury. They also have seat heating which will come in handy when it's cold outside, I just need to throw together some PWM system to control the amount of heat they generate.

I also machined some 316 flanges, i'm going to make new headers from stainless tubing as I don't like the cast headers, and I have the impression that they hamper performance of the engine. I'm throwing some money at a new programmable ECU for ignition / injection, and I want everything else to be as good as possible.windscreen.jpgseats.jpgflanges.jpg
 

labtecpower

Rank I

Enthusiast I

201
below sea level
First Name
rick
Last Name
lake
Slow progress.. too cold in the shed to do any painting, fixing the house which takes a lot of time, and some other stuff keeping me distracted. Managed to sneak in some time to make a 3-into-1 collector for the new exhaust system.

IMG-20221219-WA0012.jpgIMG-20221219-WA0011.jpgIMG-20221219-WA0010.jpg

Hand ground some parts to fit, and tacked them up. Pretty ugly welds to my taste, but it will get the job done and will probably look better when I get them bead blasted. Decided to make a slip joint for every header for some stress relief, as they will deform quite a lot under the heat load. I have experience with 316l headers cracking, and I don't want that to happen again. I will hold them together with some exhaust springs.
 

Attachments

  • Love
Reactions: Sparksalot

labtecpower

Rank I

Enthusiast I

201
below sea level
First Name
rick
Last Name
lake
Long overdue update.. i've mainly been working on the engine and the chassis, the temperatures are still too low to do any painting, which would allow me to put the car back together permanently.

I've cleaned up the intake and machined some brackets for the LPG injectors. As i'm converting it to EFI i don't want to fiddle with LPG venturi's anymore.

intake.jpg

I'm also machining a trigger wheel pattern on the backside of my crankshaft pulley, nice and out of sight.

triggerwheel.jpg

I had some plates laser cut for the front leaf springs, also added another hole to mount anti wrap bars to help cope with the braking forces. I need to see if I need them in the back as well. $mm plate, so a big upgrade from the original 1,5 mm ones.

leaf hangers.jpg

Also machined an adapter piece for the ford intake, I want to use a single air hose to the airbox, and the Ford intake has two butterfly valves.
intake adapter.jpg

Got my hands on the biggest LPG tank (120L) I could find, should give me a nice range with cheap fuel, mounted nicely under my future bed. I decided to mount it in between my frame with the bottom flush with my chassis tubes, to keep as much ground clearance as possible with minimal risk of damage. I wouldn't like 100 liters of liquid propane pissing over my hot exhaust hehe

lpg.jpg

Still had some outrageous fuel pump (bosch 044) lying around, which will be the pump i'm going to put on my car. It's way overkill, but whatever. I printed some rubber dampeners to help reduce the noise a bit.

bosch 044.jpg

Expect more updates when the weather gets warmer and nicer!