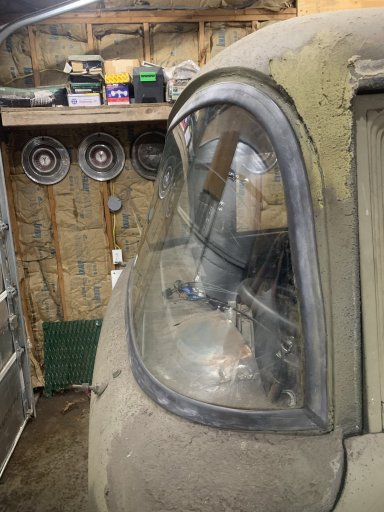
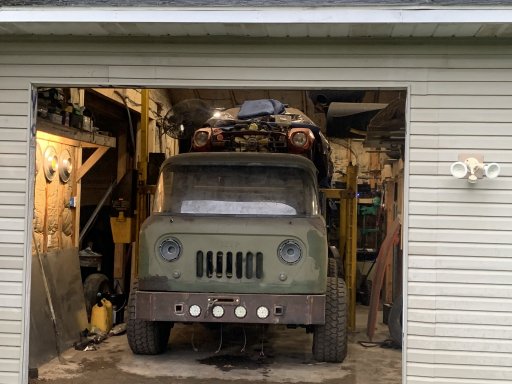
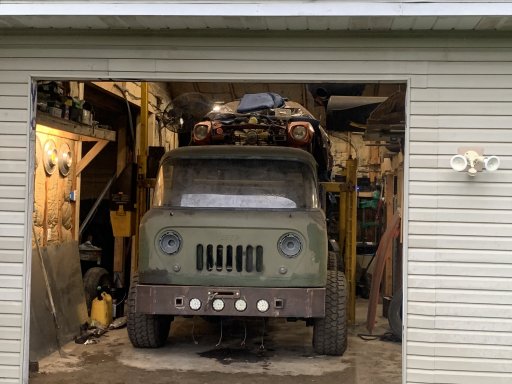
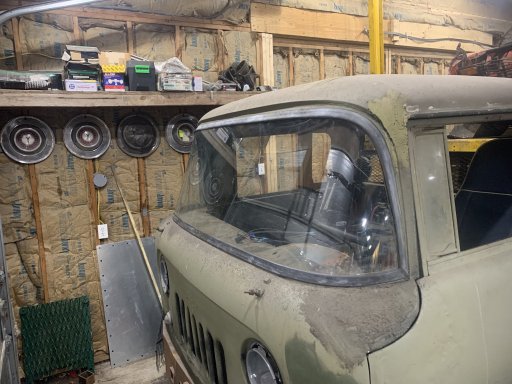
1958 FC-170
- Thread starter 58-fc170
- Start date
-
Guest, UPDATE We went through the site migration runbook and completed all steps. We will need to complete the migration next week, but will leave the forums up for the weekend. A few days after maintenance, a major upgrade revision to the forum site will occur.
Outrageous! Just watched the build, with your mechanical aptitude and ingenuity you should be working for NASA or at least have your own TV show. Looking at your pix was like reading a good book couldn’t wait for the next page. Cant wait to see it completed.
Setting up the battery isolator and dump bed solenoid. (no mike the LS isn't going in the FC-170)

Also working on the harness and since the project wasn't hard enough I went with the all black wiring harness.
Heat, a/c, lots of extra lights (relays), radio, dual batteries and winches and the list goes on all requiring many many feet of wire.


Also working on the harness and since the project wasn't hard enough I went with the all black wiring harness.
Heat, a/c, lots of extra lights (relays), radio, dual batteries and winches and the list goes on all requiring many many feet of wire.


Off-Road Ranger I
The wiring has begun! Big job, but kinda cool to get to decide what you run & where.
Do I see the word "boost" written on the list attached to that LS?
Do I see the word "boost" written on the list attached to that LS?
Ronnie B 7070
Rank II

Enthusiast II
Just amazing have owned a couple of them used on our farm. No where near as nice as this build. Would have cut off an arm for a dump bed. :) Really loved the dash and your fab work is excellent. Love that front bumper!! This is a serious build it took me 3 years to restore my CJ7 well six months down from back surgery but nothing but a thing. Looking forward to the next post. Again amazing build :)
Well call me nuts but parallel 4 link front and rear with air bags sounded like a good idea to add to the FC build up.
It has to ride better than the 9 leaf front and 11 leaf rear packs .
2'' square tubing with 0.25 wall 36" long should hold up to about anything.
Grease able poly bushings as I am looking for a better ride not a super twisty rock crawler.
![IMG_8040[1].JPG](/forums/data/attachments/188/188937-e131310c798acccdf3ddc375cb9bf7b2.jpg)
This is a cool project! One of these would be awesome with a camper on the back or the Aussie style tray-back and canopy with RTT up top!

Member III
Did you add in some bump stops in case you have a leak? Did you make the trailing arms the same length for a reason or is that just how they worked out?
Nice project. I love seeing things like this.
Nice project. I love seeing things like this.
It is set up to drive with zero air if it has to. The firestone and slam air bags have the bump stops built into the insides.
The same length arms are for maintaining pinion angle as the suspension cycles. It isn’t planned to be a rock crawler just comfortable on dirt roads and mild two tracks. Build goal is smooth, quiet, and reliable .
The same length arms are for maintaining pinion angle as the suspension cycles. It isn’t planned to be a rock crawler just comfortable on dirt roads and mild two tracks. Build goal is smooth, quiet, and reliable .
Last edited:

Member III
I wasn't aware that was an option. I have a set of Firestone bags on one of my projects and they dont have built in bumps. If I build something else with bags, that's something I'm going to look for.The firestone and slam air bags have the bump stops built into the insides.
That was the reason for the question. I've normally ended up with the upper being a bit shorter to ensure the pinion was angled correctly. A project like this I wouldn't worry over instant center, just pinion angle.The same length arms are for maintaining pinion angle asa the suspension cycles.
Great job.
Attachments
-
451.8 KB Views: 4
-
520.1 KB Views: 4
Last edited:


