I guess I should start a thread before I get too far down the rabbit hole...
It all started with trading in our 03 Jeep Wrangler, lifted and very capable, for something more family friendly, a 4Runner.

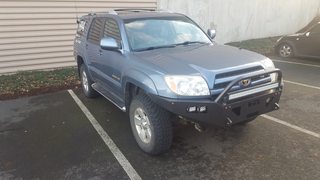
we bought it with about 123K miles on it and it has been running strong.
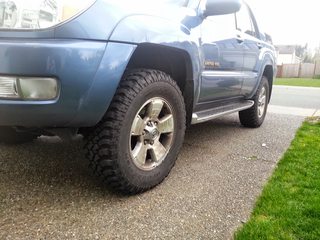
First on the list of modifications was a more agressive set of tires. Through Search and Rescue I came across a set of JK tires that had a bit more than half tread left and snagged them for 100 bucks. I had them mounted and put them on the rig, what a difference a bit of tire can make...
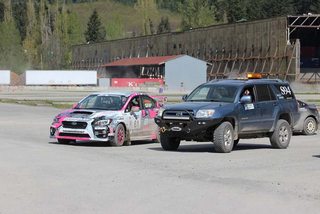
Next came a light bar tucked in the front bumper and some other jiblets for rally sweep. For those that are interested in what exactly Rally Sweep does, below are a few photos of recoveries of rally cars. One of the recoveries involved almost our entire crew and took 3 winches to get it up the hill. This was a rental WRC car and cost 50k per race, it came with it's own crew and spare parts...

This is what the car looked like after it was recovered...


Other times we just guide cars where to go or pull them out of a ditch and get them back in action...

Here is the real fun...
As I did more with the 4Runner, the more i found the little things that needed to be "enhanced." This also led the 4Runner to being a better family exploration vehicle. The master plan started to take more shape and the build was starting off on a shoe string budget. I picked up a spacer lift for the front and cranked up the factory rear air suspension to get a bit more out of the back end.
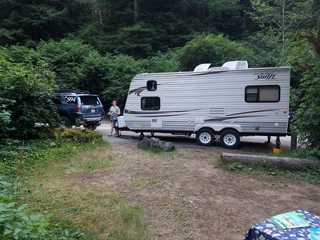
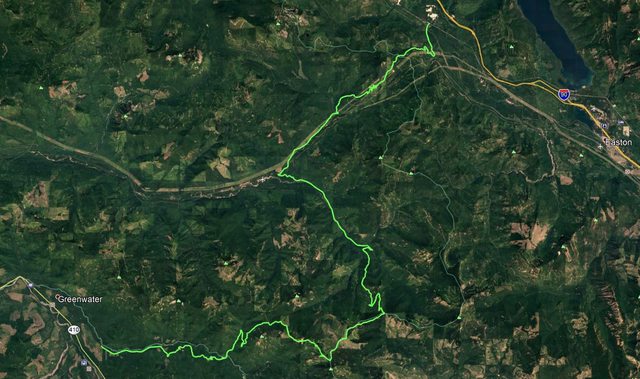
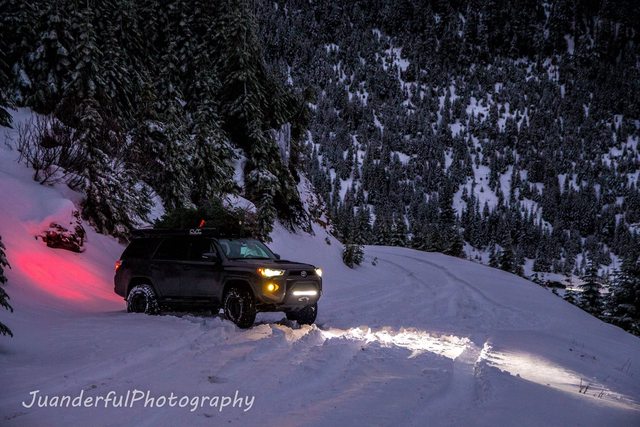
We were able to get out a bit more with the whole family and really use the rig to it's current potential.

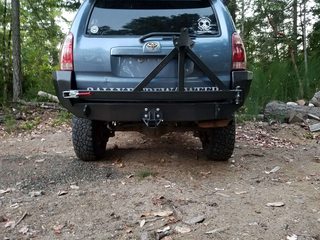
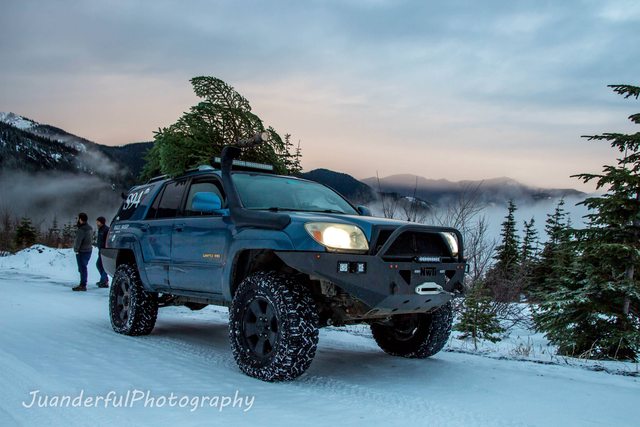
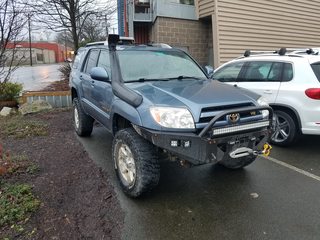
When our third kiddo came along the 4Runner kept it's ability to transport the family and keep exploring, but it now needed some more beef to be able to hold a winch and some more sturdy recovery points as we were now more adventurous than before... Enter the NW Trail Innovations DIY front bumper kit... more build on the shoe string budget.


After watching a few friends shred their tires on the sharp rocks of the trails, we opted to look at a better set of tires and I picked up a set of 285/75/17 KM2s that were at 50% or less... I also had by this time committed to a set of Old Man Emu 886 coils for the front and Toytec HD superflex rear coils. The factory XREAS shocks bit the dust and were replaced by Bilstein shocks on all 4 corners. I even got to add some nice Upper Control Arms from Camburg Racing.

To make the tires a bit more grippy I picked up a tire groover on Amazon and got to work.


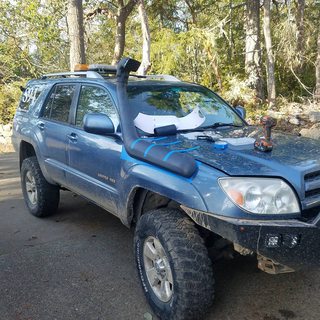
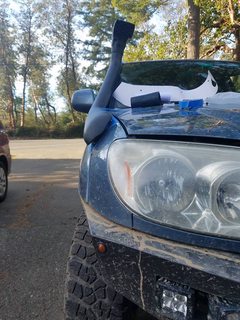
Due to all of the dust from several rallies, i decided to add a snorkel...

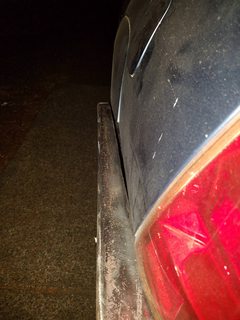
The first hole is the hardest...
It all started with trading in our 03 Jeep Wrangler, lifted and very capable, for something more family friendly, a 4Runner.
we bought it with about 123K miles on it and it has been running strong.
First on the list of modifications was a more agressive set of tires. Through Search and Rescue I came across a set of JK tires that had a bit more than half tread left and snagged them for 100 bucks. I had them mounted and put them on the rig, what a difference a bit of tire can make...
Next came a light bar tucked in the front bumper and some other jiblets for rally sweep. For those that are interested in what exactly Rally Sweep does, below are a few photos of recoveries of rally cars. One of the recoveries involved almost our entire crew and took 3 winches to get it up the hill. This was a rental WRC car and cost 50k per race, it came with it's own crew and spare parts...
This is what the car looked like after it was recovered...
Other times we just guide cars where to go or pull them out of a ditch and get them back in action...
Here is the real fun...
As I did more with the 4Runner, the more i found the little things that needed to be "enhanced." This also led the 4Runner to being a better family exploration vehicle. The master plan started to take more shape and the build was starting off on a shoe string budget. I picked up a spacer lift for the front and cranked up the factory rear air suspension to get a bit more out of the back end.
We were able to get out a bit more with the whole family and really use the rig to it's current potential.
When our third kiddo came along the 4Runner kept it's ability to transport the family and keep exploring, but it now needed some more beef to be able to hold a winch and some more sturdy recovery points as we were now more adventurous than before... Enter the NW Trail Innovations DIY front bumper kit... more build on the shoe string budget.
After watching a few friends shred their tires on the sharp rocks of the trails, we opted to look at a better set of tires and I picked up a set of 285/75/17 KM2s that were at 50% or less... I also had by this time committed to a set of Old Man Emu 886 coils for the front and Toytec HD superflex rear coils. The factory XREAS shocks bit the dust and were replaced by Bilstein shocks on all 4 corners. I even got to add some nice Upper Control Arms from Camburg Racing.
To make the tires a bit more grippy I picked up a tire groover on Amazon and got to work.
Due to all of the dust from several rallies, i decided to add a snorkel...
The first hole is the hardest...