There is likely not a single thing I plan on doing to my vehicle build that you can't find in multiple UToob videos, but I'll lump my concurrent camper build in with it too. Hoping y'all can help me with answers to my questions too.
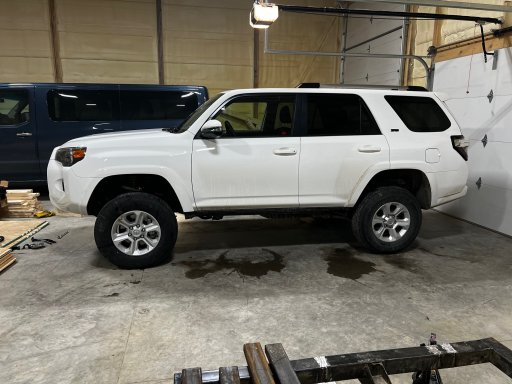
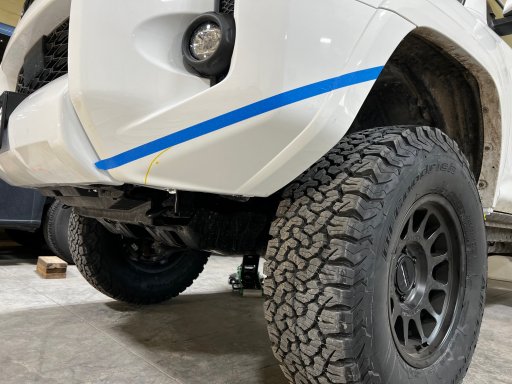
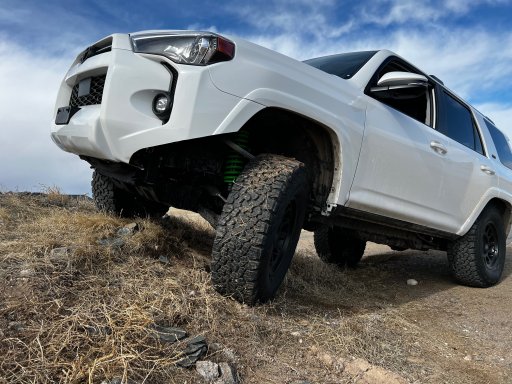
***Insert stock picture of a white Fer'ner here.***
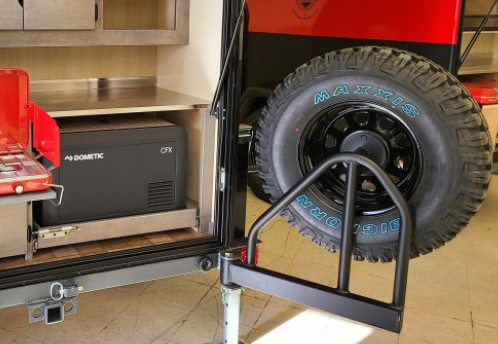
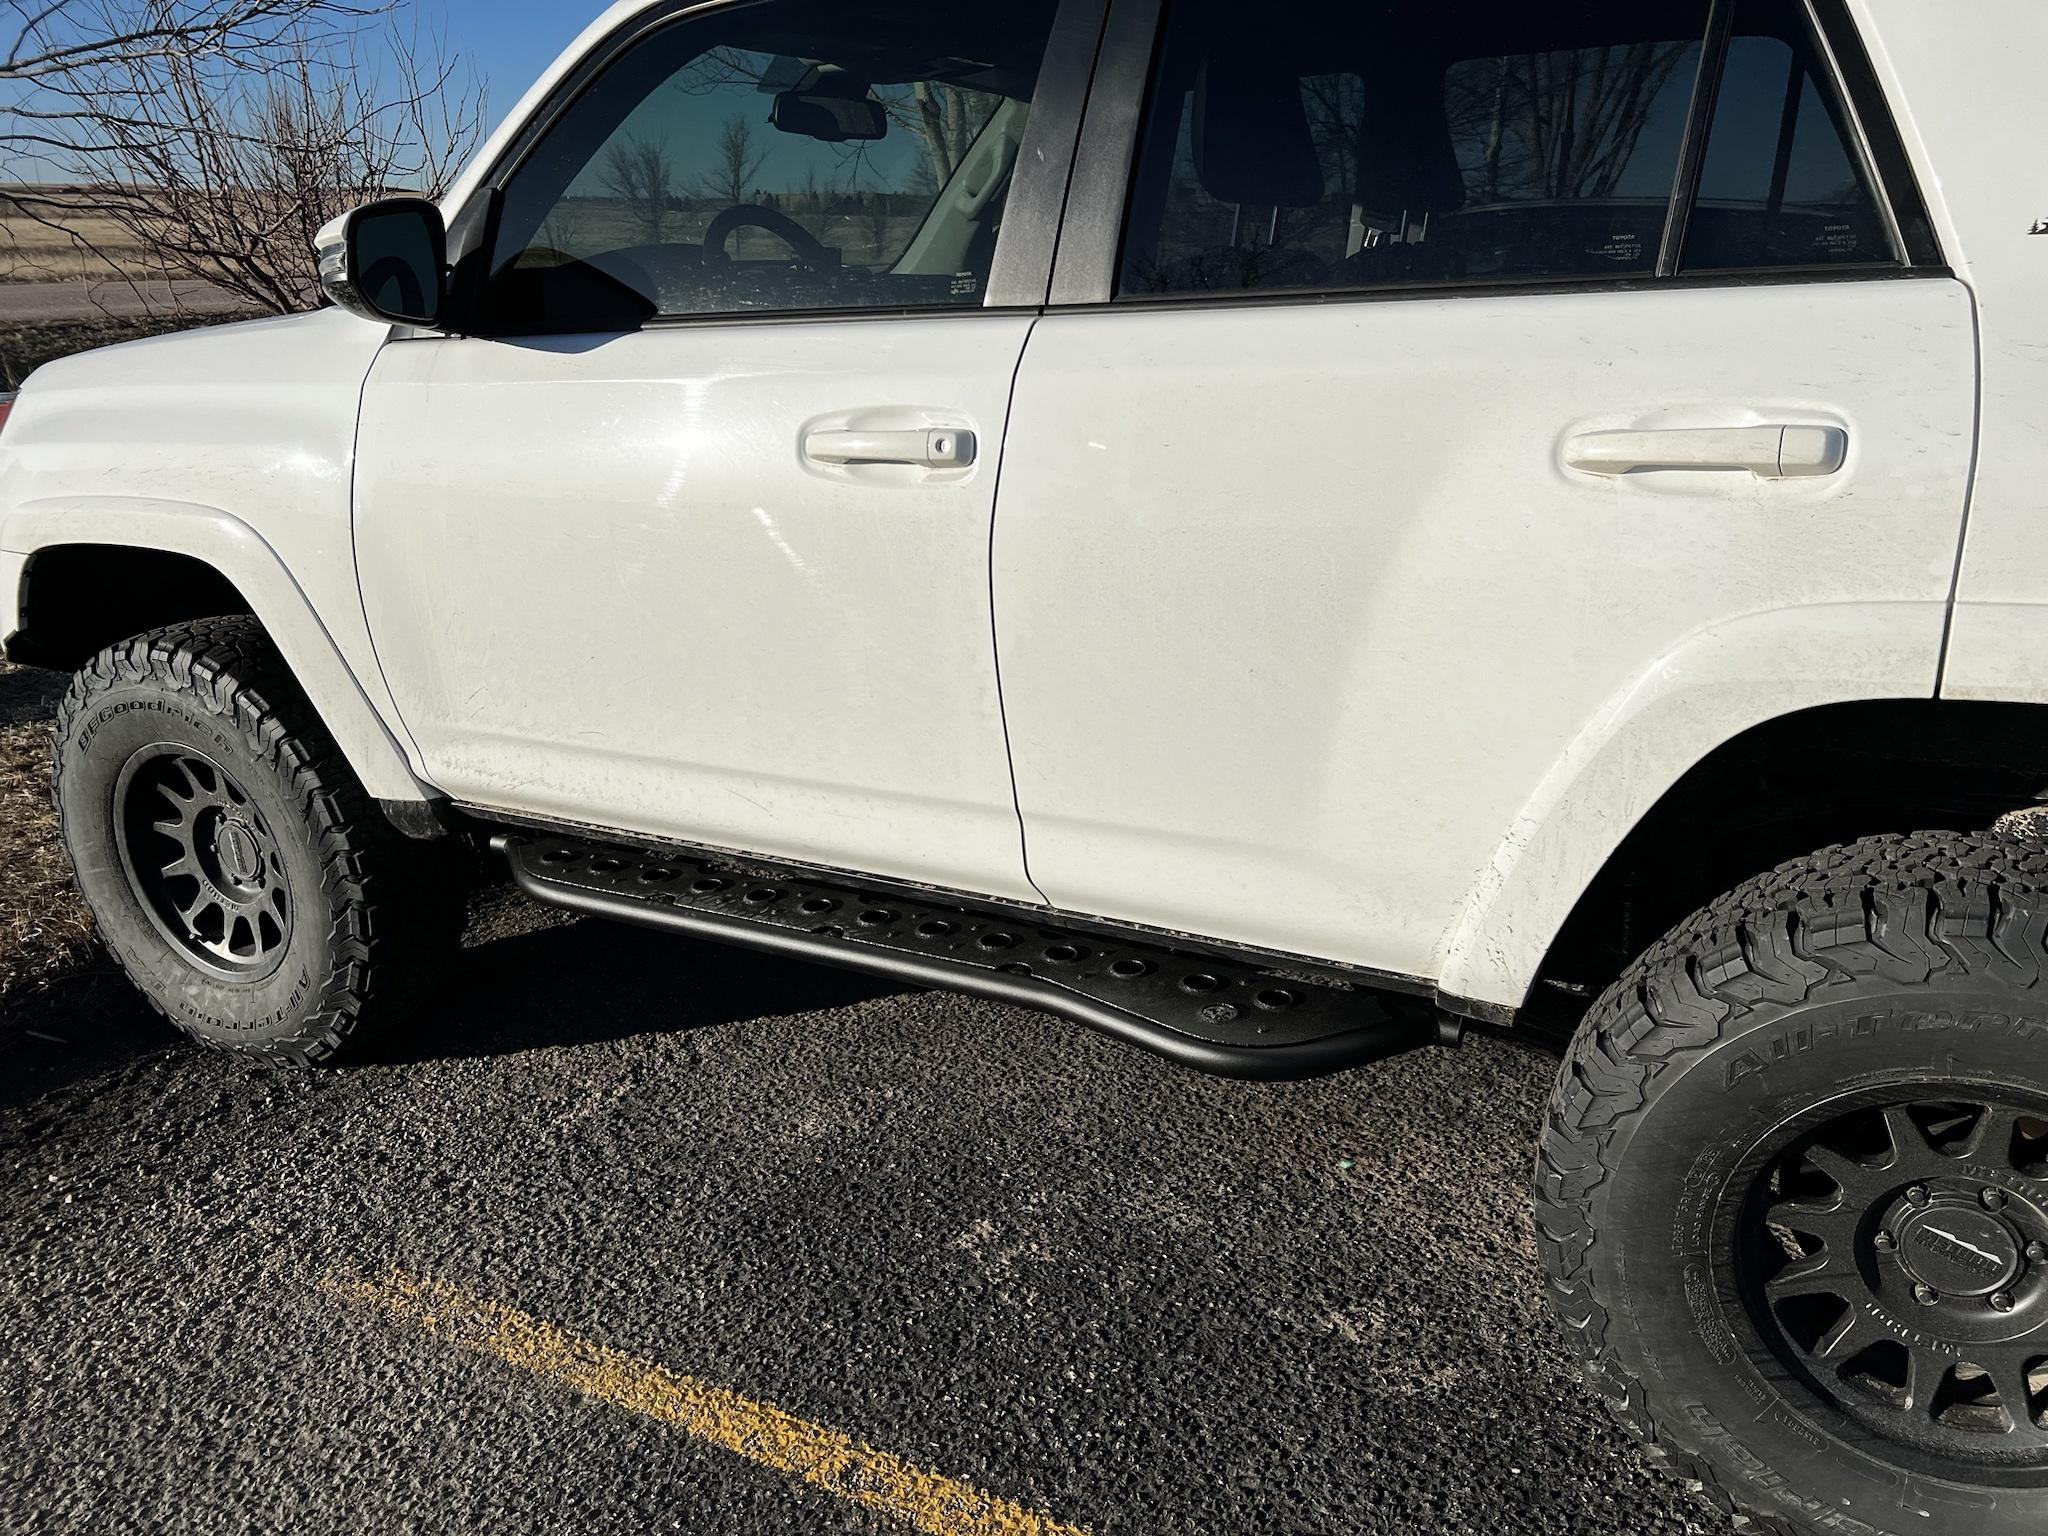
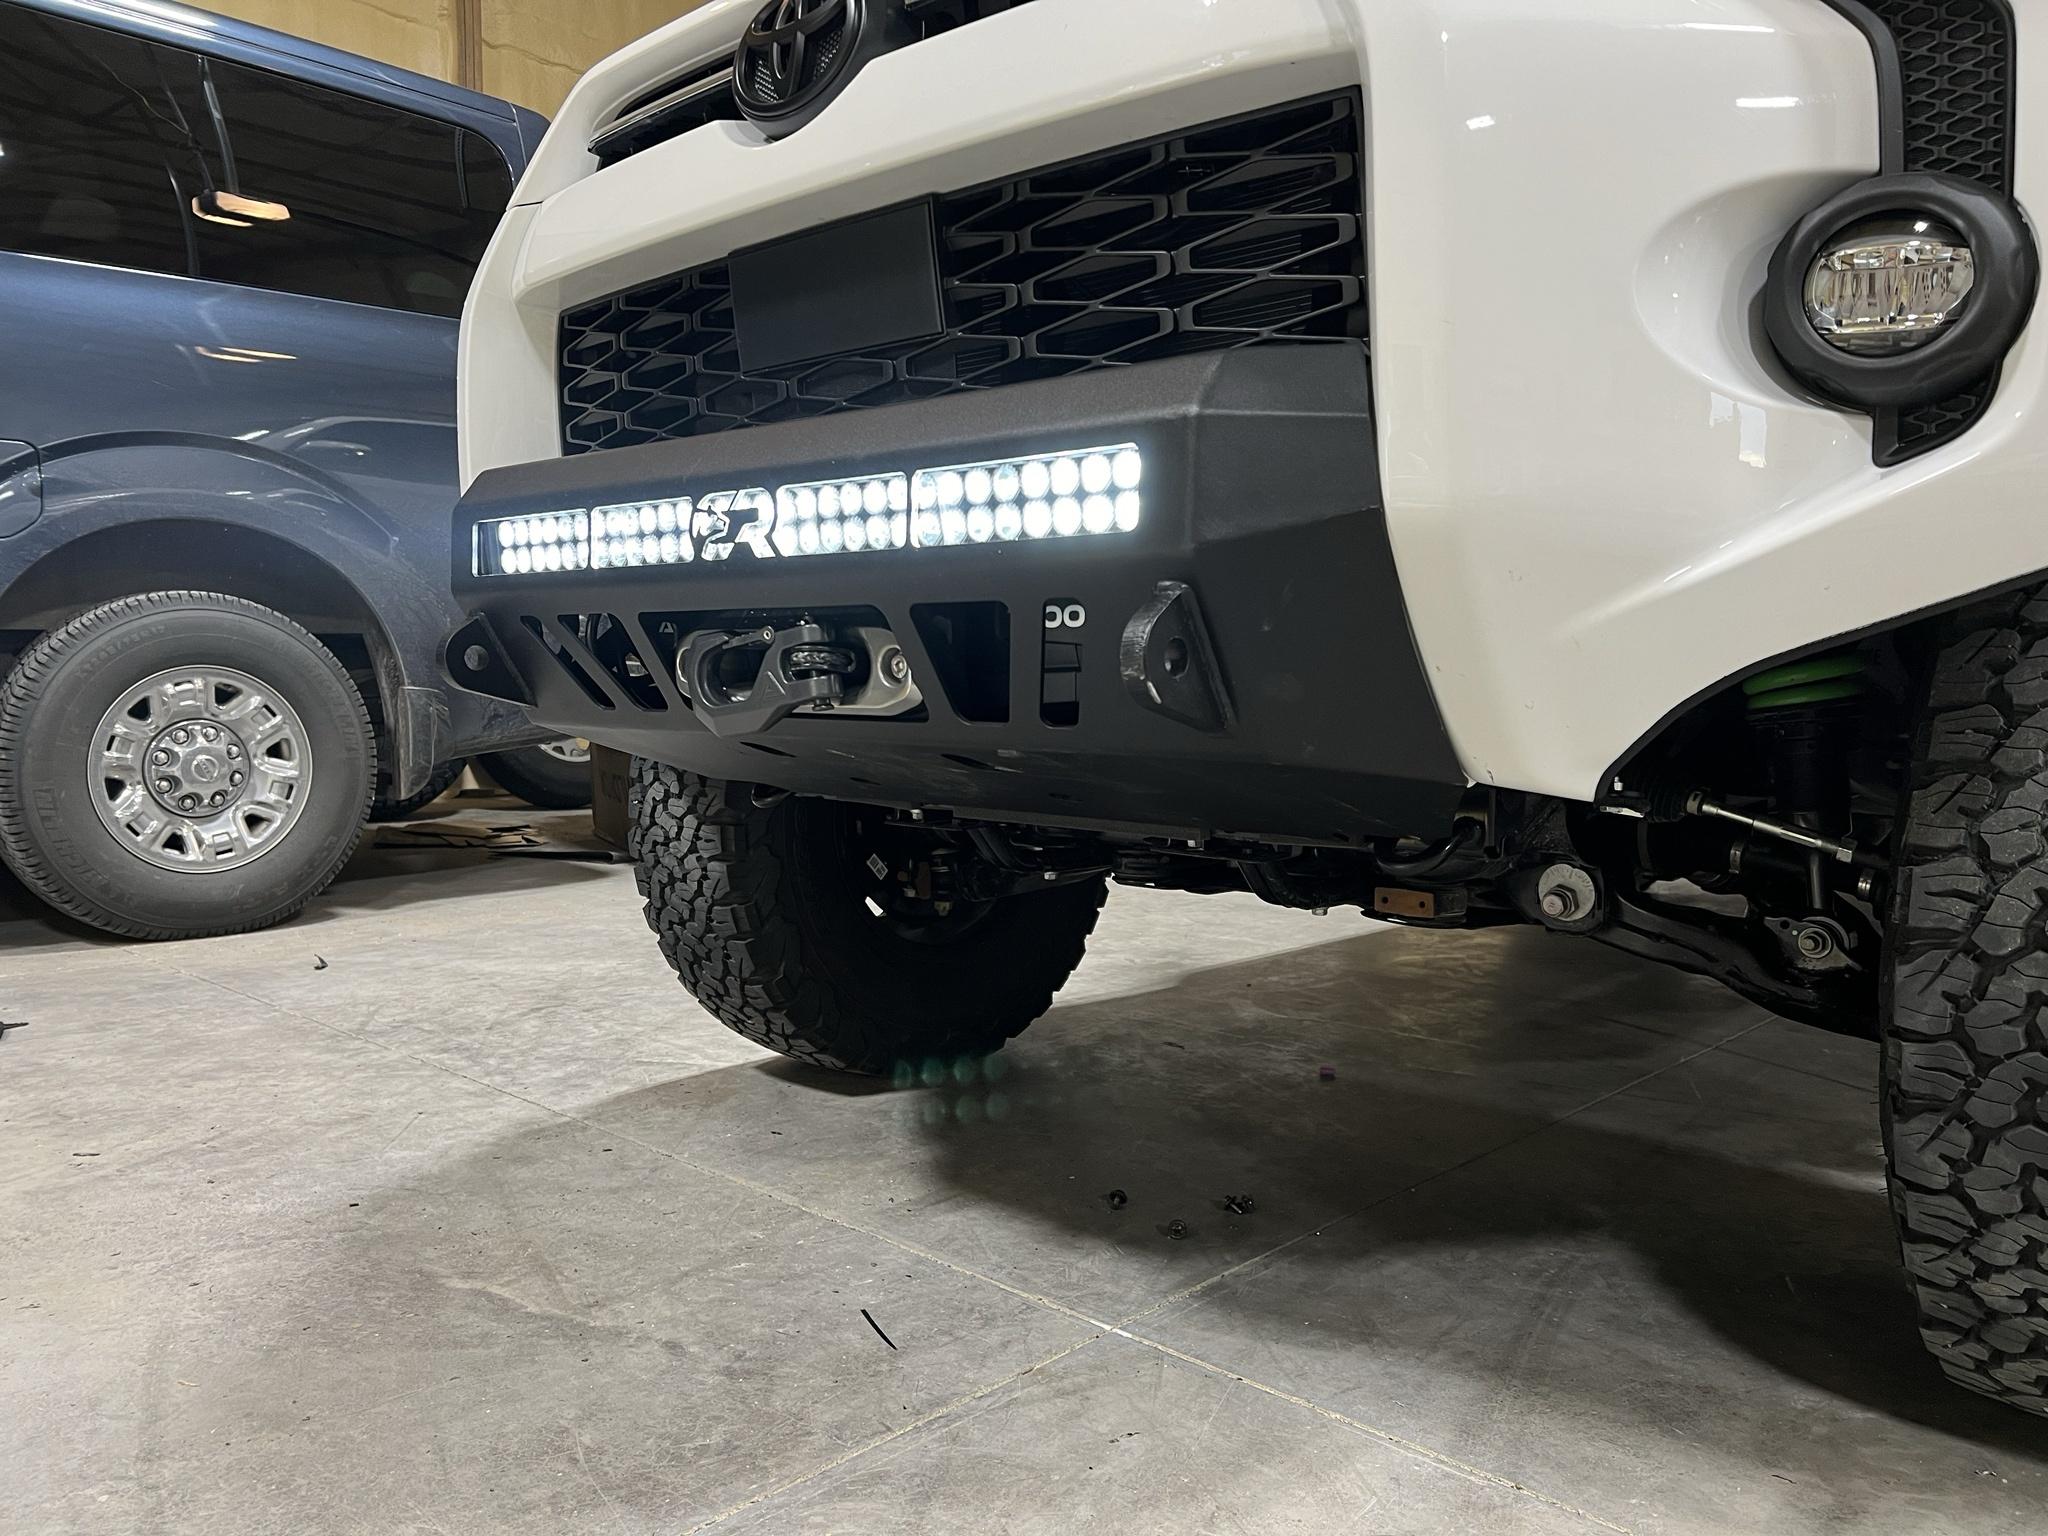
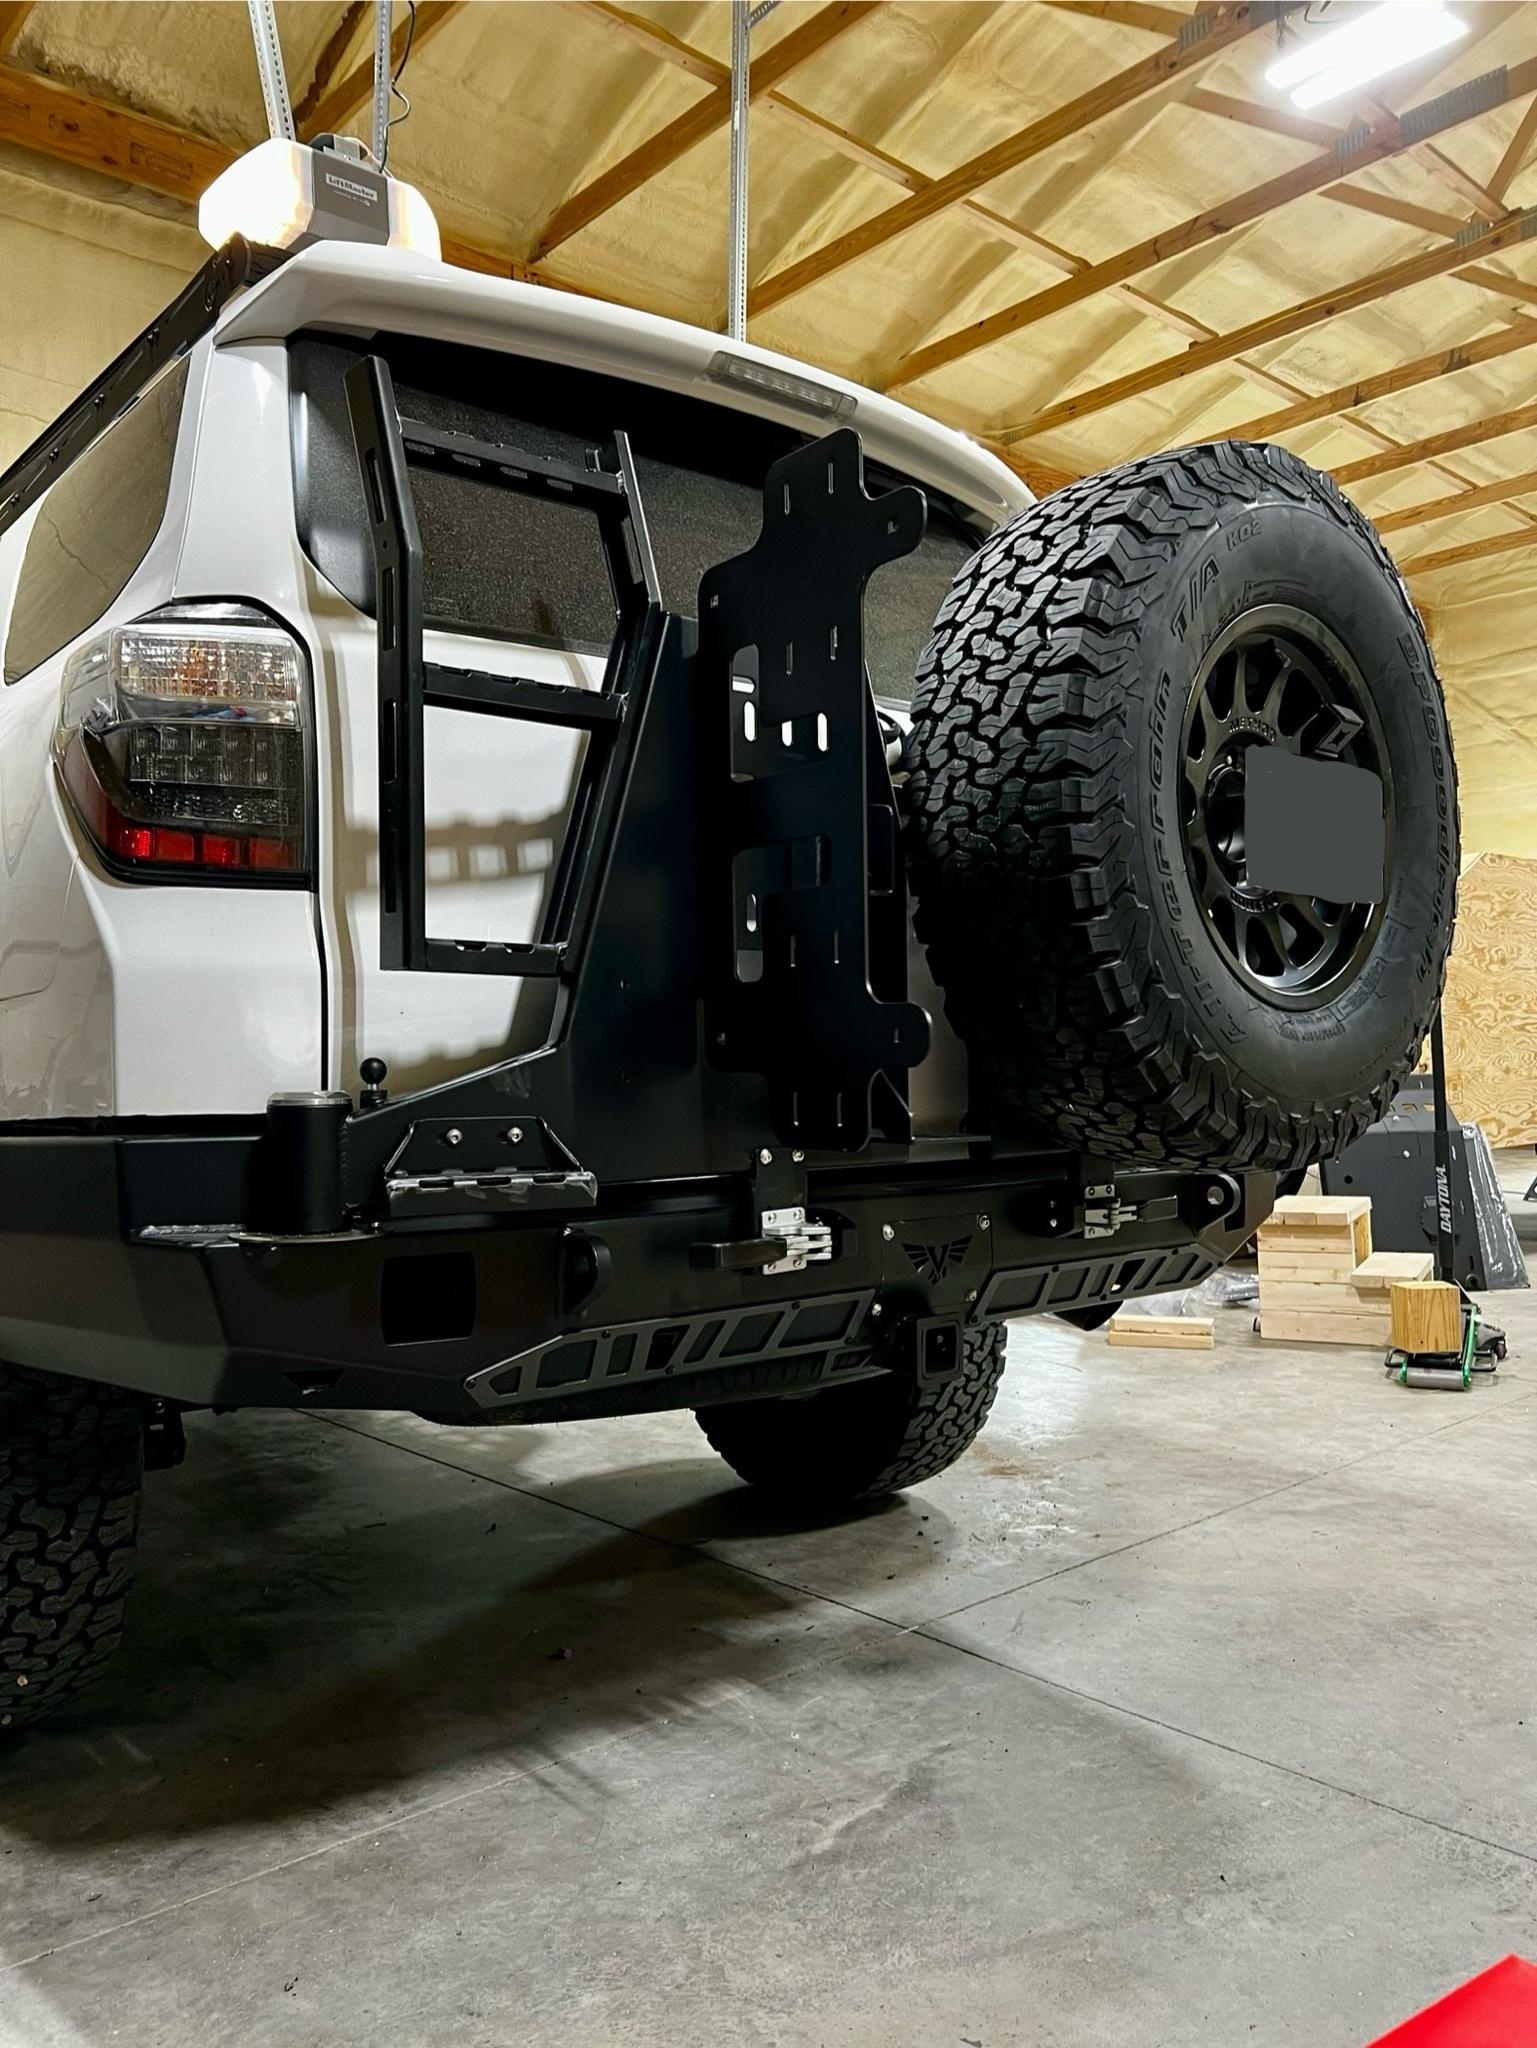
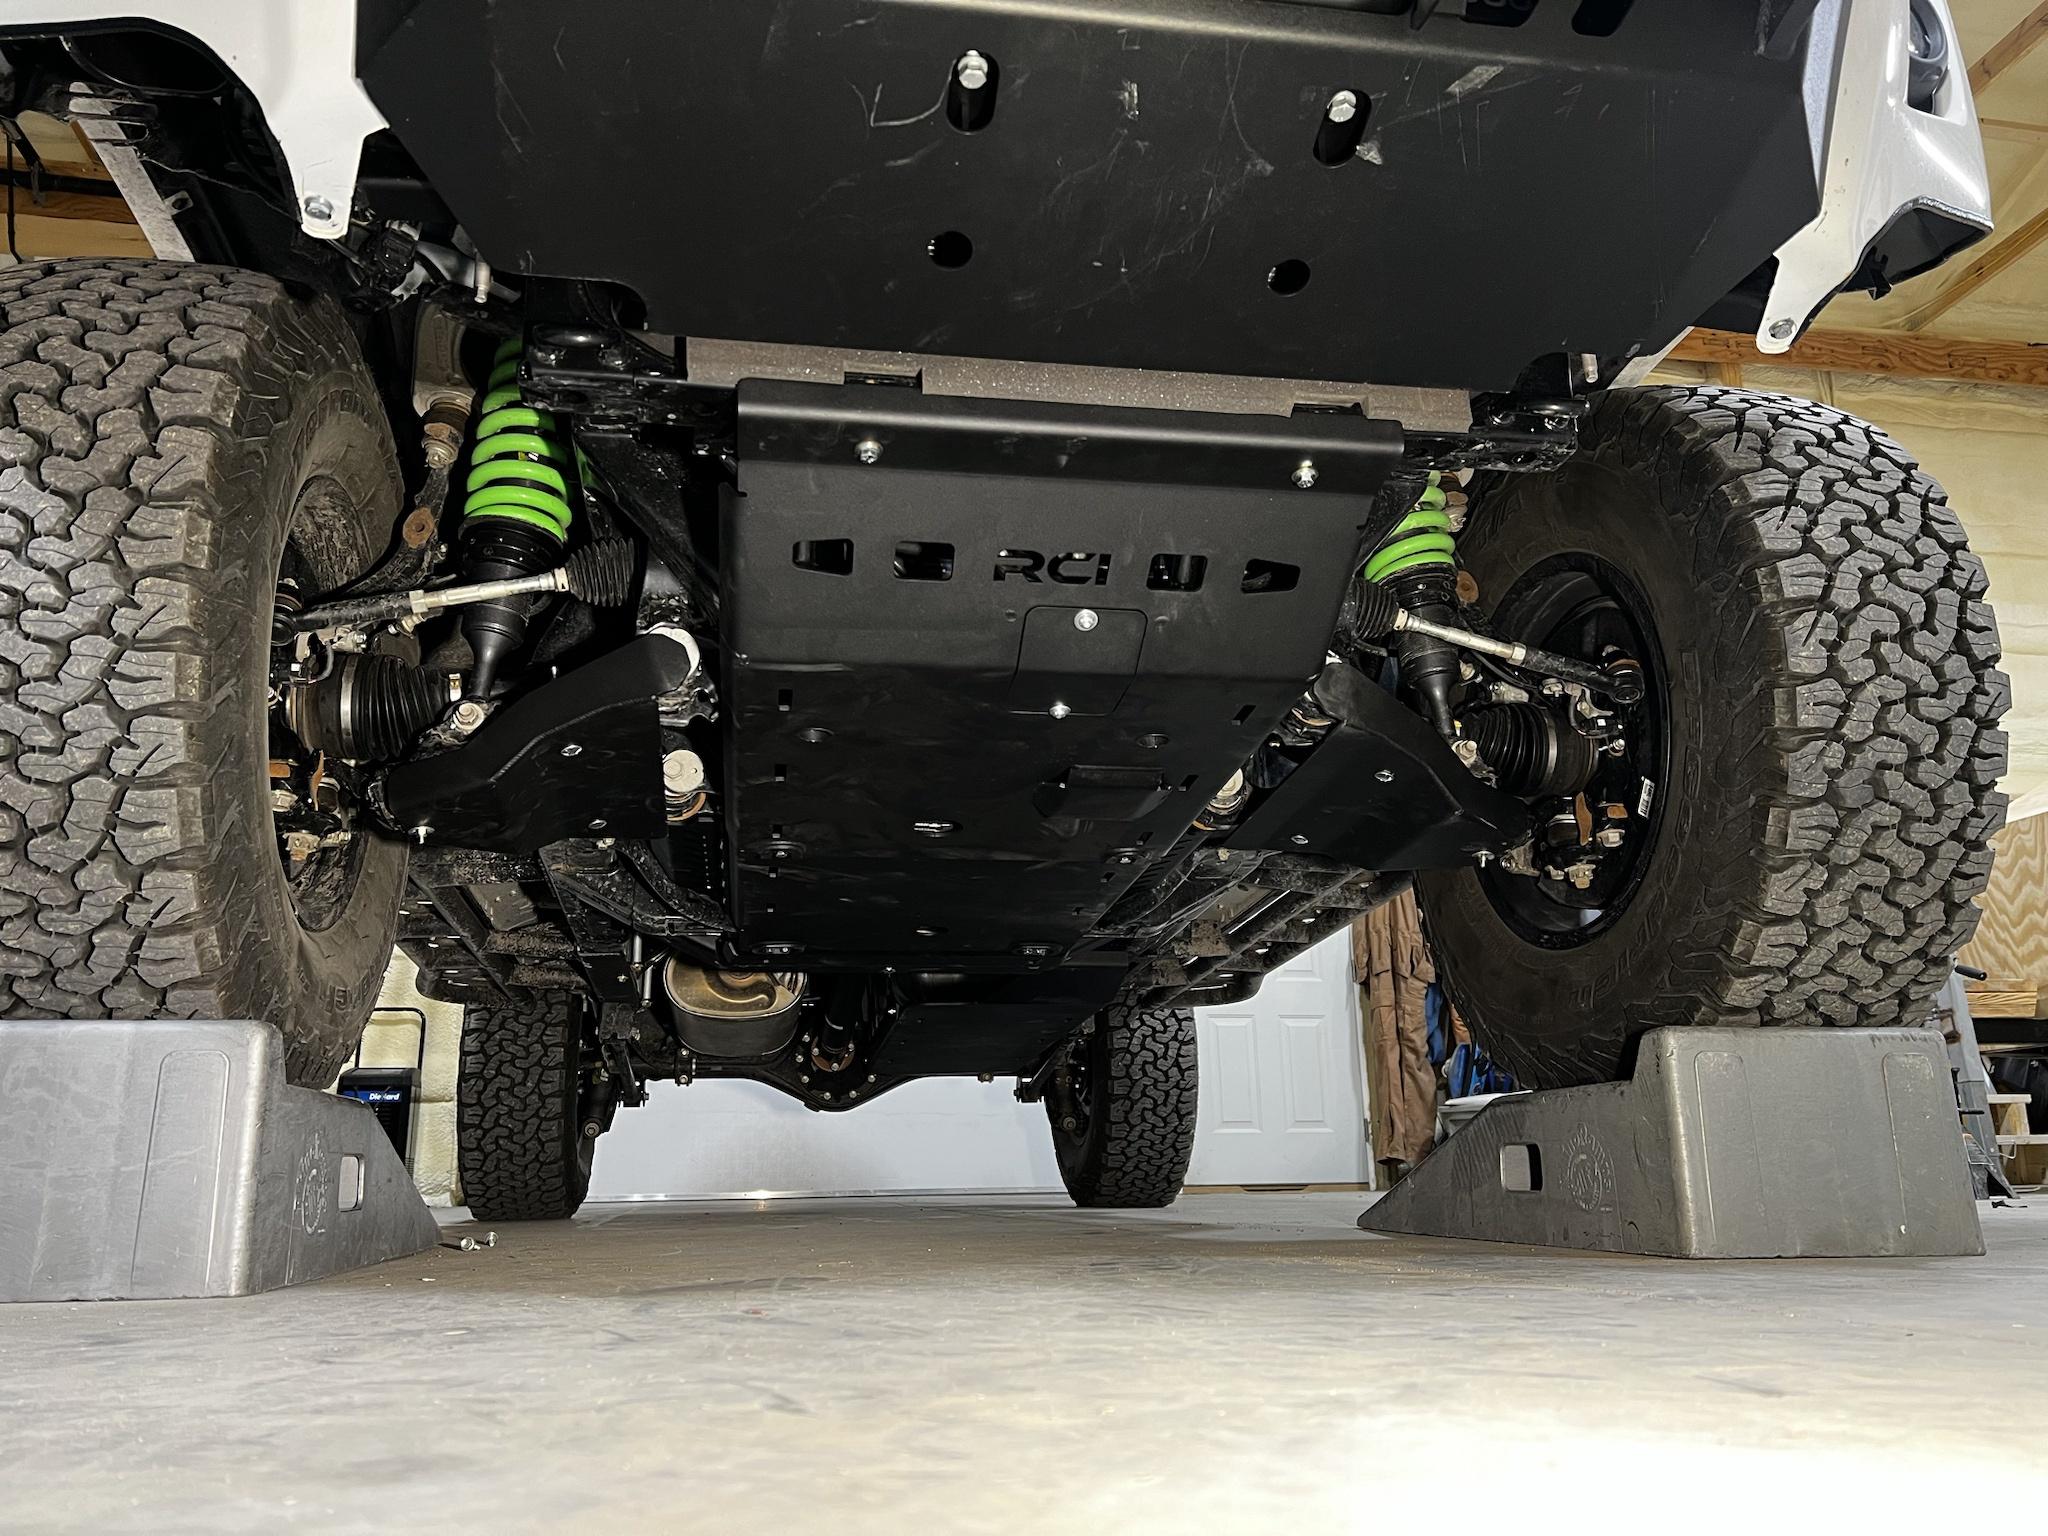
It will be the "white with flat black accents" version... Parts are just now starting to arrive but eventually, it will have a 3" lift and 33" tires on Method Bead Grip wheels. I'm hoping I can leave the spare underneath, but just in case, are there any recommendations for rear tire-carrying bumpers that play nice with trailers?
And the old camper build...
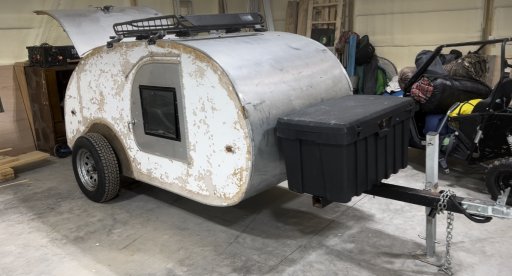
This is not the expedition camper but is my first attempt at building my own camper. Let's just say there was a lot learned. And it did not survive 6+ years of WY winters outside.
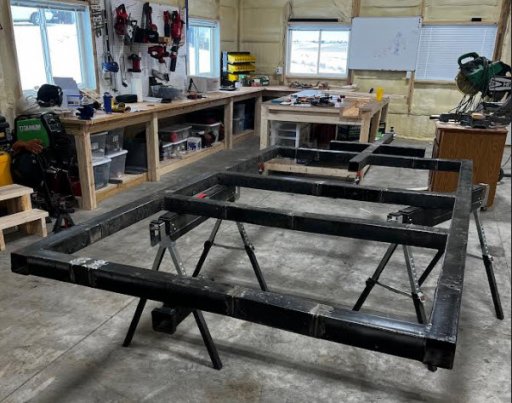
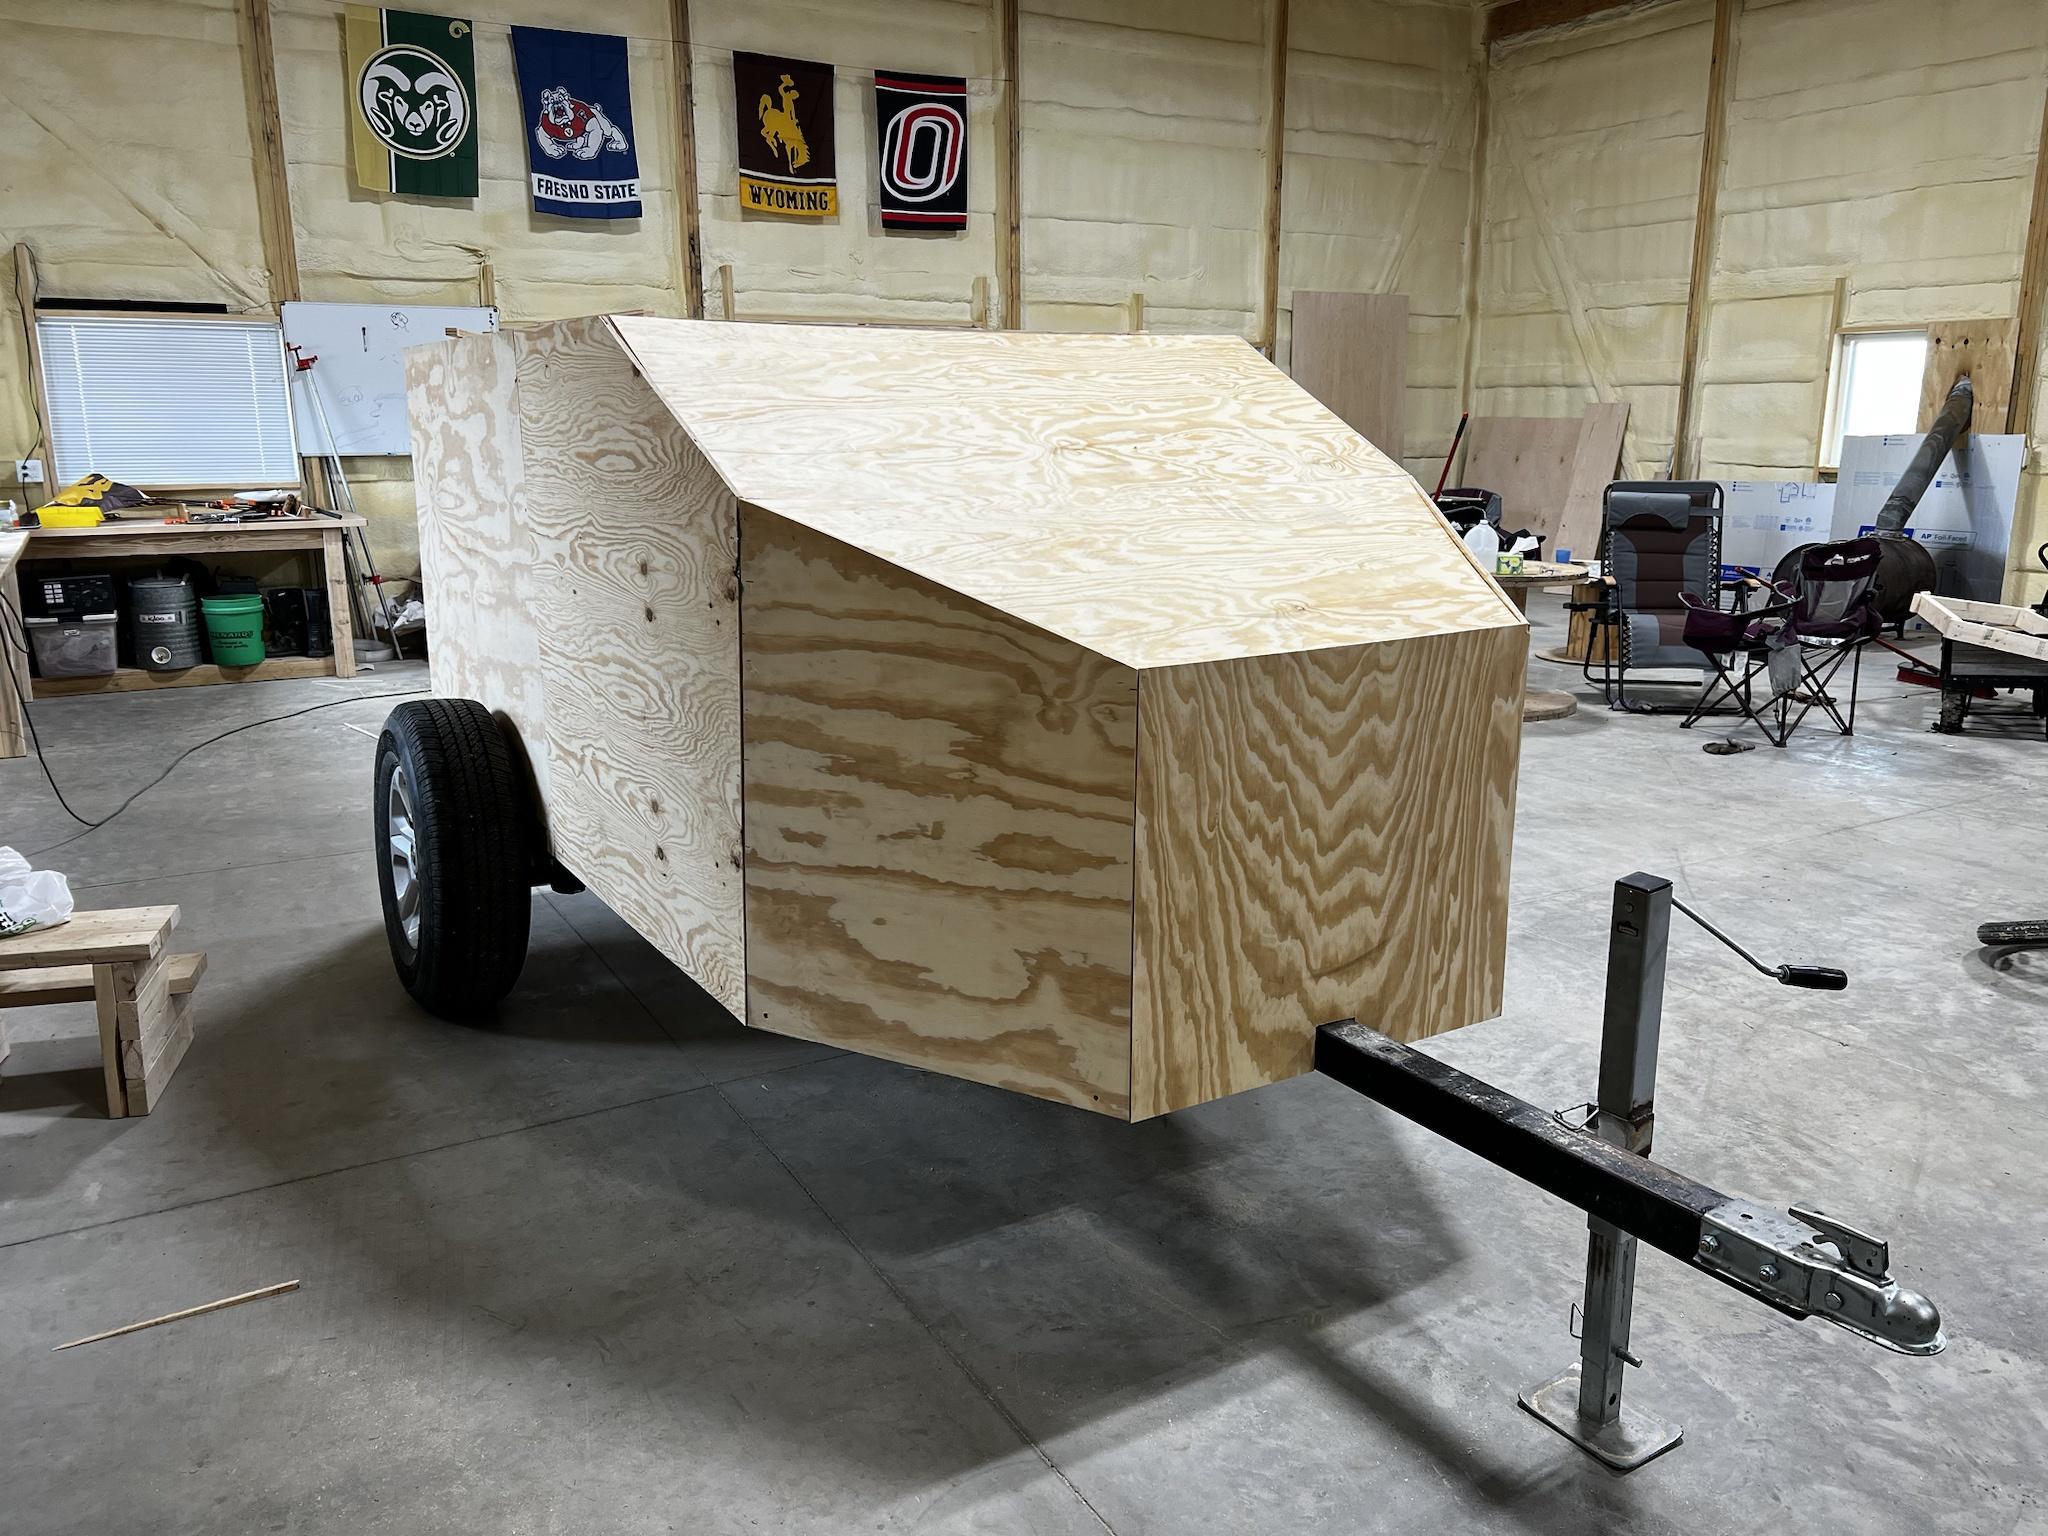
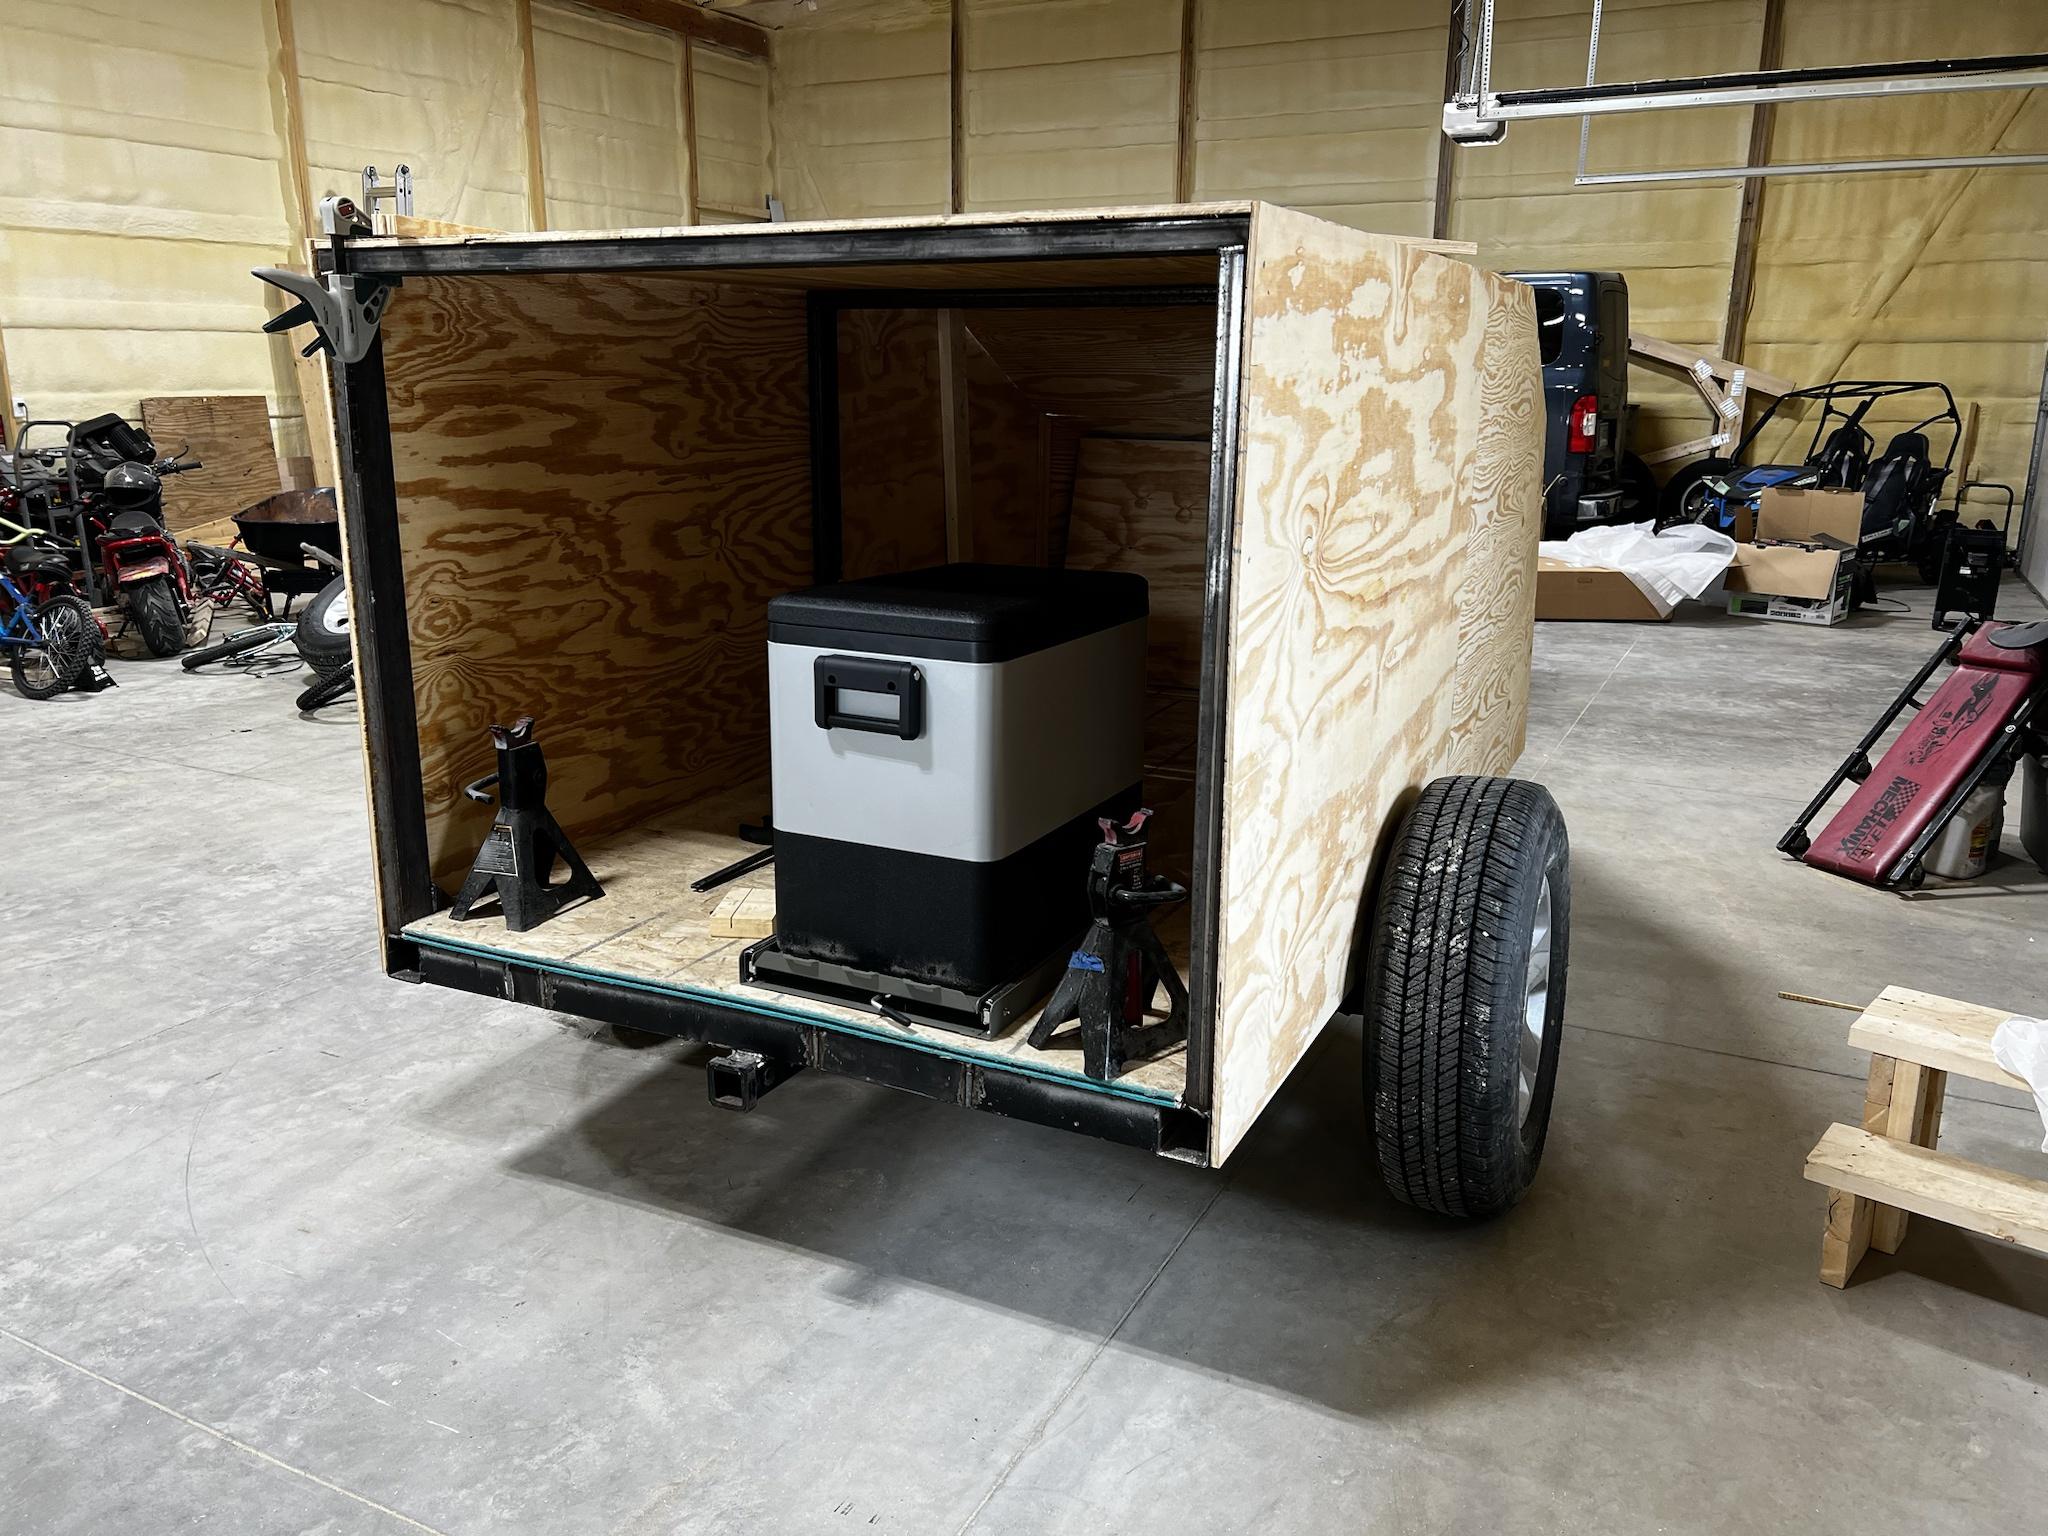
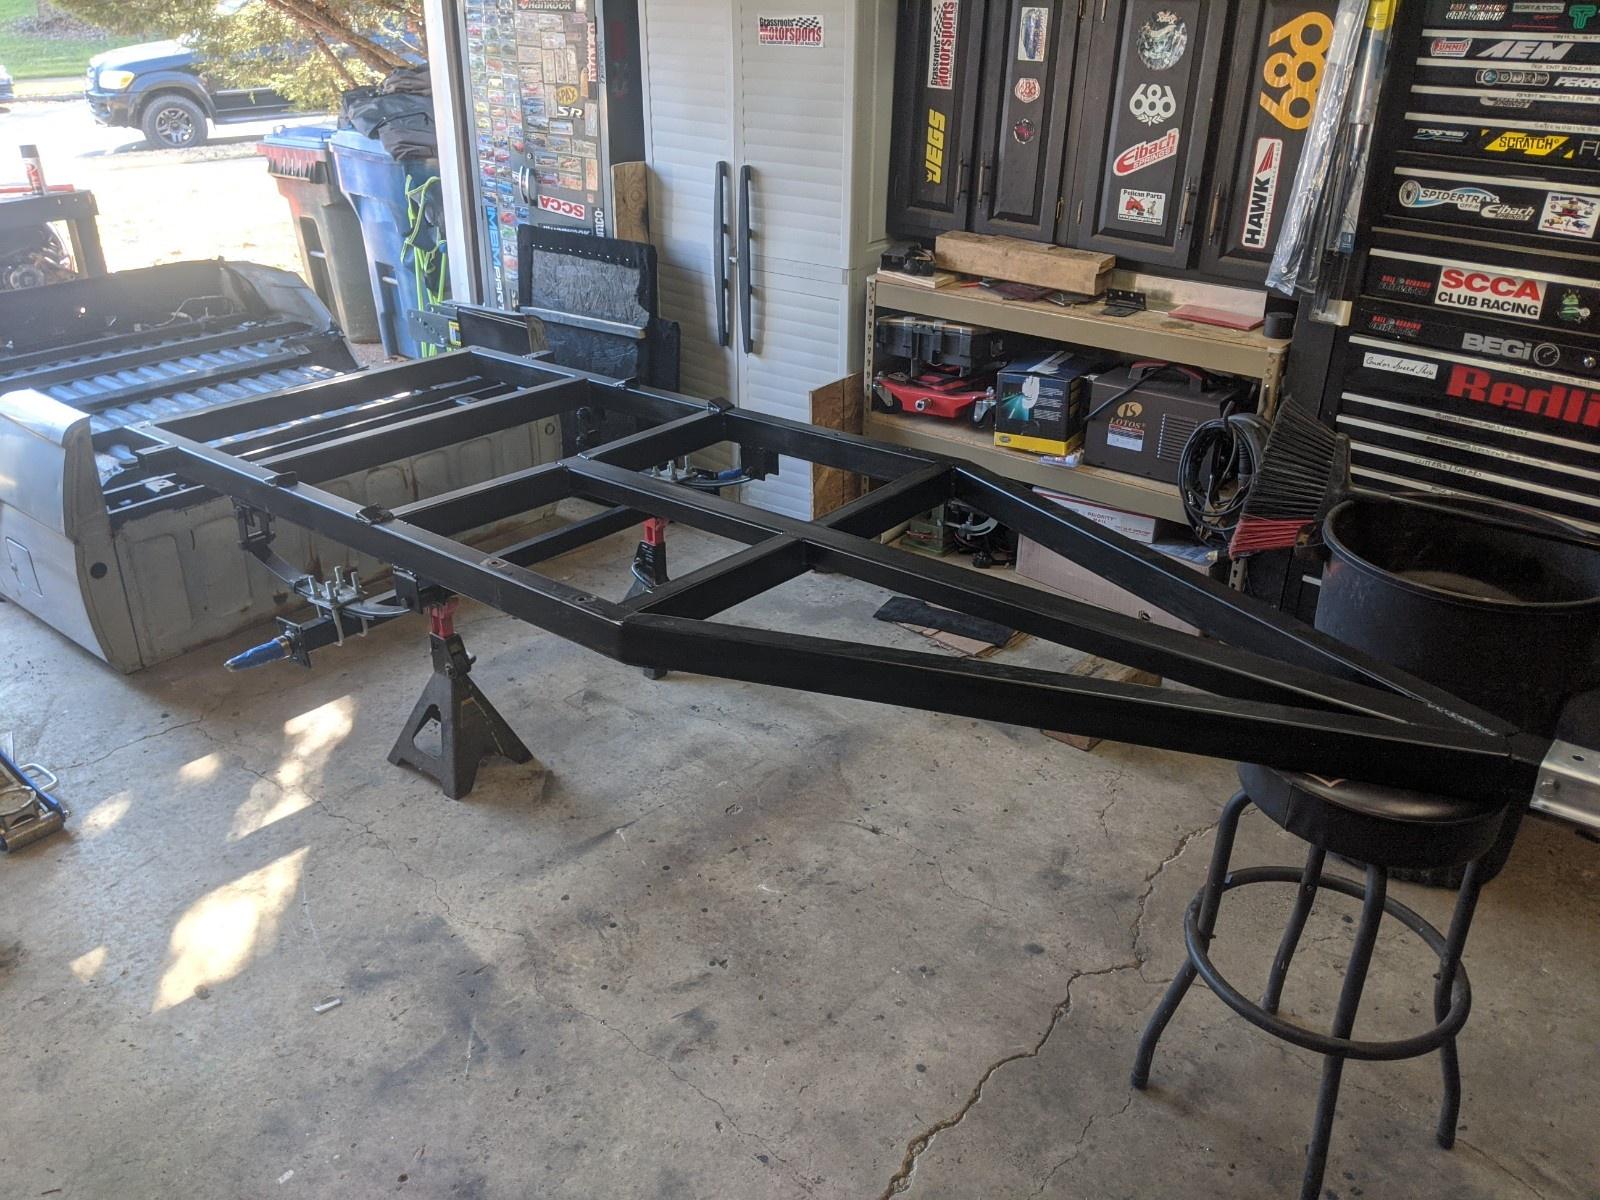
This is the current state of things. Destroyed the old camper and widened the frame to 5'.
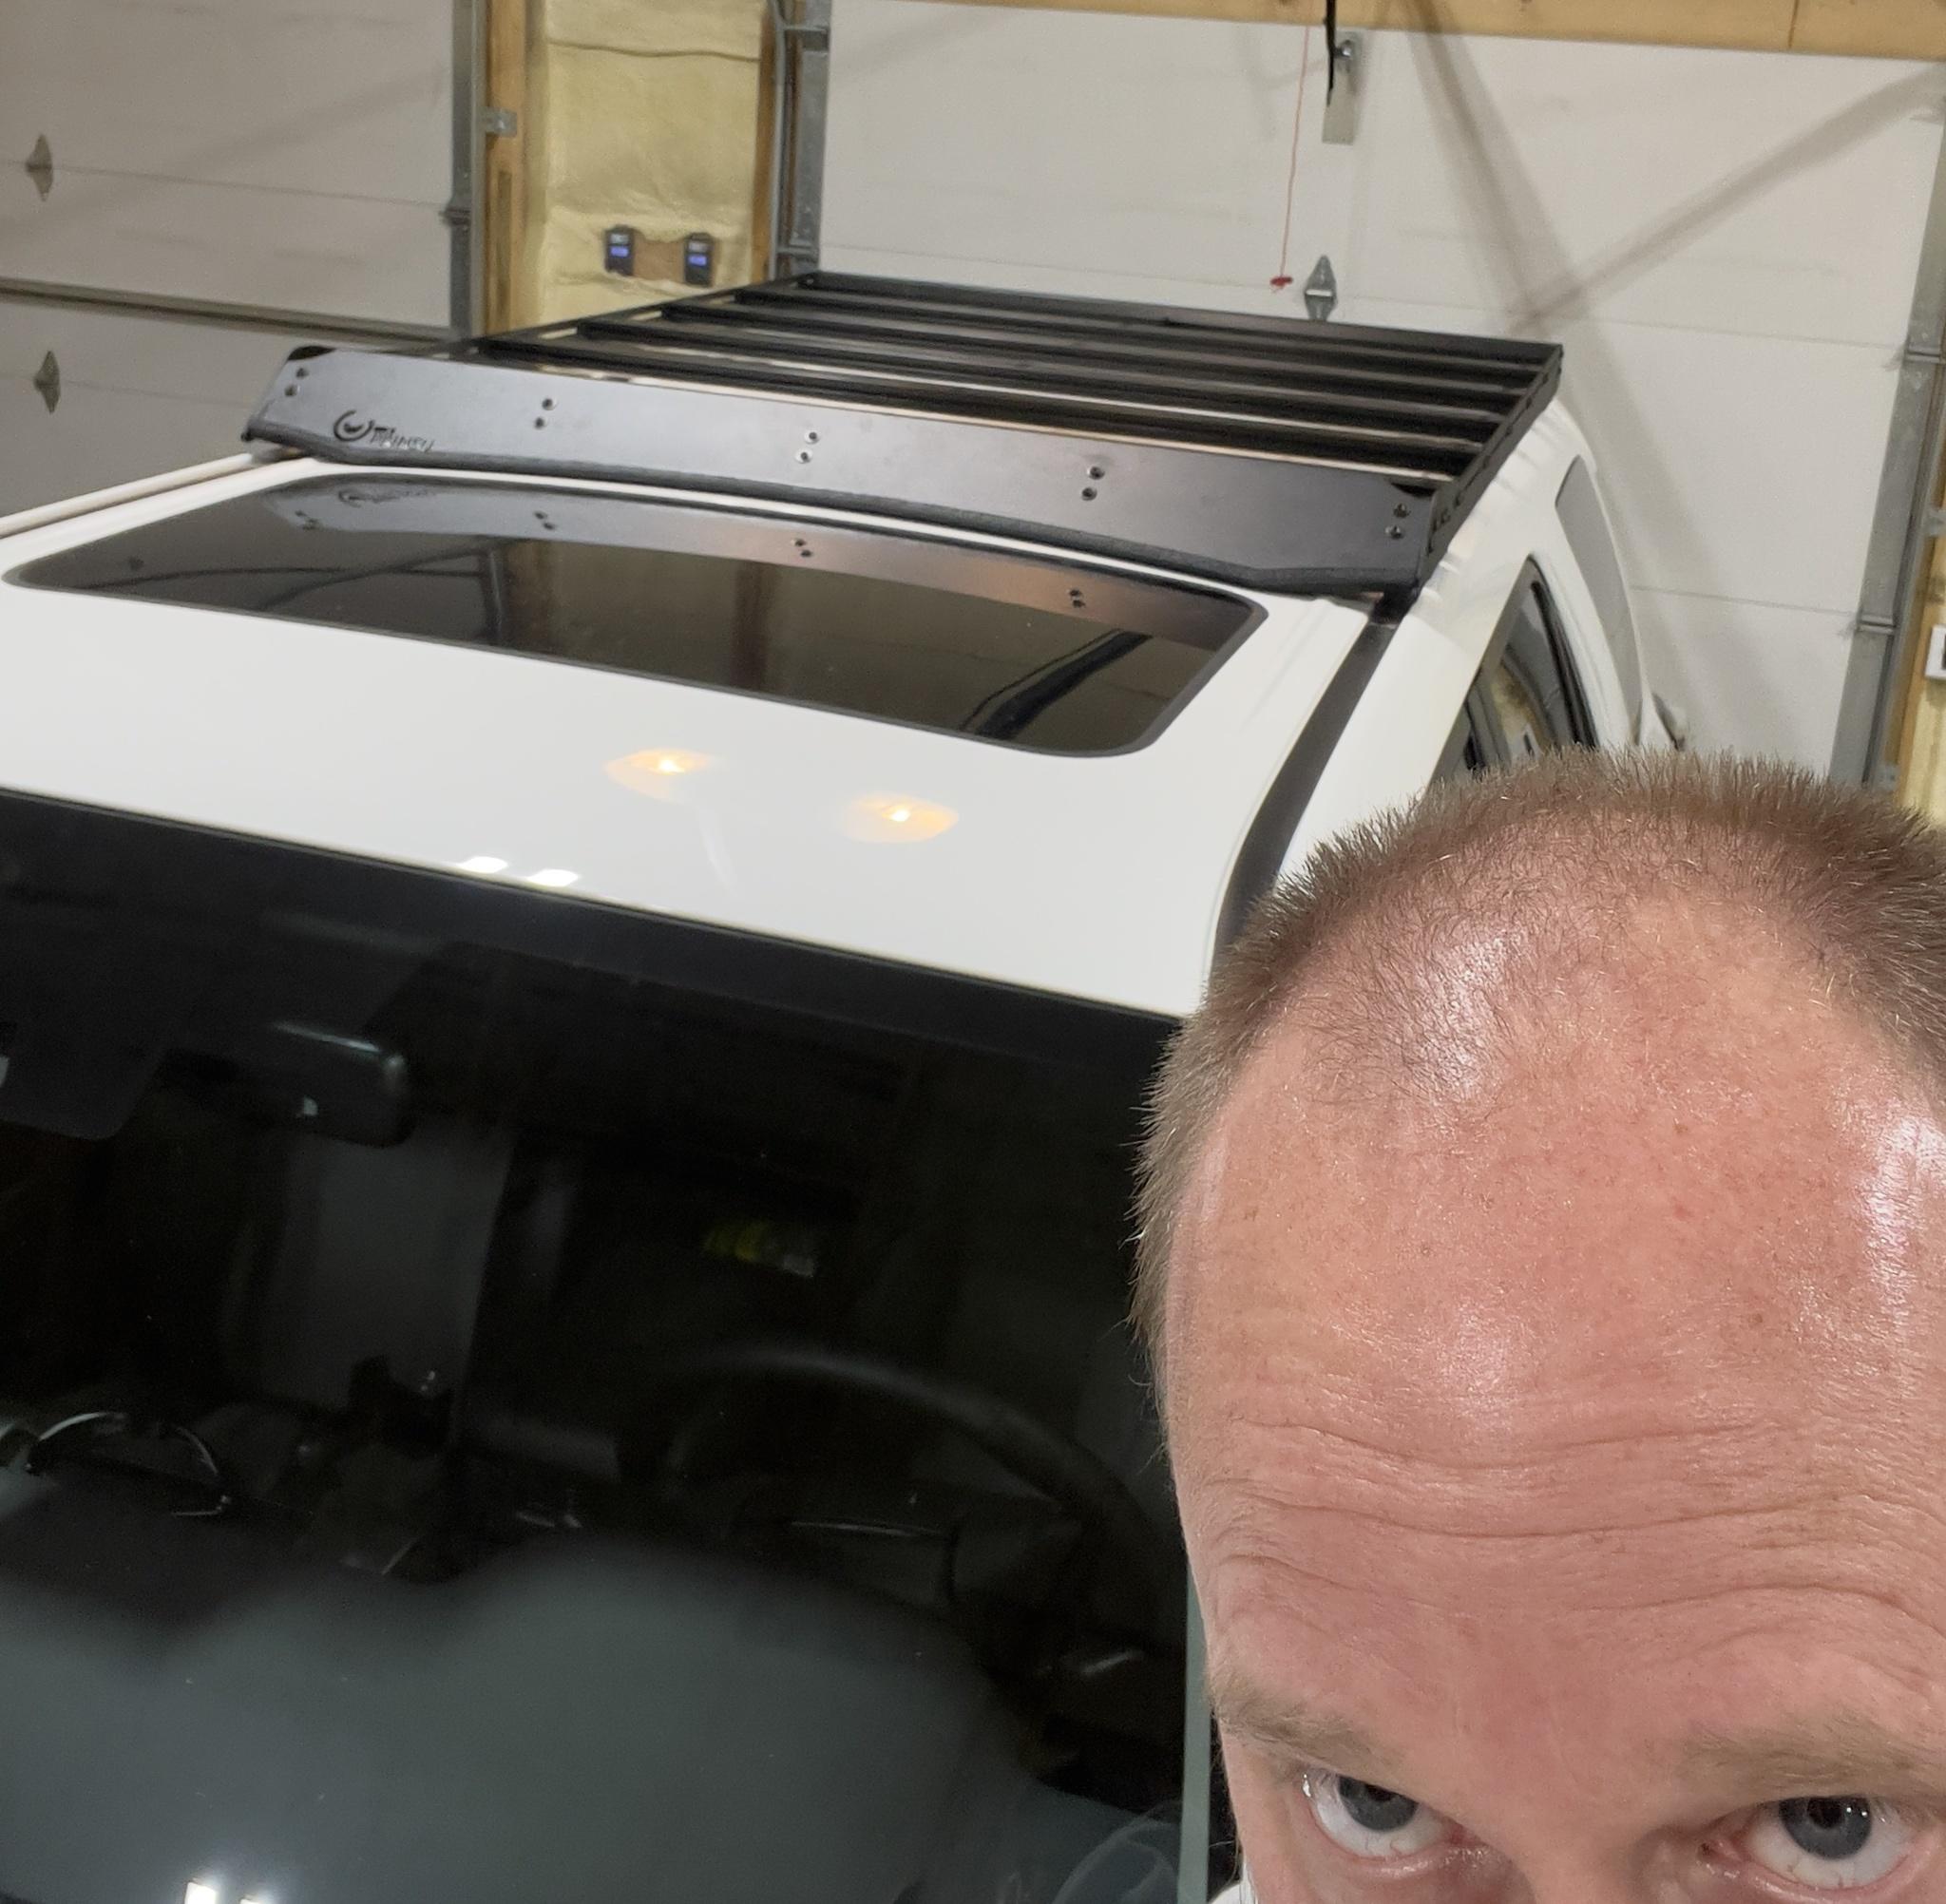
Can you point me toward any custom roof rack threads or other info? I'm looking for ideas of materials used and configurations. You can see the half rack on top of the old camper, but I need something wider and longer. Not finding much out there that isn't vehicle specific. Can anyone help?
Thank you!
***Insert stock picture of a white Fer'ner here.***
It will be the "white with flat black accents" version... Parts are just now starting to arrive but eventually, it will have a 3" lift and 33" tires on Method Bead Grip wheels. I'm hoping I can leave the spare underneath, but just in case, are there any recommendations for rear tire-carrying bumpers that play nice with trailers?
And the old camper build...
This is not the expedition camper but is my first attempt at building my own camper. Let's just say there was a lot learned. And it did not survive 6+ years of WY winters outside.
This is the current state of things. Destroyed the old camper and widened the frame to 5'.
Can you point me toward any custom roof rack threads or other info? I'm looking for ideas of materials used and configurations. You can see the half rack on top of the old camper, but I need something wider and longer. Not finding much out there that isn't vehicle specific. Can anyone help?
Thank you!