Enthusiast III
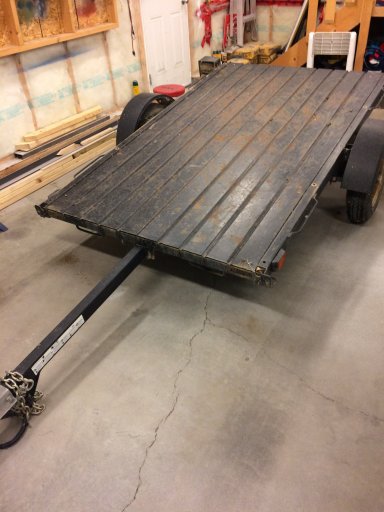
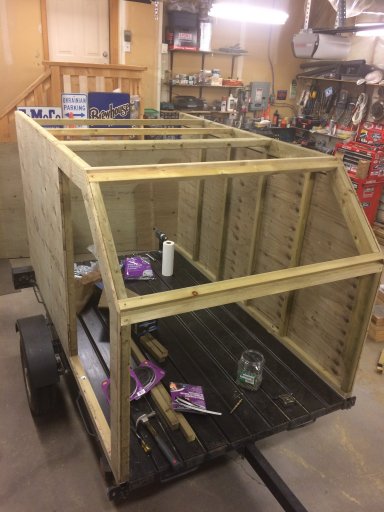
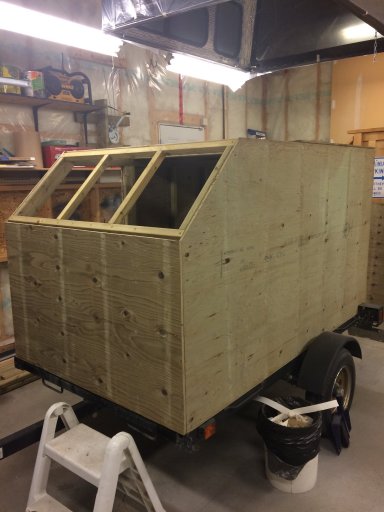
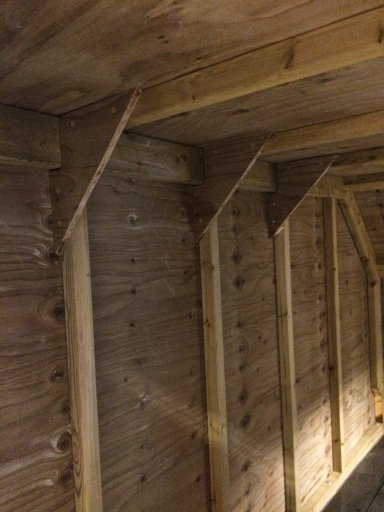
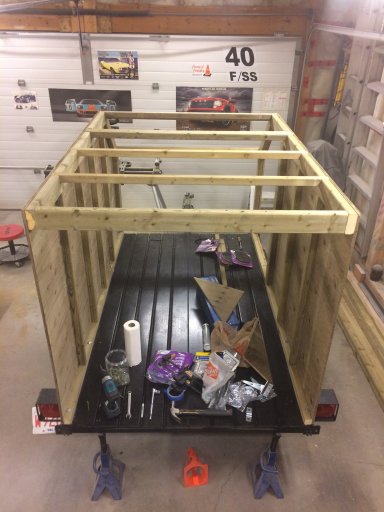
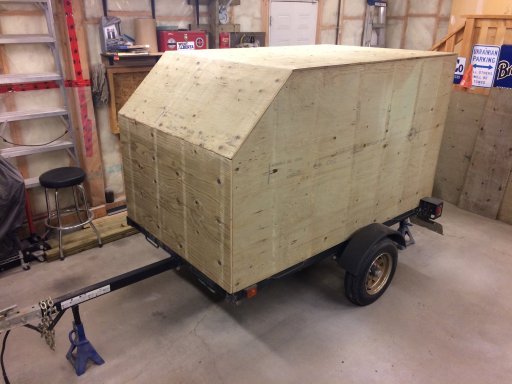
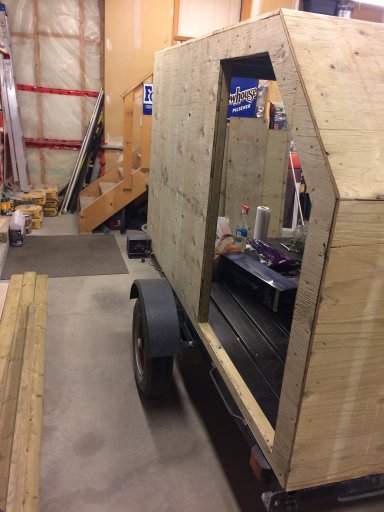
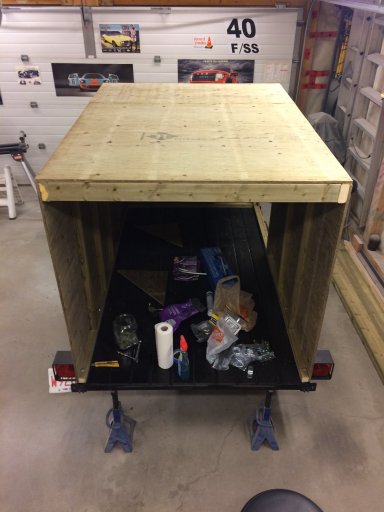
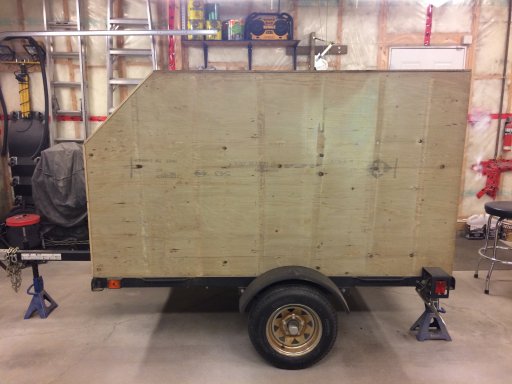
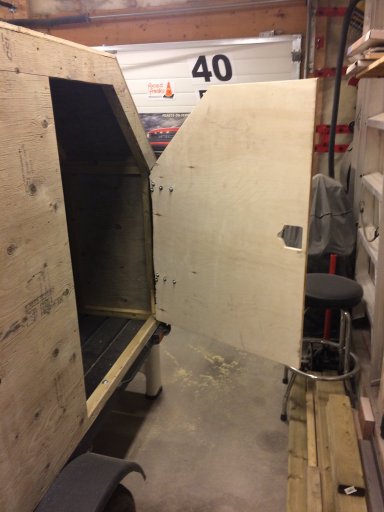
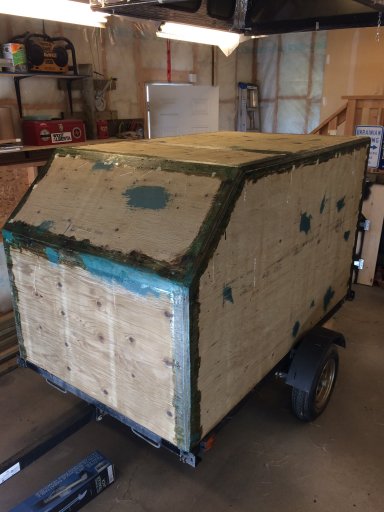
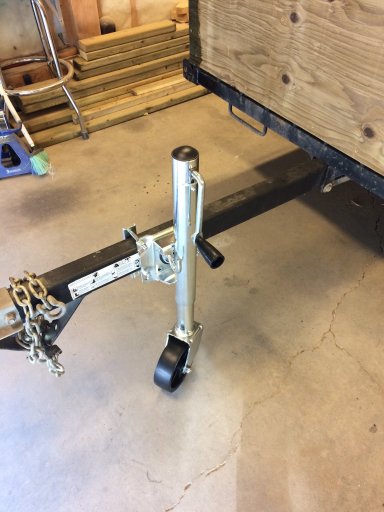
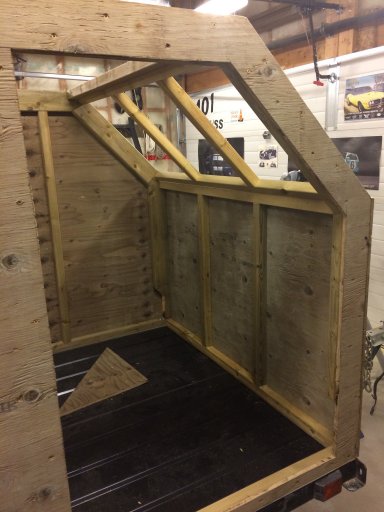
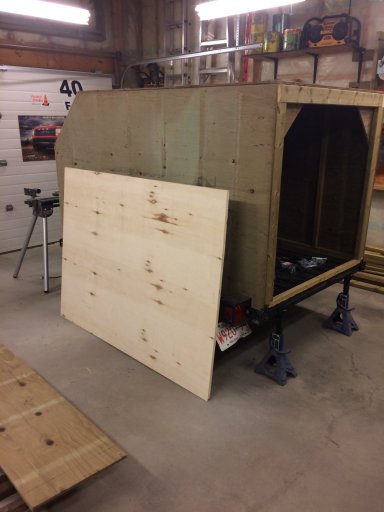
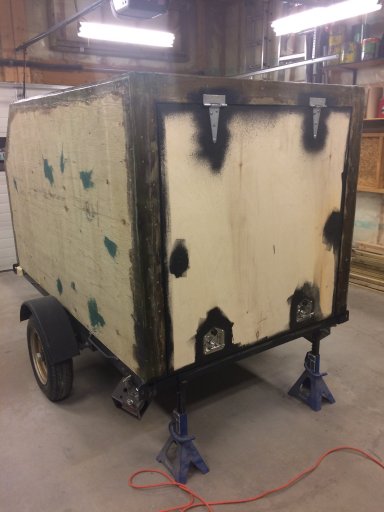
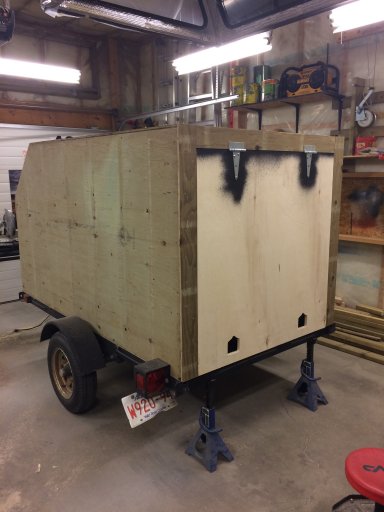
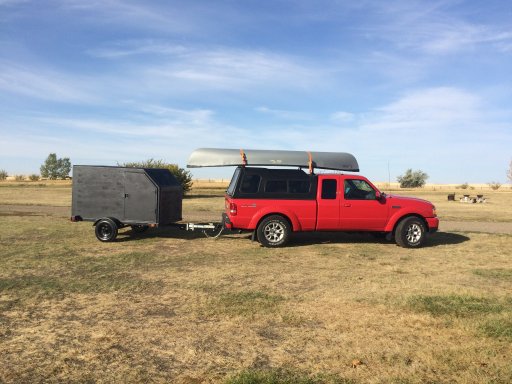
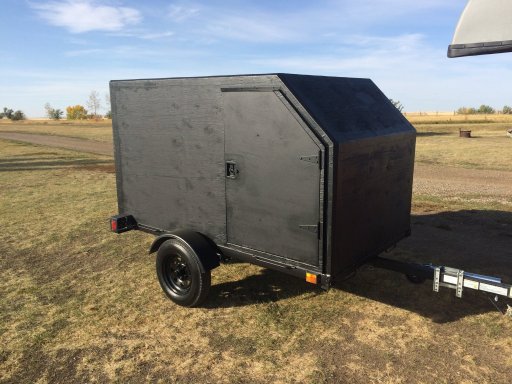
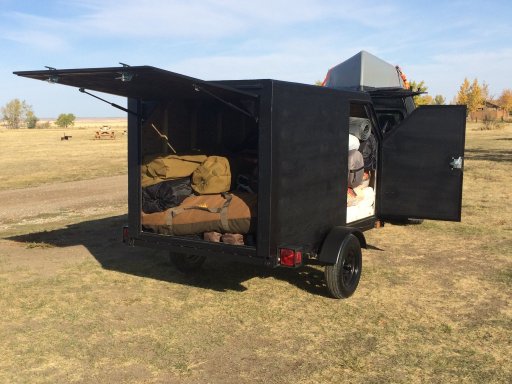
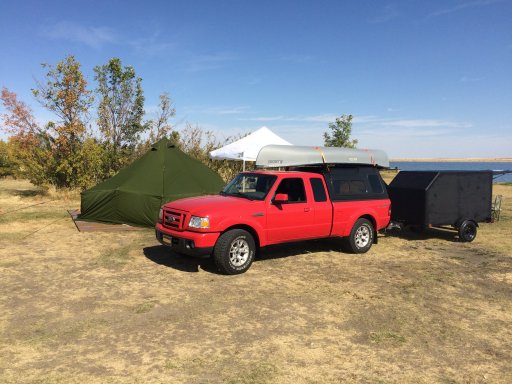
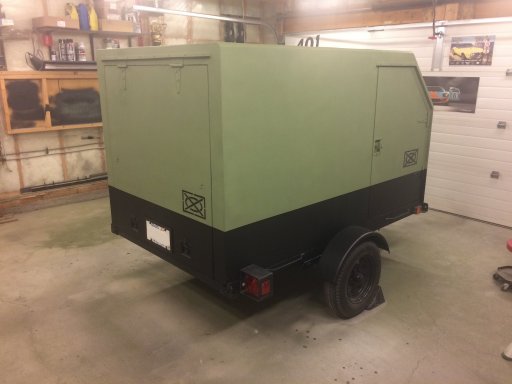
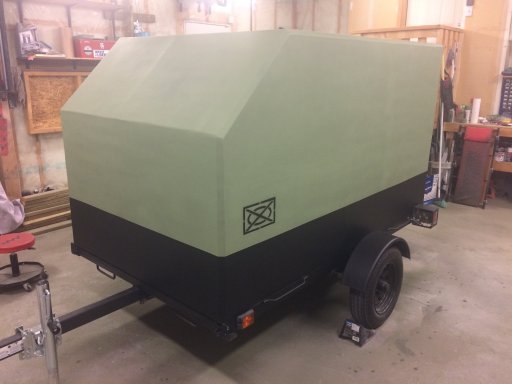
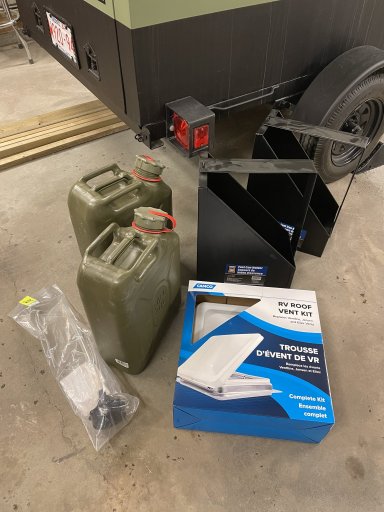
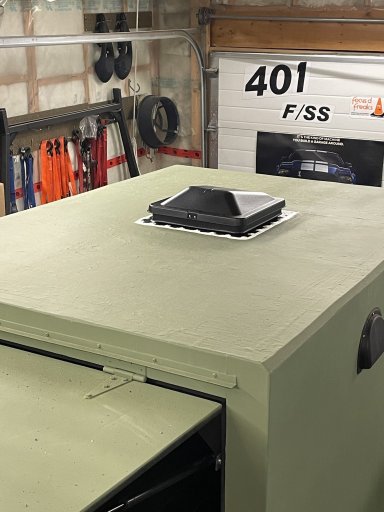
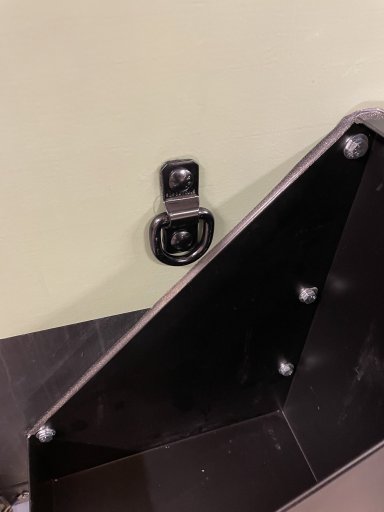
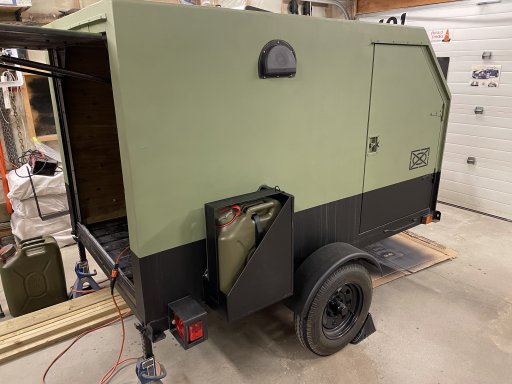
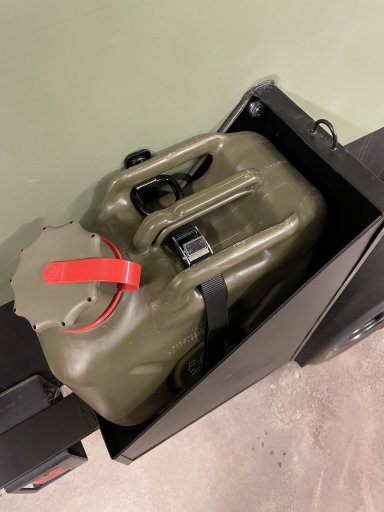
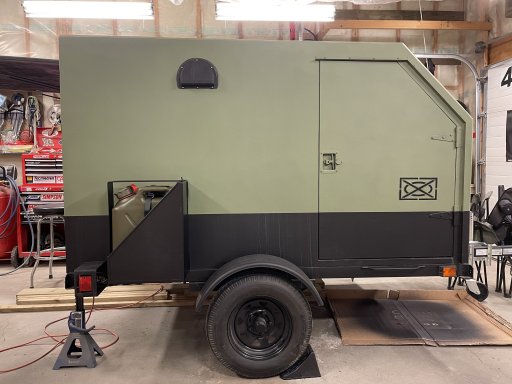
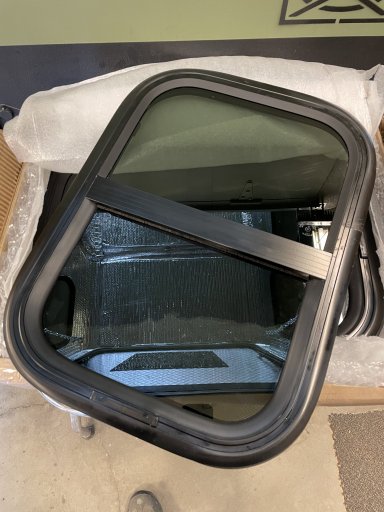
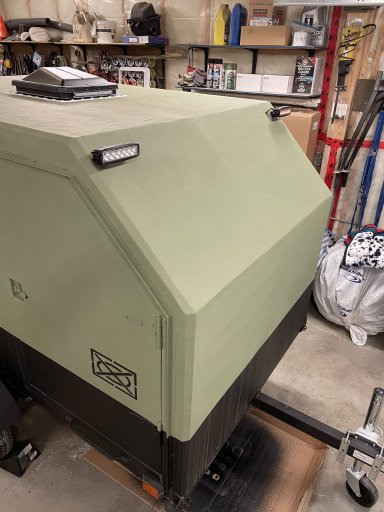
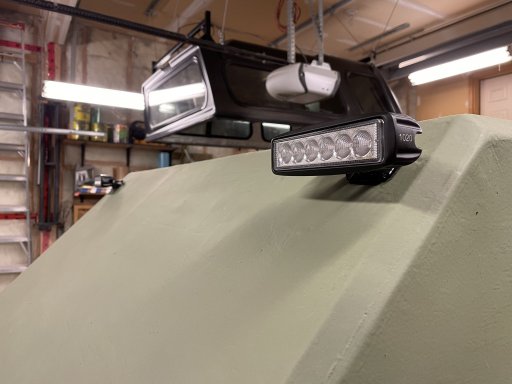
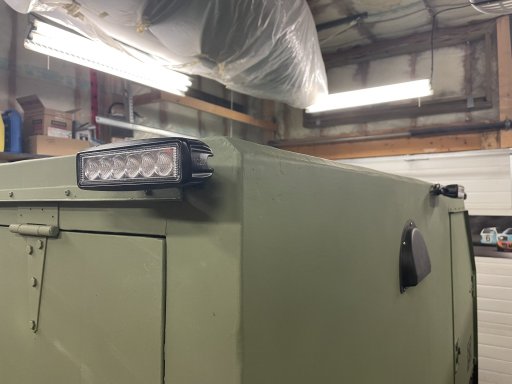
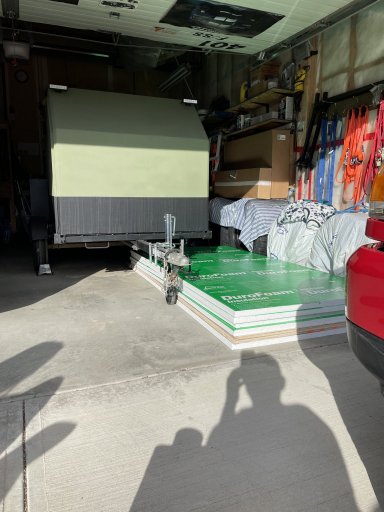
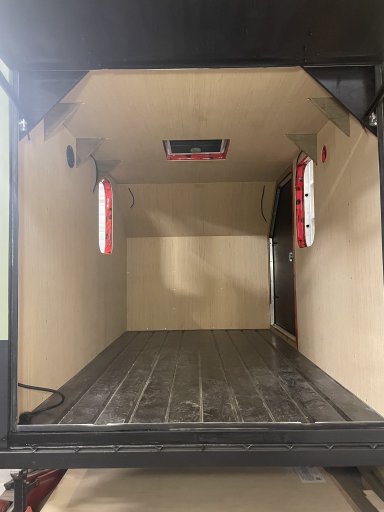
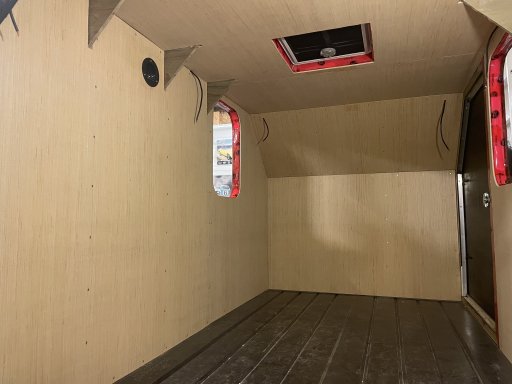
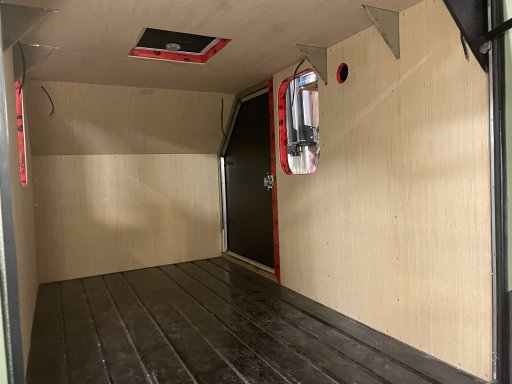
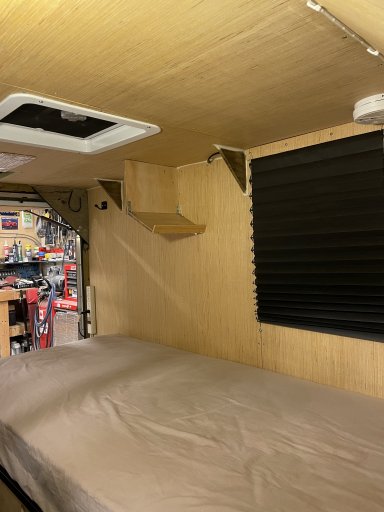
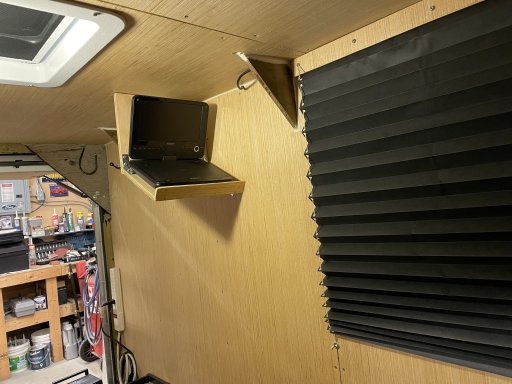
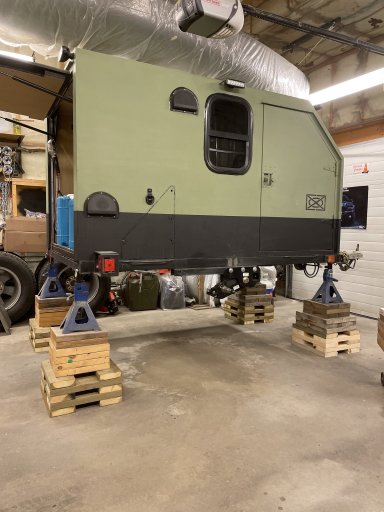
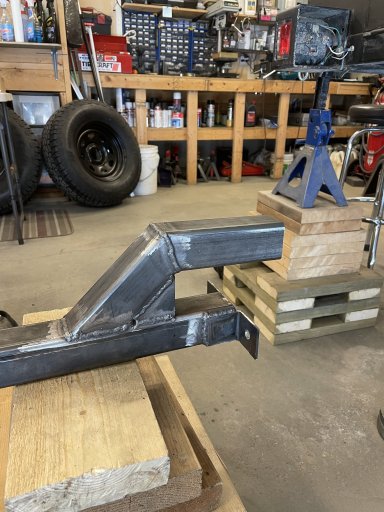
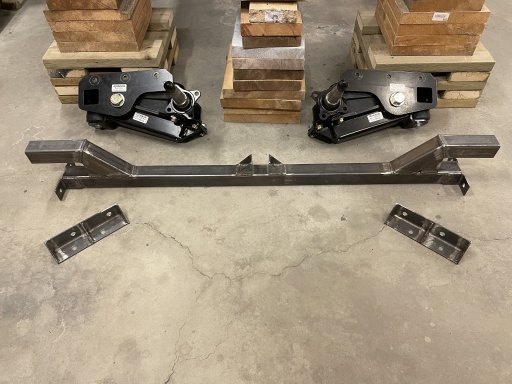
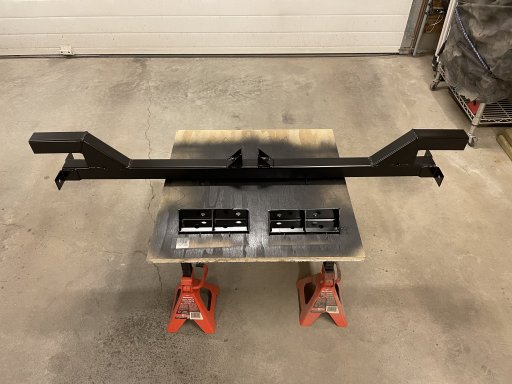
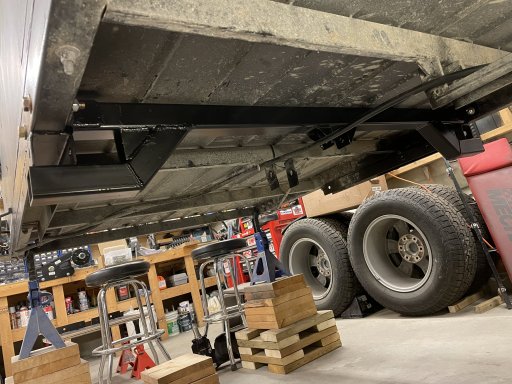
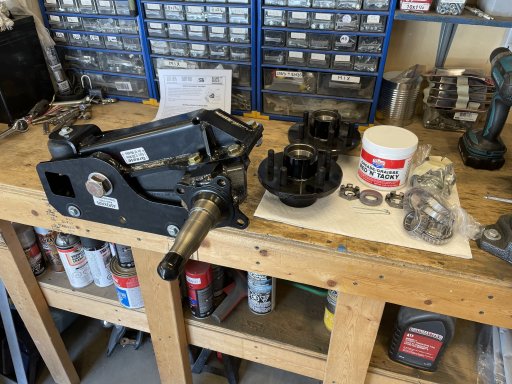
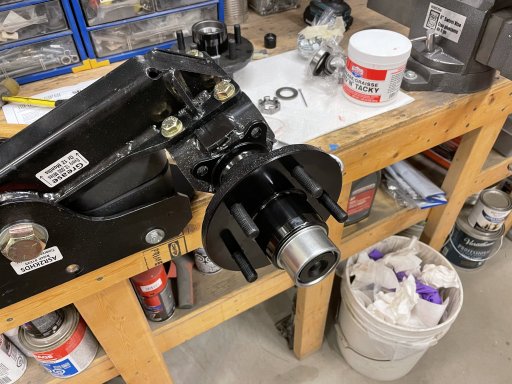
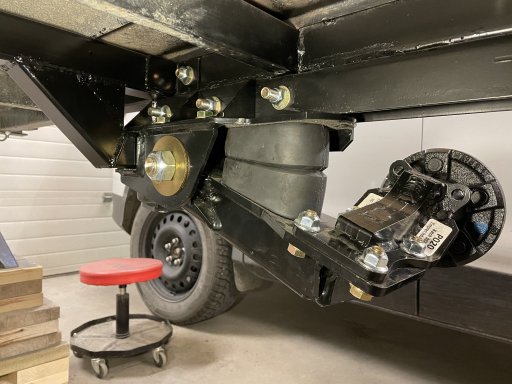
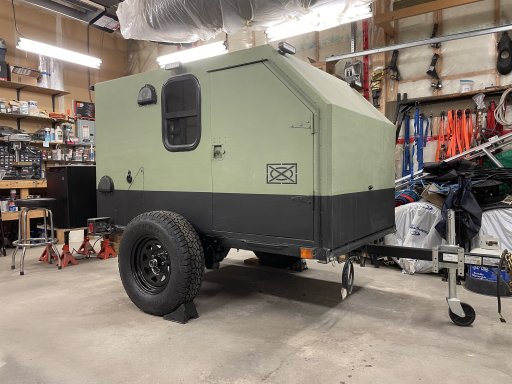
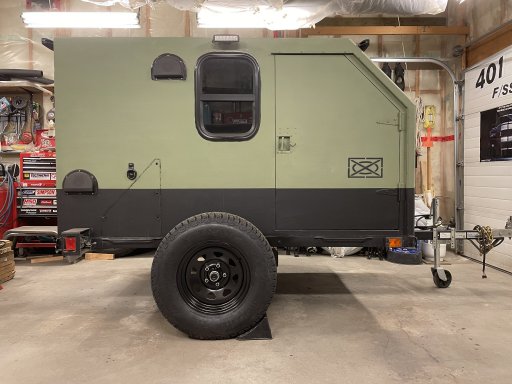
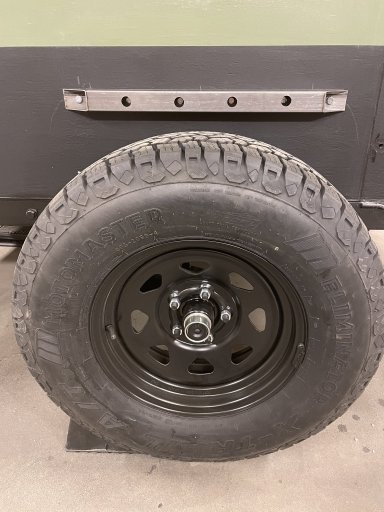
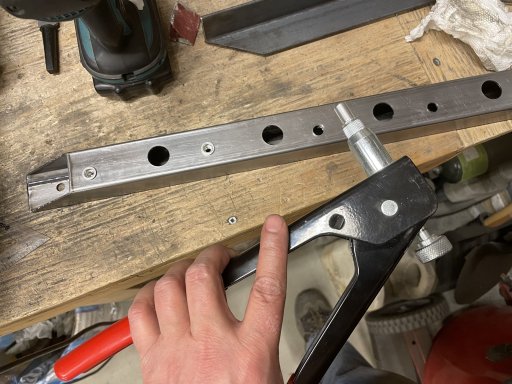
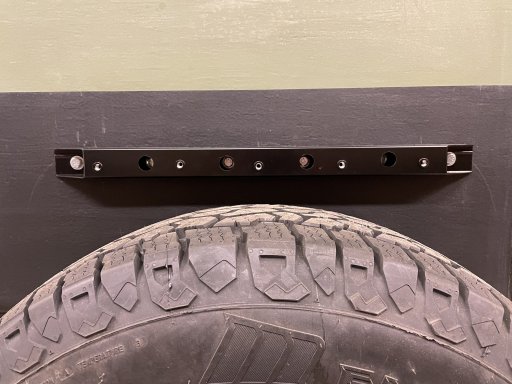
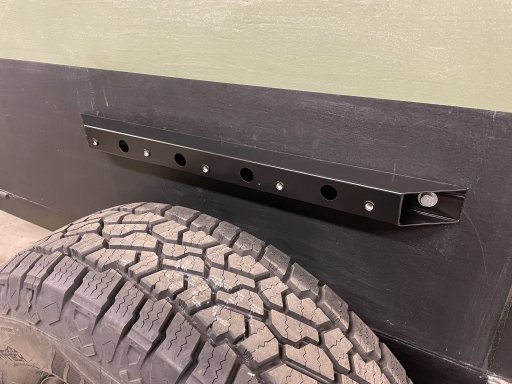
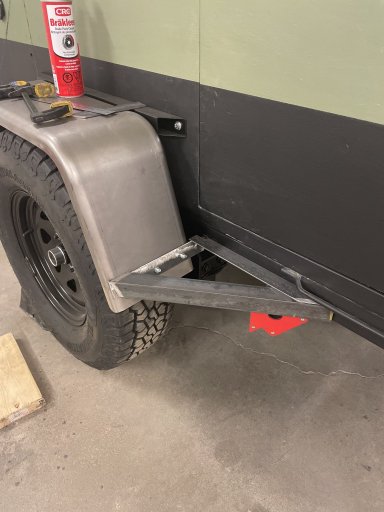
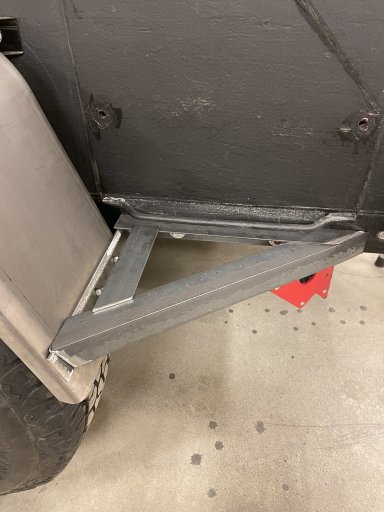
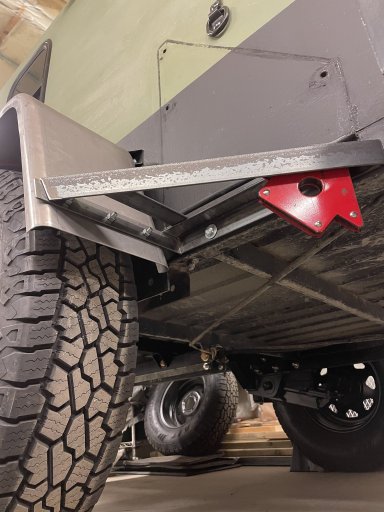
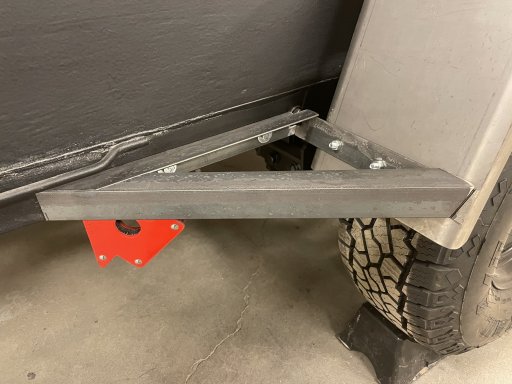
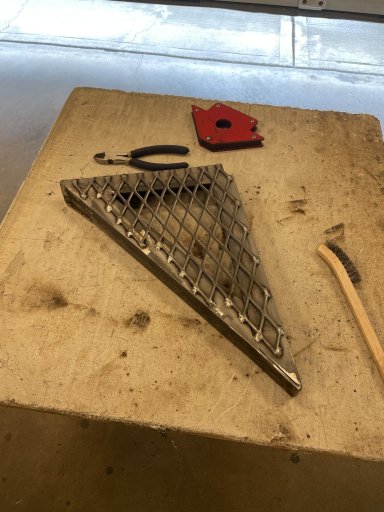
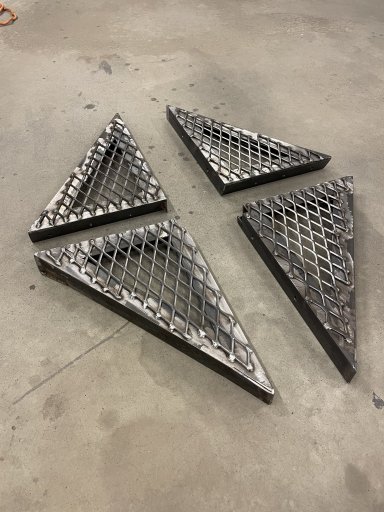
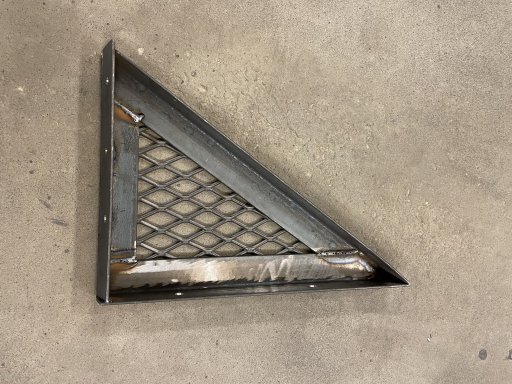
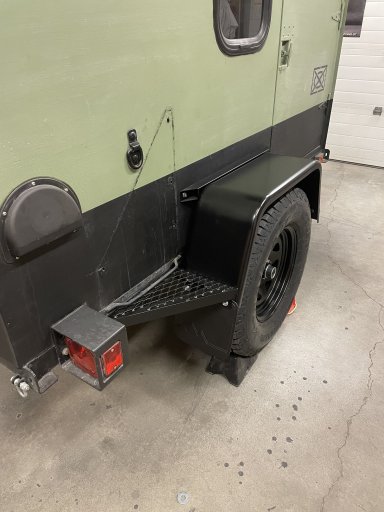
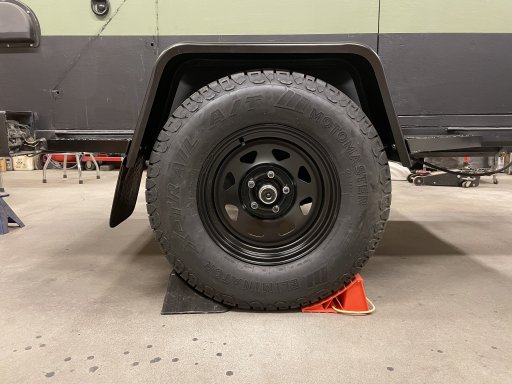
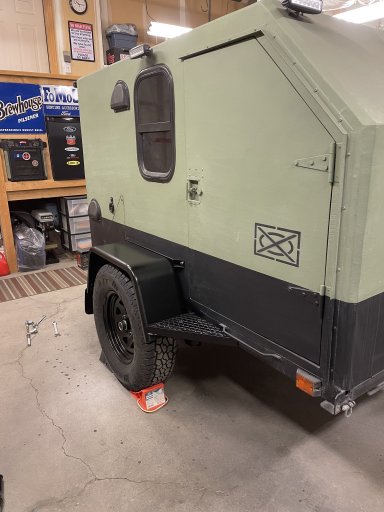
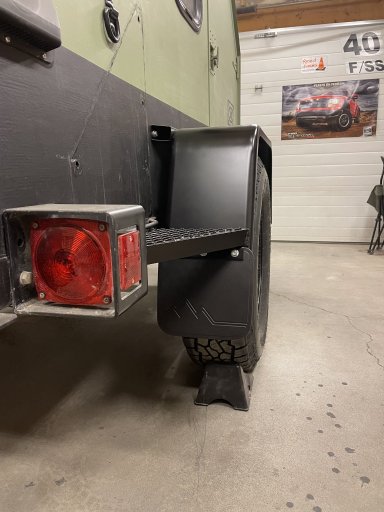
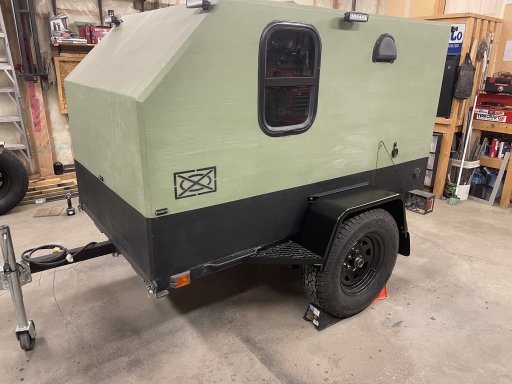
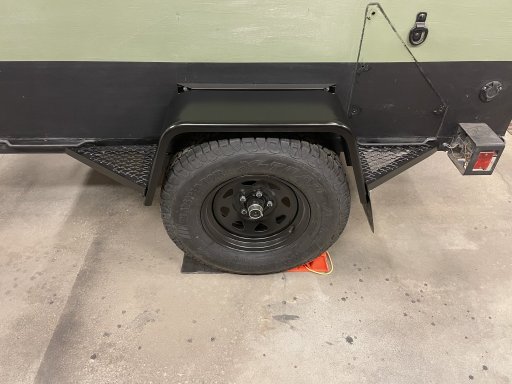
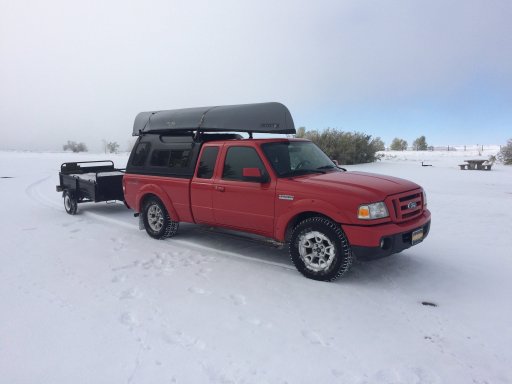
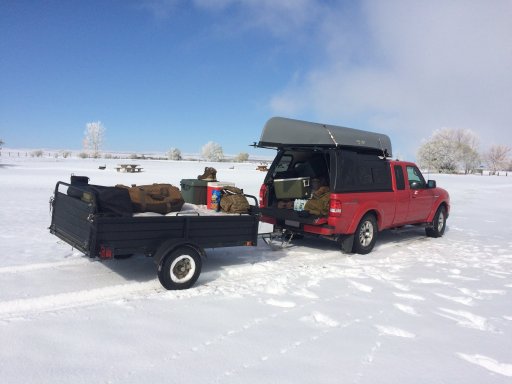
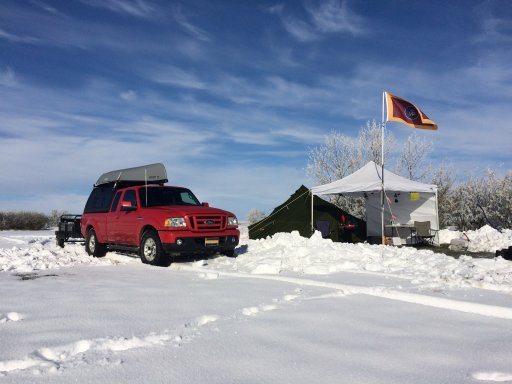
So the start of my first offroad trailer build begins with a simple little 4 x 7 utility trailer I had sitting in the backyard. I had used it for hauling various building materials for projects around the yard and it had been relegated to just a place to throw scraps and garbage into. I had picked up a 10 man arctic tent to get into some winter camping, the same military one I was accustomed with from my time in the army. I packed the back of my Ranger with all my camping gear and used the trailer to haul bags of firewood and other things.
Attachments
-
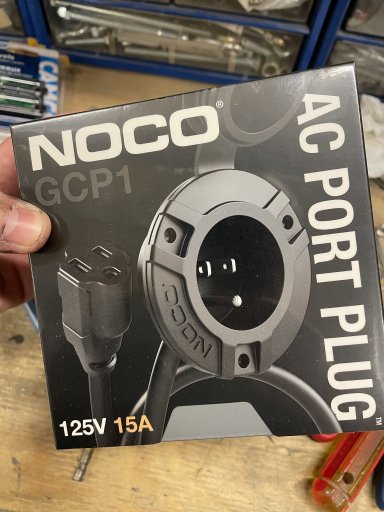
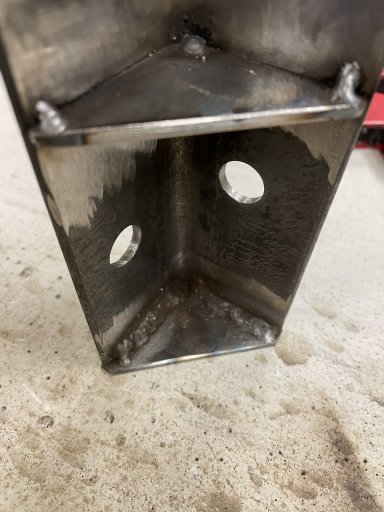
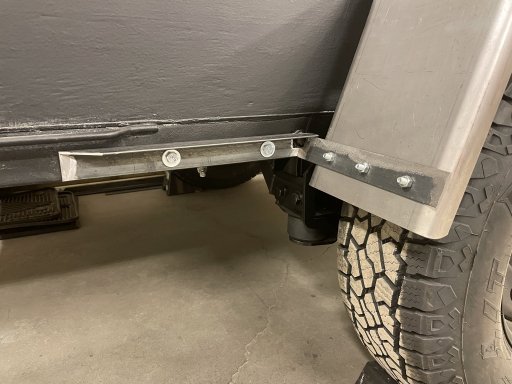
 277.8 KB Views: 28
 -
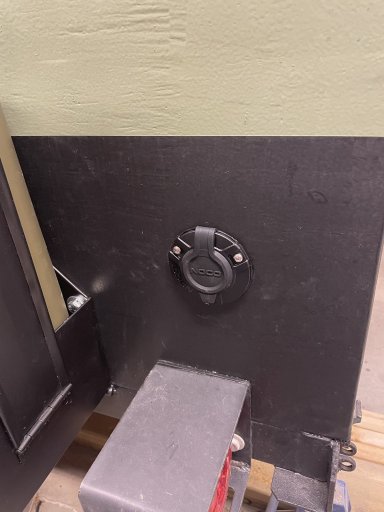
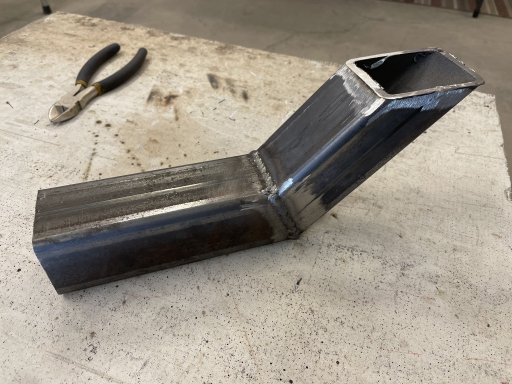
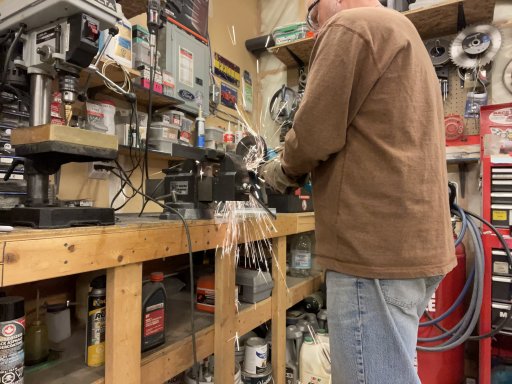
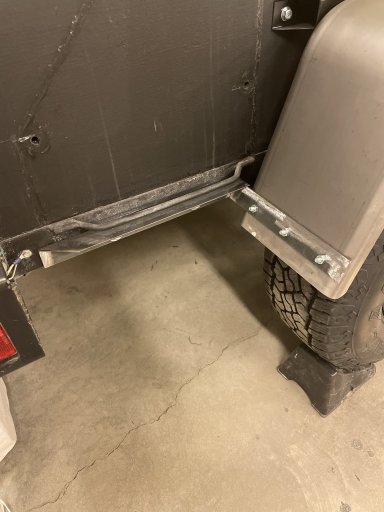
 341.3 KB Views: 28
 -
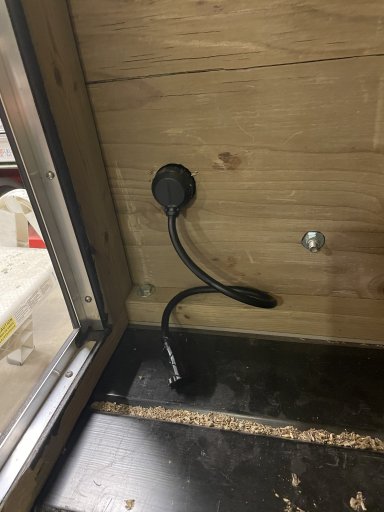
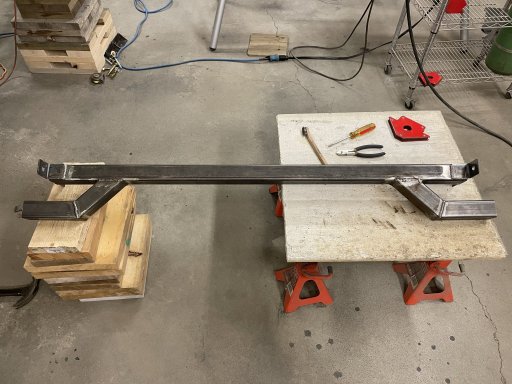
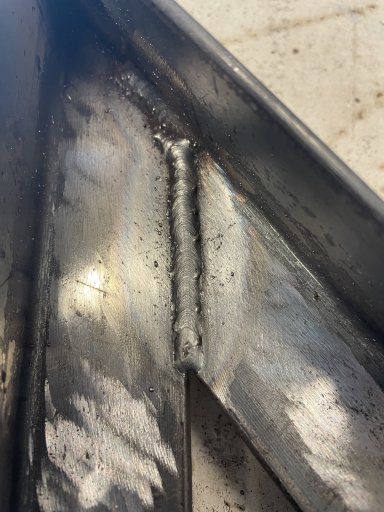
 439.6 KB Views: 26