Member III
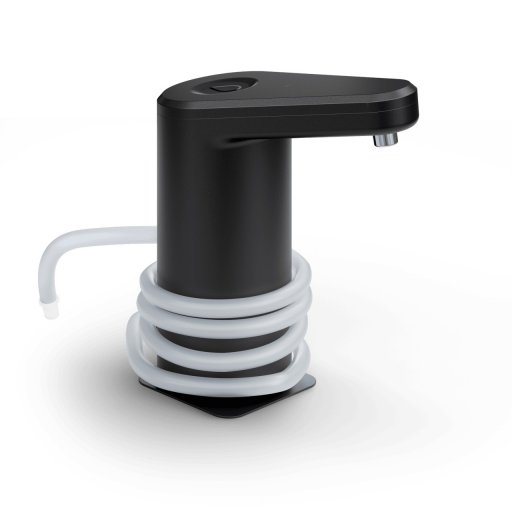
I know this is a common DYI project but I wanted a water filter in mine. Yes that means one more step when you assemble it but the taste of plastic water........sigh
Parts are simple but to make this work I cut up one of my spare Scepter water can lids. Because they use a weird thread I had to sacrifice the screw on cover for this. Most people are happy just setting theirs on the opening and poking the hose into the tank. I tried this first. and didn't like how it sat. Even though I wont drive with it on (on purpose) it will stay put without issue. I learned that from seeing one fall off. He got about half a mile. Fortunately it wasn't damaged.
1. Pump
2. Filter
3. 5 ft of 1/4 inch poly tubing
4. Scepter can lid. Just the screw on cap. Your going to drill it out to fit under the water pump
5. 1/2 plastic, threaded sprinkler fitting (optional)
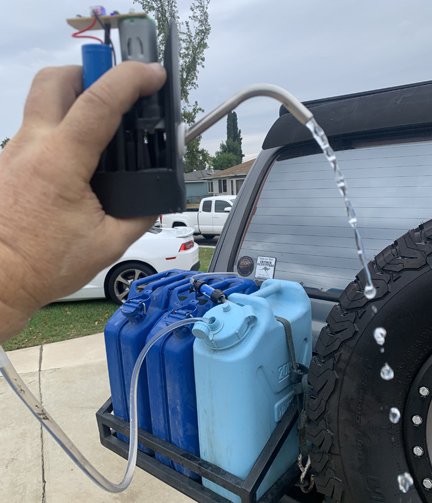
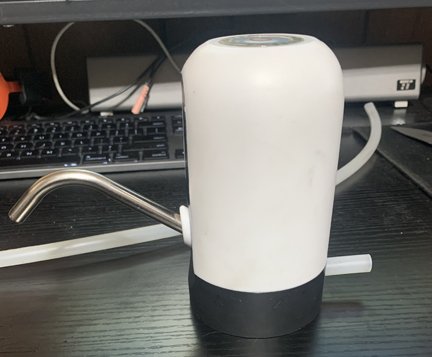
Top two pictures you have it mounted to the can and the other is it laid out on the ground. The pump is screwed onto the cap then the filter is installed from underneath.
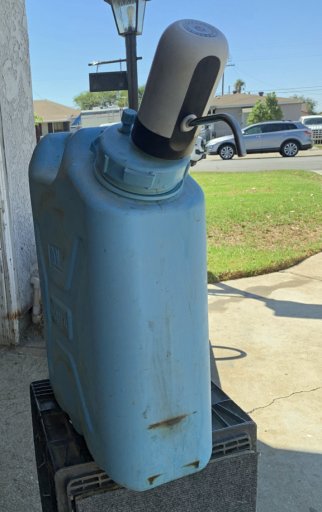
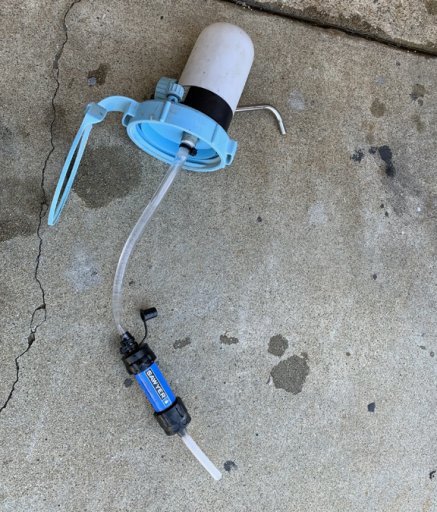
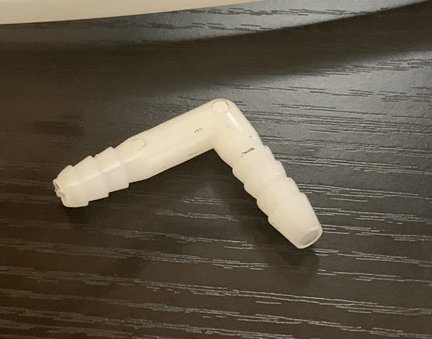
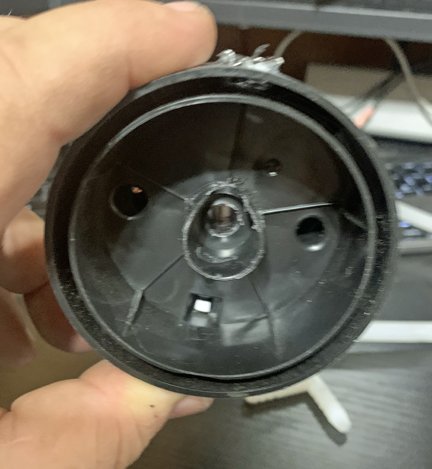
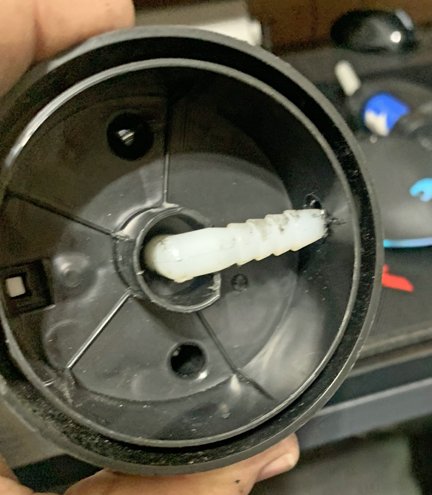
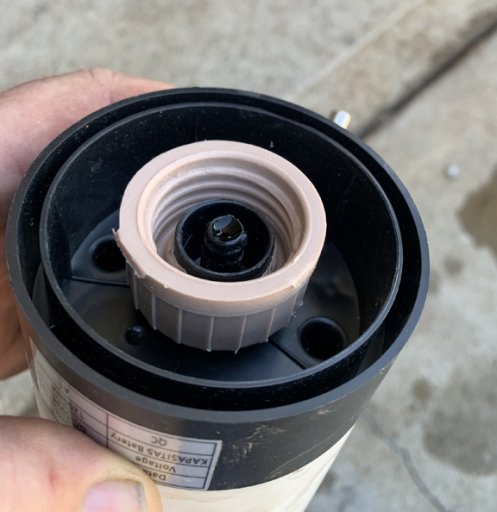
Close up of the Scepter cap, drilled and fitted. Second picture shows the ground sprinkler fitting. I did that because it fits snug on the inside of the Scepter fitting and the ID fits snug to the pump when its screwed on. My thought was to be able to leave the filter in place and just install the pump without having to remove and reinstall the filter. So far it holds well. I need some more testing to see if it will stay or if I need to come up with another solution.

The flow rate didn't change with and without the filter and the water doesn't have that plastic water can taste.
On another note, I also filter my water through a garden hose filter when filling my water cans. This removes most all of the chemicals and debris. All it leaves me with is a plastic taste from the can.
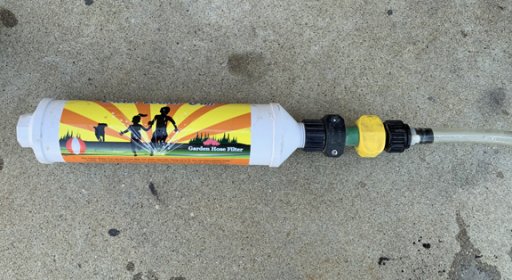
Here's my garden hose filter.
Parts are simple but to make this work I cut up one of my spare Scepter water can lids. Because they use a weird thread I had to sacrifice the screw on cover for this. Most people are happy just setting theirs on the opening and poking the hose into the tank. I tried this first. and didn't like how it sat. Even though I wont drive with it on (on purpose) it will stay put without issue. I learned that from seeing one fall off. He got about half a mile. Fortunately it wasn't damaged.
1. Pump
2. Filter
3. 5 ft of 1/4 inch poly tubing
4. Scepter can lid. Just the screw on cap. Your going to drill it out to fit under the water pump
5. 1/2 plastic, threaded sprinkler fitting (optional)
Top two pictures you have it mounted to the can and the other is it laid out on the ground. The pump is screwed onto the cap then the filter is installed from underneath.


Close up of the Scepter cap, drilled and fitted. Second picture shows the ground sprinkler fitting. I did that because it fits snug on the inside of the Scepter fitting and the ID fits snug to the pump when its screwed on. My thought was to be able to leave the filter in place and just install the pump without having to remove and reinstall the filter. So far it holds well. I need some more testing to see if it will stay or if I need to come up with another solution.


The flow rate didn't change with and without the filter and the water doesn't have that plastic water can taste.
On another note, I also filter my water through a garden hose filter when filling my water cans. This removes most all of the chemicals and debris. All it leaves me with is a plastic taste from the can.
Here's my garden hose filter.

Last edited:


