I figured I would post a "build?" thread on my 1990 Land Rover Defender 90 200Tdi, as I pretty much am always doing something to it. I try to pick one little project a day... and I have lots of little projects. I'm very much a DIY, not buy, kind of guy... so hopefully my posts will help someone out.
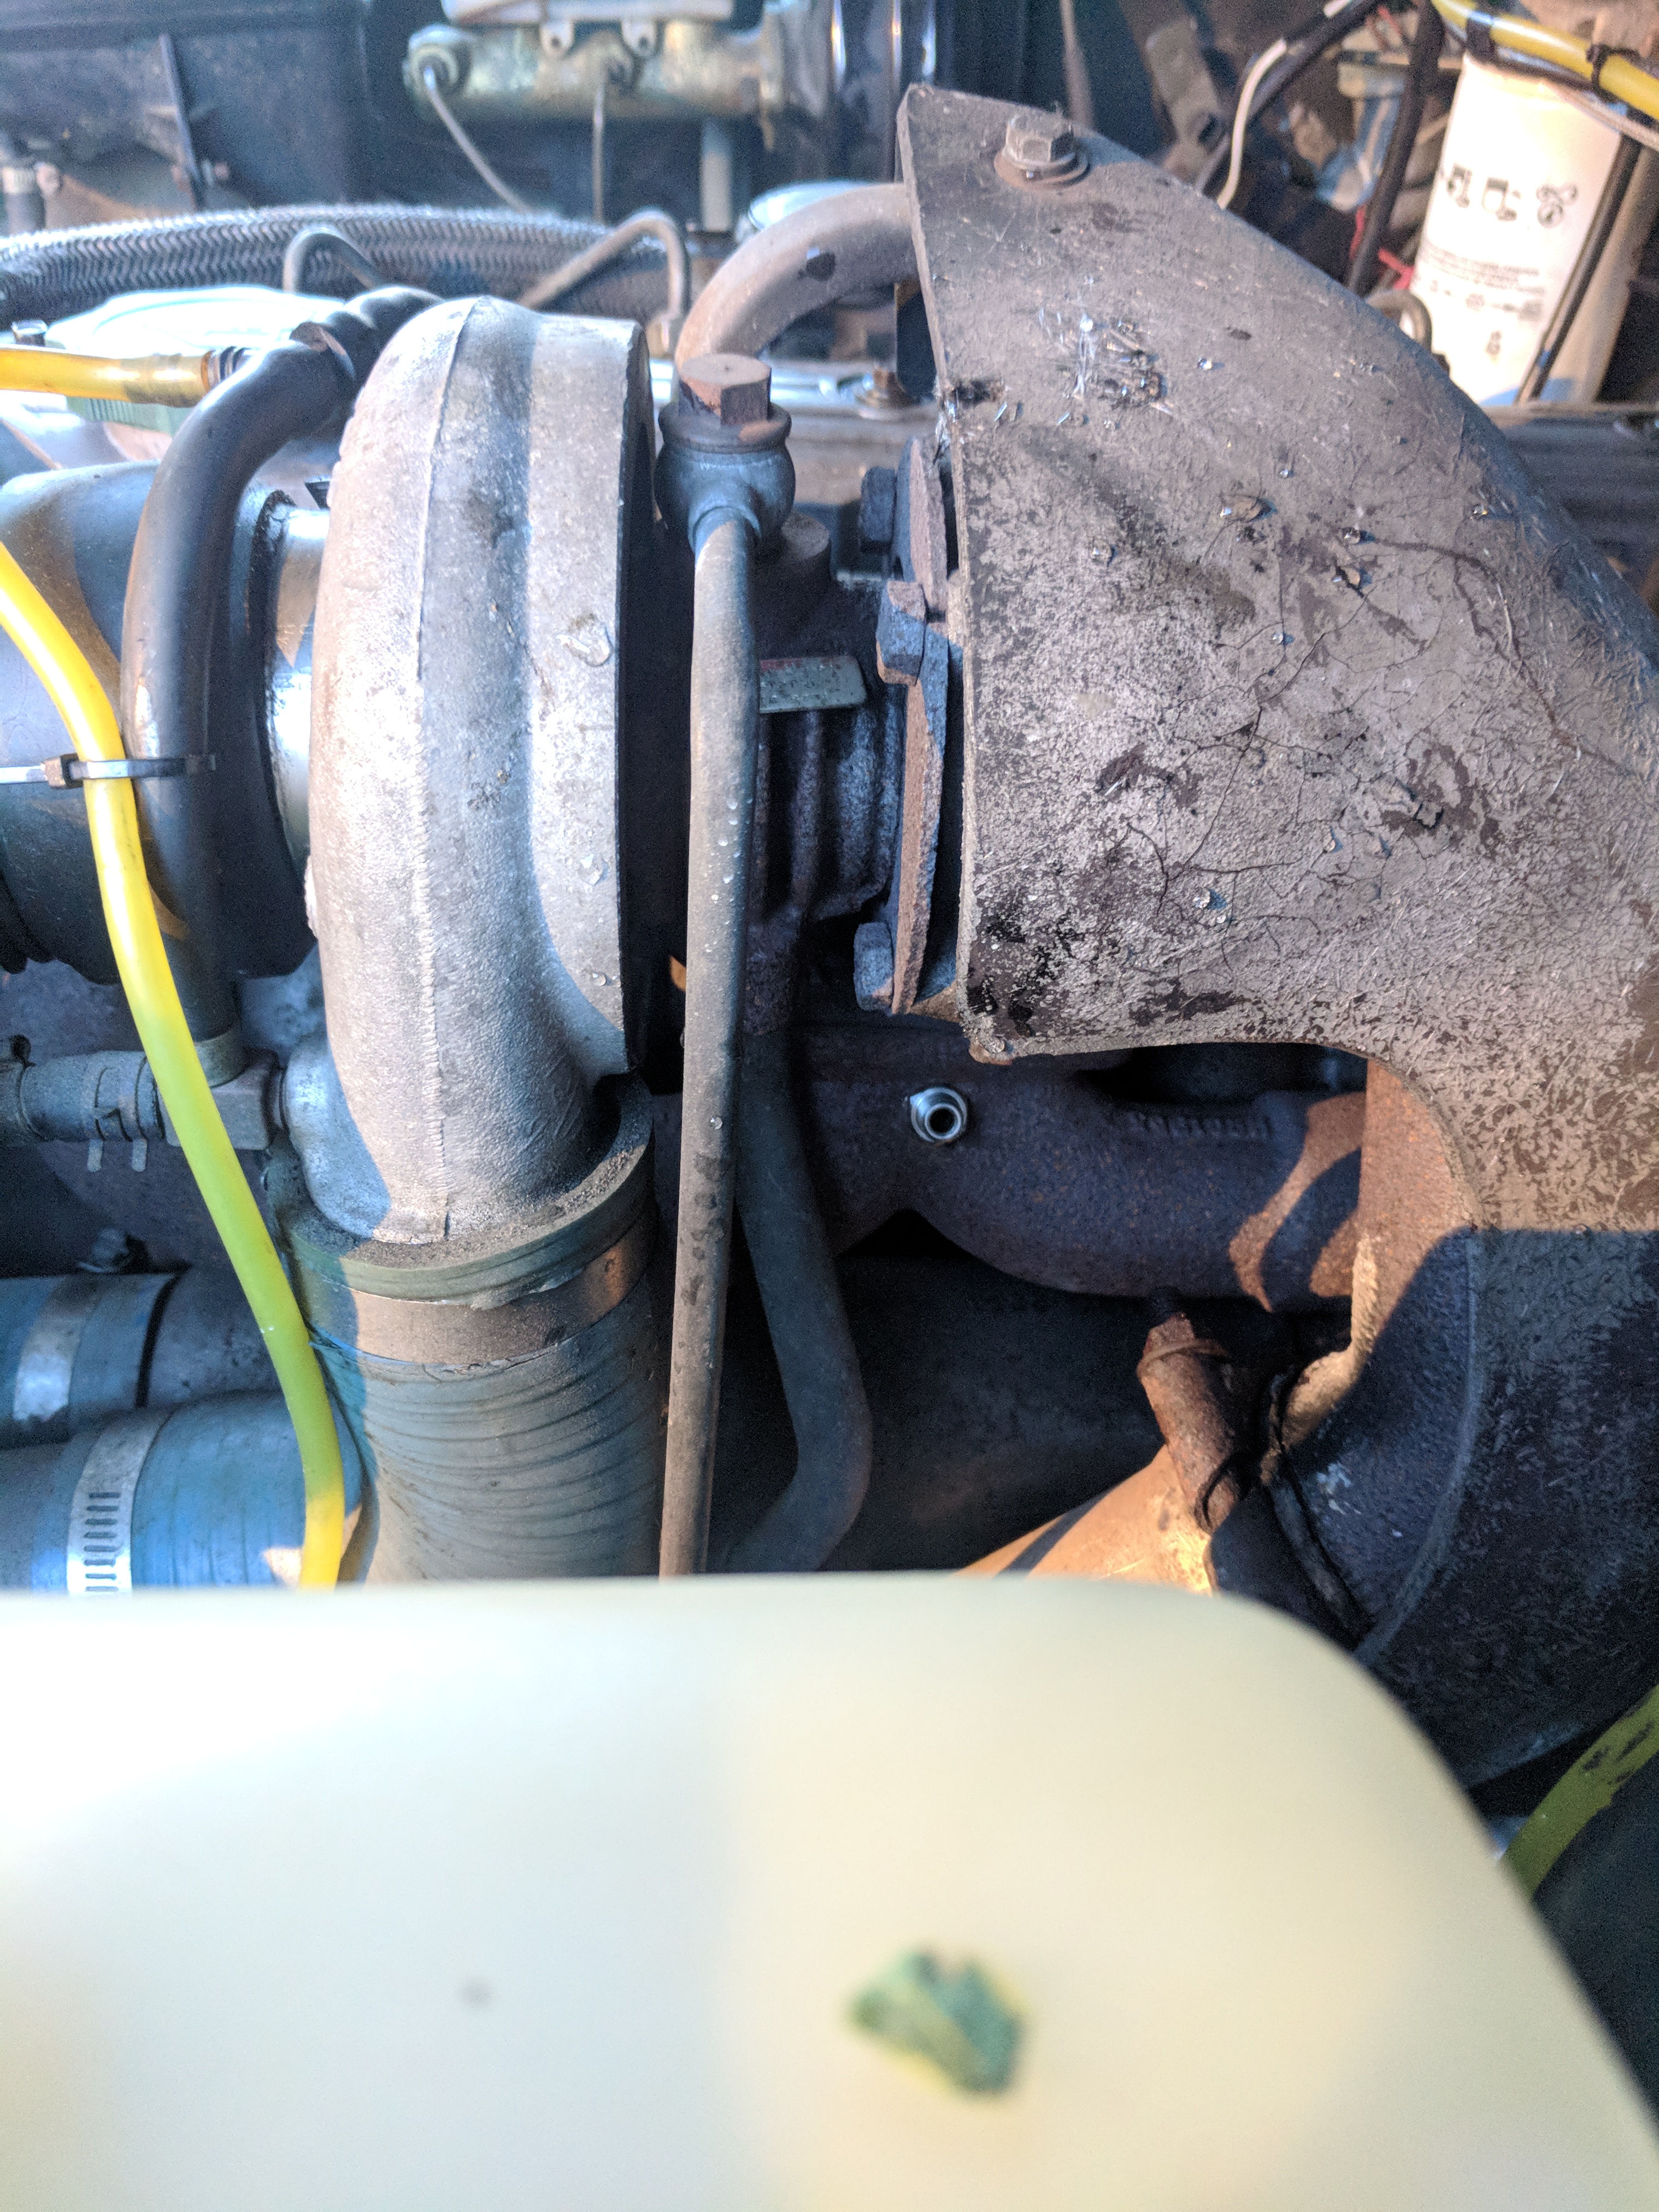
In August of 2017 while my wife was out of town I flew with a long time friend of mine to about 30 minutes outside of D.C to check out a Defender I had seen for sale on the internet. The pictures weren't super great, but after having looked for a few years this one really called to me. The price was considerably lower than I had expected to pay for a decent Defender, so I was intrigued. The seller also had two 130's for sale and this 90. Unfortunately upon initial inspection, it appeared pretty much nothing electrical worked minus the starter. The alternator wasn't charging, it had dual batteries, one was totally shot and a bunch of interesting wiring. The only real problem was the non-charging alternator, which was fixed somewhat by exciting it with liberal application of the skinny pedal.
So I purchased Mouse (named after the mouse figurine a previous owner glued to the dash) and prepared for the 700ish mile trip home in a totally unknown Land Rover. I had done similar trips on dirt bikes, so how bad could it be?

I brought with me an assortment of tools, also owning a Discovery 1... I am familiar with what tools are needed to work on a Defender.
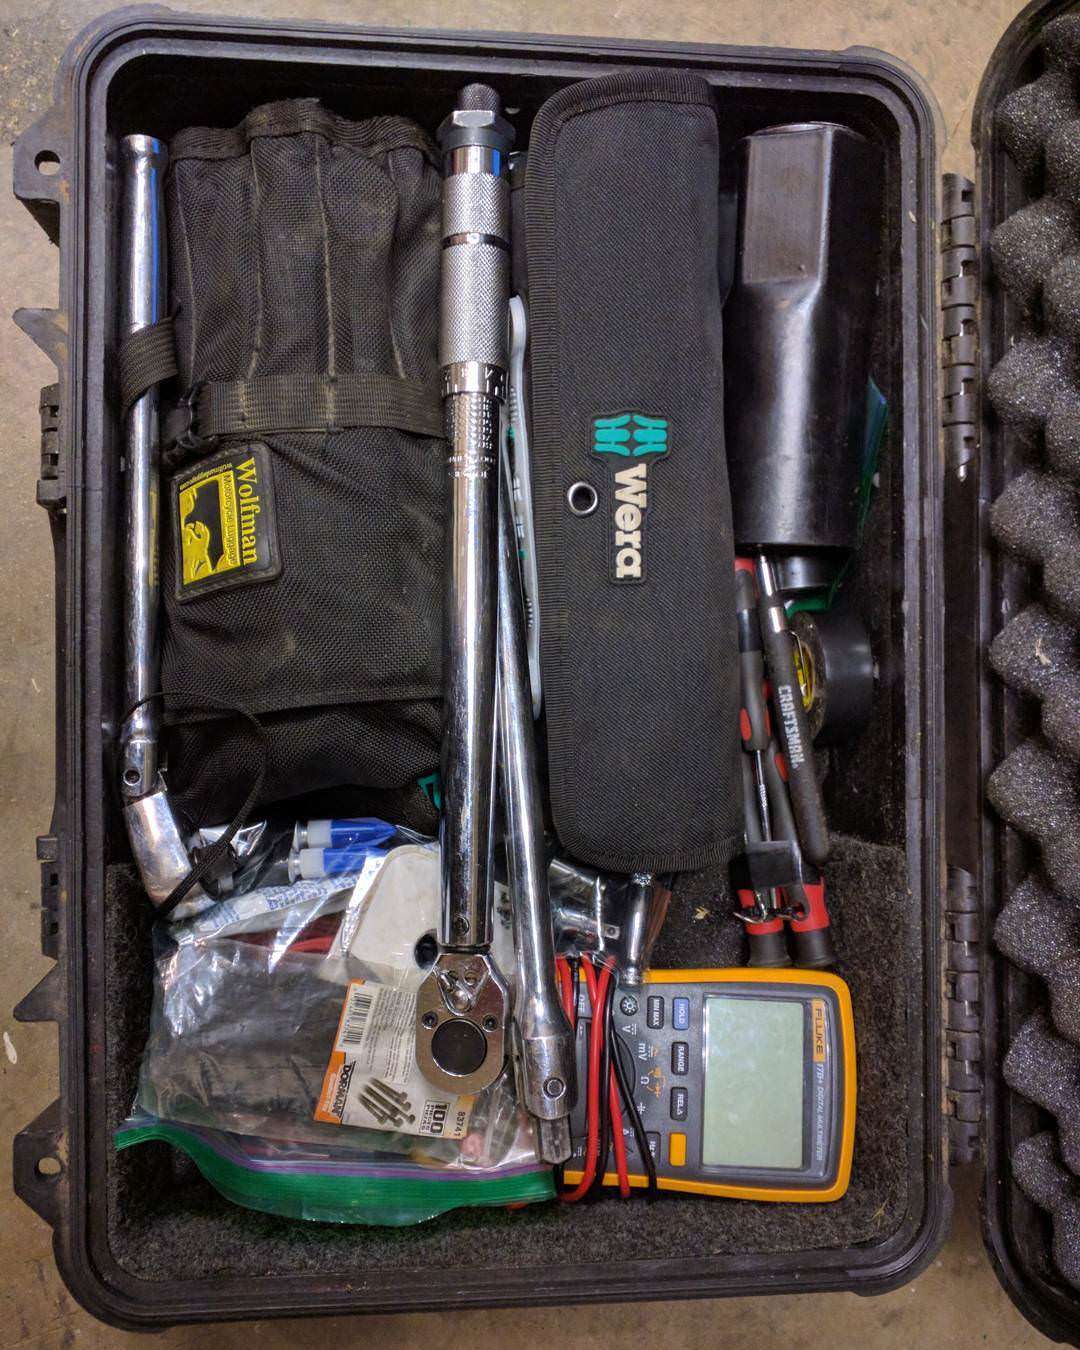
So funny story, apparently you can't bring any tools longer than 7 inches on a plane. I ended up nearly missing the flight, having a mild panic attack that TSA might seize my tools and luckily was able to check my toolbox and retrieve it without anything missing.
The trip home was totally uneventful. The only tool I needed was a #2 phillips head screwdriver and my multi meter. I did have to stop for ant spray and sunscreen, two things that never crossed my mind to pack! I didn't want to push an unknown motor so I stayed at 60mph pretty much the entire time, which made the trip take two days. Unfortunately 60mph in Virginia is pretty much asking to get flattened by a semi truck.
My first task was to rid the truck of the shitting wiring. Having went to school to be an electrician, I don't like shitty wiring.

From then up until present I went through most of the wiring harness and everything works minus the horn, which just needs to be replaced. The interior light doesn't work, but that's because I am replacing all of it and in the process of adding LED's around the inside of the cab.

I had recently pulled the dash to check all the wiring behind it and add a few more circuits, fused, from the battery.

Added a Blue Sea fuse panel behind the dash for all the additional projects in the future.

Added additional wiring and speaker wires for a 300W amp installed next to the battery.

Also installed a Whelen TIR3 in the fog light spot, wired up to the brake lights and replaced all the lights with LED.

Not sure I am super happy with the LED bulb in the projector housing. Might put a projector lens inside the reflector housing, similar to how Singer builds their headlights for their 911's.

Needed a headunit, but I don't fancy the crazy pulsing LED's of modern headunits and I wanted something I can customize. Also, I needed an on-board computer for future projects so I glued a 7 inch touch screen to the center console cutout and attached a Raspberry Pi 3+. I'm by profession a Linux guy/programmer, so this was a natural fit.


When plugged into my phone the computer runs OpenAuto, which functions like Android Auto. Works well, has Google Maps, Waze, Google Music, shows notifications, etc. When unplugged, I use Kodi to play music. Right now I am using a USB DAC as a sound card for the Pi, but I will probably buy a HiFiBerry in order to have better sound and an equalizer. I've got a 10hz GPS receiver that will log routes for me, as soon as I program it up. Still looking for open source GPS mapping for the Pi, but I haven't looked too hard right now. My phone works like a WiFi hot spot, so I can use Google Maps and such on the browser when not using Android Auto.

I had tried multiple storage solutions... I didn't like this too much, mainly because it was slightly too large to fit flush and sometimes the drawers would fly open in a corner. It also screamed, "Steal me!"
I strapped a ActionPacker in the corner and put my Pelican case in front of it, which worked well over the winter. Unfortunately it's getting hot as f*$@ in Alabama, so I naturally want to leave my side windows open. I was afraid someone might just reach in and walk away with my Pelican case, so I needed another plan.

Modeled in Fusion 360...

The drawer couldn't be too wide or it would hit the door, so I made this long skinny slot for long tools like breaker bars and torque wrenches. Also my snatch strap fits nicely in it.

Built out of 3/4 MDF...

Rough test fit. The drawer was coated with bed liner then painted over with Krylon, mainly to see how I would like the texture and durability. The drawer front will either be steel or wood. Might line the top with carpet, we'll see. The back pocket is going to have a lid of some sort whenever I figure out how I want to do it. This is essentially just a place to stash items that can be reached from the driver/passenger seat.
In August of 2017 while my wife was out of town I flew with a long time friend of mine to about 30 minutes outside of D.C to check out a Defender I had seen for sale on the internet. The pictures weren't super great, but after having looked for a few years this one really called to me. The price was considerably lower than I had expected to pay for a decent Defender, so I was intrigued. The seller also had two 130's for sale and this 90. Unfortunately upon initial inspection, it appeared pretty much nothing electrical worked minus the starter. The alternator wasn't charging, it had dual batteries, one was totally shot and a bunch of interesting wiring. The only real problem was the non-charging alternator, which was fixed somewhat by exciting it with liberal application of the skinny pedal.
So I purchased Mouse (named after the mouse figurine a previous owner glued to the dash) and prepared for the 700ish mile trip home in a totally unknown Land Rover. I had done similar trips on dirt bikes, so how bad could it be?
I brought with me an assortment of tools, also owning a Discovery 1... I am familiar with what tools are needed to work on a Defender.
So funny story, apparently you can't bring any tools longer than 7 inches on a plane. I ended up nearly missing the flight, having a mild panic attack that TSA might seize my tools and luckily was able to check my toolbox and retrieve it without anything missing.
The trip home was totally uneventful. The only tool I needed was a #2 phillips head screwdriver and my multi meter. I did have to stop for ant spray and sunscreen, two things that never crossed my mind to pack! I didn't want to push an unknown motor so I stayed at 60mph pretty much the entire time, which made the trip take two days. Unfortunately 60mph in Virginia is pretty much asking to get flattened by a semi truck.
My first task was to rid the truck of the shitting wiring. Having went to school to be an electrician, I don't like shitty wiring.
From then up until present I went through most of the wiring harness and everything works minus the horn, which just needs to be replaced. The interior light doesn't work, but that's because I am replacing all of it and in the process of adding LED's around the inside of the cab.
I had recently pulled the dash to check all the wiring behind it and add a few more circuits, fused, from the battery.
Added a Blue Sea fuse panel behind the dash for all the additional projects in the future.
Added additional wiring and speaker wires for a 300W amp installed next to the battery.
Also installed a Whelen TIR3 in the fog light spot, wired up to the brake lights and replaced all the lights with LED.
Not sure I am super happy with the LED bulb in the projector housing. Might put a projector lens inside the reflector housing, similar to how Singer builds their headlights for their 911's.
Needed a headunit, but I don't fancy the crazy pulsing LED's of modern headunits and I wanted something I can customize. Also, I needed an on-board computer for future projects so I glued a 7 inch touch screen to the center console cutout and attached a Raspberry Pi 3+. I'm by profession a Linux guy/programmer, so this was a natural fit.
When plugged into my phone the computer runs OpenAuto, which functions like Android Auto. Works well, has Google Maps, Waze, Google Music, shows notifications, etc. When unplugged, I use Kodi to play music. Right now I am using a USB DAC as a sound card for the Pi, but I will probably buy a HiFiBerry in order to have better sound and an equalizer. I've got a 10hz GPS receiver that will log routes for me, as soon as I program it up. Still looking for open source GPS mapping for the Pi, but I haven't looked too hard right now. My phone works like a WiFi hot spot, so I can use Google Maps and such on the browser when not using Android Auto.
I had tried multiple storage solutions... I didn't like this too much, mainly because it was slightly too large to fit flush and sometimes the drawers would fly open in a corner. It also screamed, "Steal me!"
I strapped a ActionPacker in the corner and put my Pelican case in front of it, which worked well over the winter. Unfortunately it's getting hot as f*$@ in Alabama, so I naturally want to leave my side windows open. I was afraid someone might just reach in and walk away with my Pelican case, so I needed another plan.
Modeled in Fusion 360...
The drawer couldn't be too wide or it would hit the door, so I made this long skinny slot for long tools like breaker bars and torque wrenches. Also my snatch strap fits nicely in it.
Built out of 3/4 MDF...
Rough test fit. The drawer was coated with bed liner then painted over with Krylon, mainly to see how I would like the texture and durability. The drawer front will either be steel or wood. Might line the top with carpet, we'll see. The back pocket is going to have a lid of some sort whenever I figure out how I want to do it. This is essentially just a place to stash items that can be reached from the driver/passenger seat.