Greetings fellow overlanders! I am in the process of building a custom M101 Hummer trailer into a fully stocked long range overlanding base camp. The basic premise is that I have a daily driver truck modestly kitted that I would like to be able to hook up and roll out quickly and easily. My goal is to have basic necessities and even some off road luxuries ready to roll any time we can get away with minimal effort getting on (and off) the road. I'm a big fan of optimization. I have limited time to play and I like to make the most of that time playing, not working to get ready to play. I also would like to use my truck daily as it's intended.
I started this project and thread back in May 2015. I planned to have the trailer match a 2013 Ford Raptor. Since starting this project, I have decided to sell the Raptor and go a slightly different direction. I have recently picked up a 2013 Land Rover LR4 and will be finishing this project to specifically compliment the LR4.
Here's a recap of where the project is now:
Purpose: we love tent camping in remote areas. What I hope to create is a camping Base Camp that I can easily tow to remote areas that will support us while we're off the grid.
Budget: $9k
The plan:
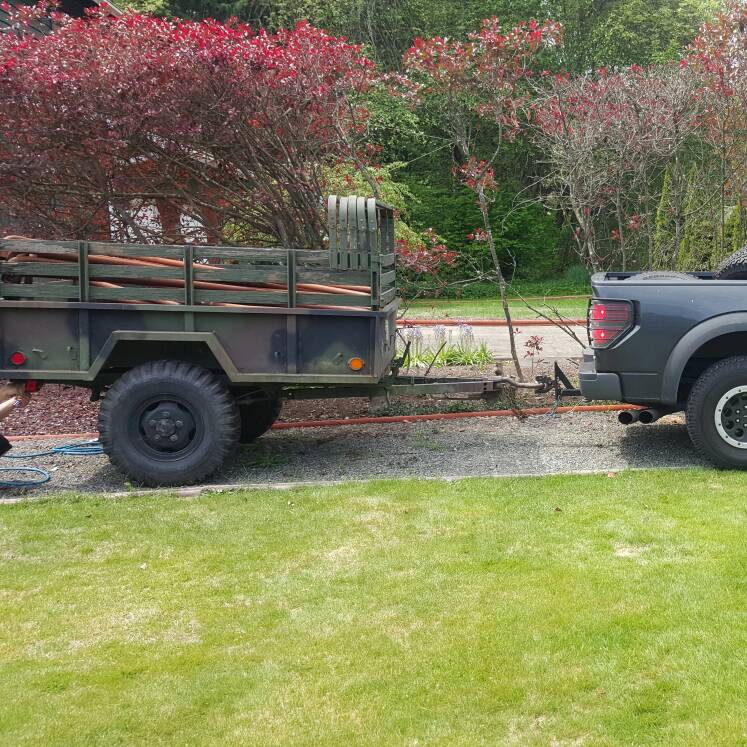
Base: M101 (1991) military trailer 3500 lb off-road capacity.
Propane - support cooking and hot water & generator.
Electric - power lights, plugins, ARB fridge, water pump. - possibly rechargeable via solar, shore power, deep cell batteries
Water - ample potable water for cooking, showers, drinking, hand washing
Tent - rack mounted fold out ARB Simpson III tent for 3+ campers
Air - ability to run power tools and air up.
Galley - sink, stove, fridge, grille
Storage - chairs, camping misc
Day 1
Bought the M101 trailer full of tube steel $500
Drug it from Seattle to Portland behind Raptor
Day 6
Sold the steel in the trailer for a total of $128.40
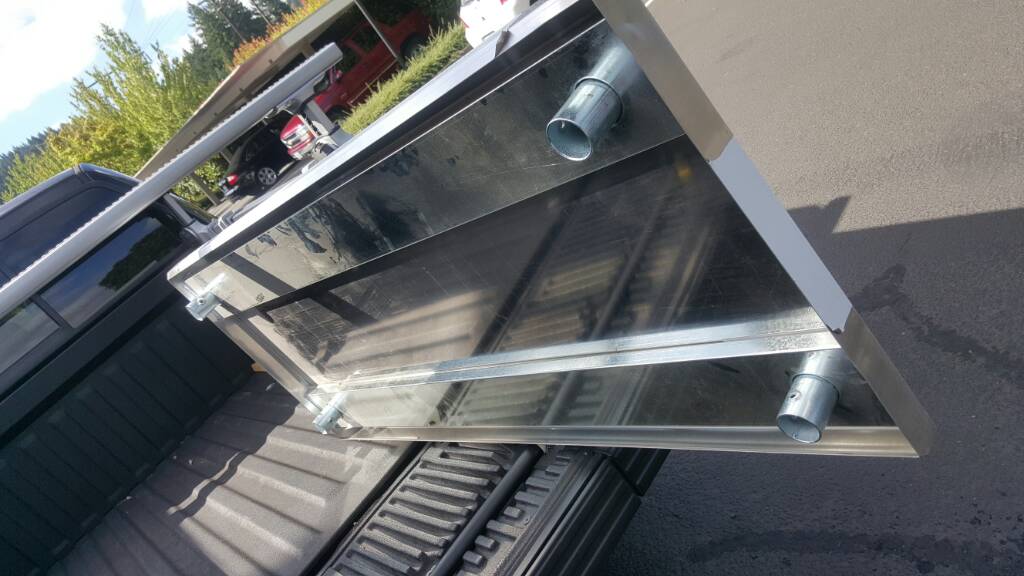
Power washed the trailer and removed the top rack.

----------
Decided to go with the Timbren axle-less and use hub converters. I really really don't like hub converters, but this suspension looks amazing. They already have electric brakes, so everything will be in place.
-----------
Roughed out the parts layout today. I've been getting lots in the mail this week. Also found a rv parts outlet locally!


----------
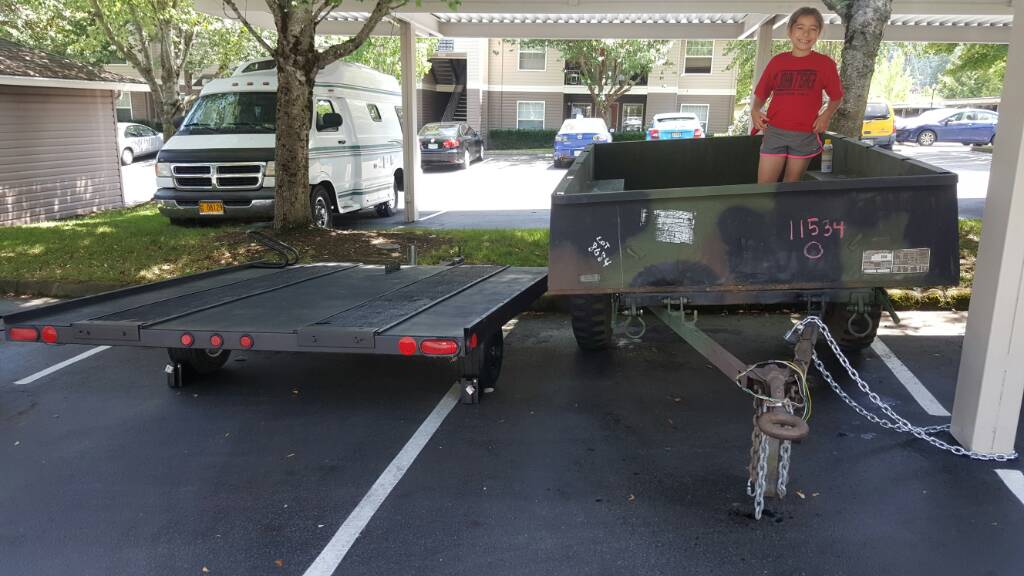
Outfitter flaked, so I bought an 8x8 flat bed and started dismantling today. Finish tomorrow and move axle-less trailer to flatbed. Need to get some quotes for prep (sandblast or dip) before bedliner goes on.
Sometimes (all of the time) I wish I had a shop. We're buying a ranch later this year, but it can't happen soon enough.
----------
Bed slider finally arrived. I pick it up tomorrow. Almost done stripping the trailer and ready to move it to the flatbed. Found a new sandblast co that I'll get a quote from. Picked up two cutting wheels for my grinder. Gotta make some cutout templates and get to cutting. Eek!
----------
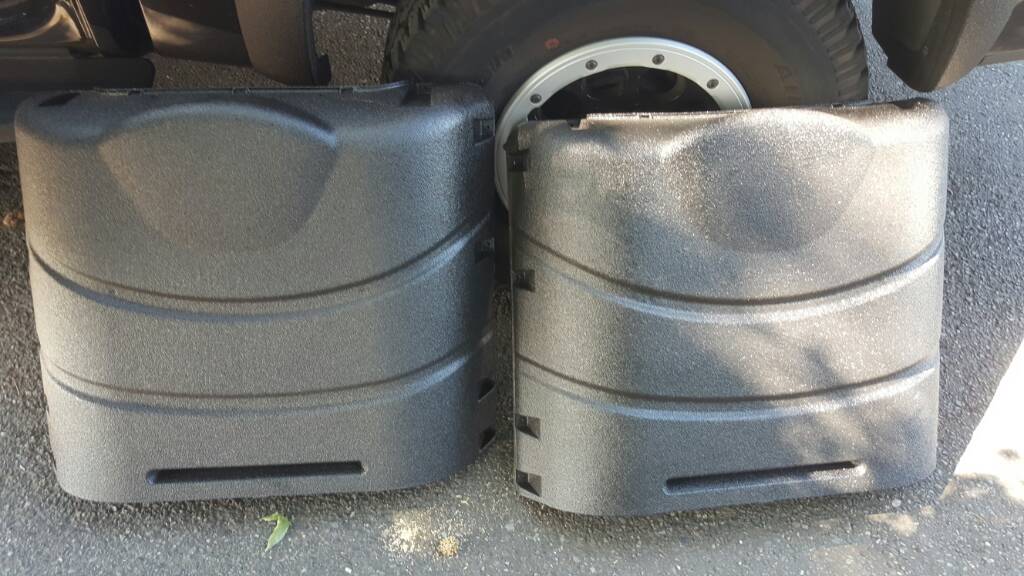
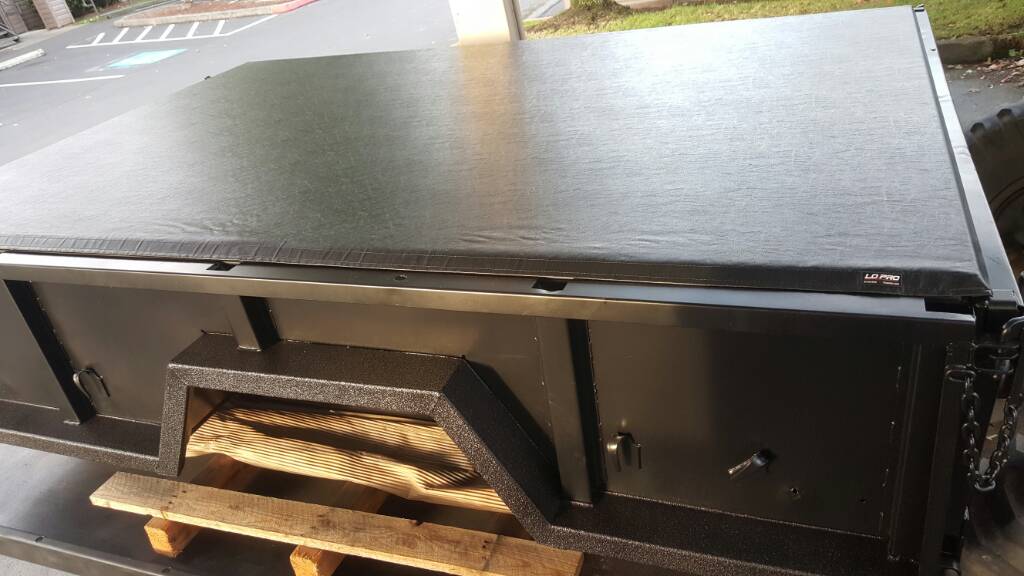
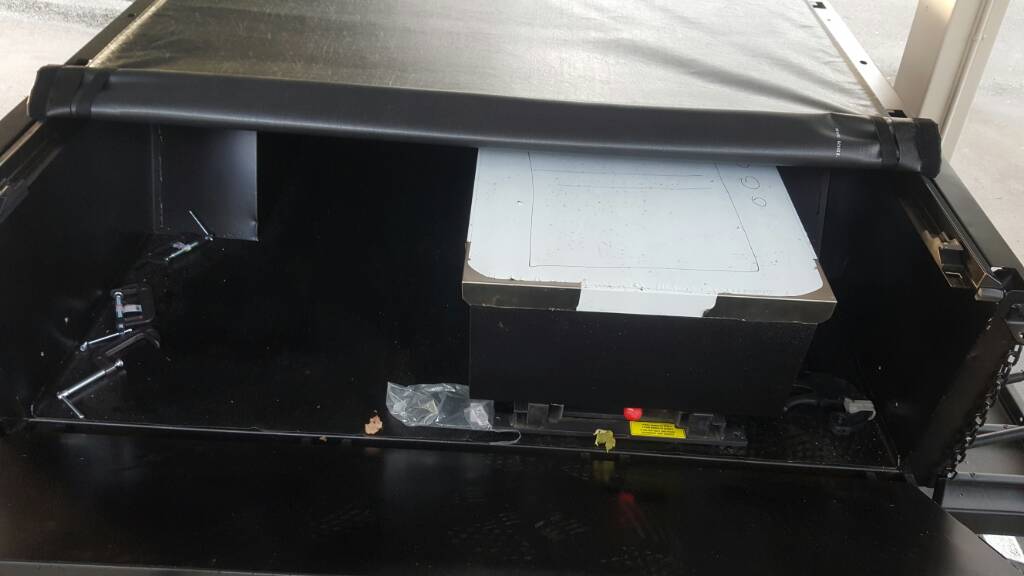
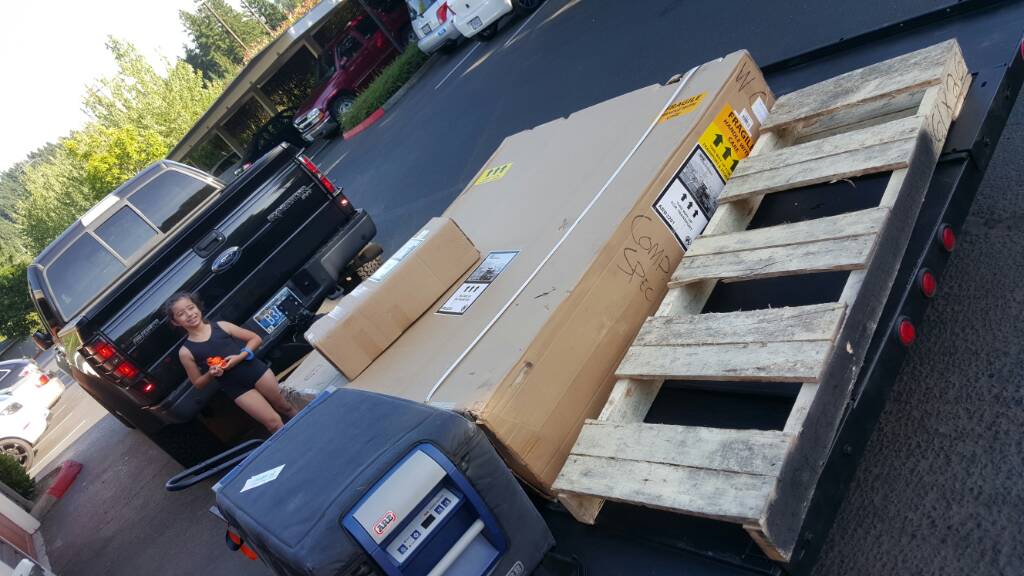
Picked up the bed slider, tent, annex, and tonneau cover today.
Dropped off the bed slide for the cabinet & countertop to be fabricated. Yay!

----------
Made cardboard templates of the 3 holes I need to cut. Used some soap stone to trace them onto the box. Headed to the coast today, but I'll cut these out, hopefully Sunday/Monday.
Yesterday I picked up 4 24" Jack stands to put under while I remove the suspension. I had flashbacks of coyote sawing the board he was sitting on over the cliff. Lol don't want to remove 1 too many suspension bolts and end up with a head in the shape of a pistachio. I really hope to have this thing to the sandblaster Monday.


-----------
Today was a fun one, partly because I'm off work all week and partly because I completed a part of the project that I had no idea if I could actually do, almost completely, by myself.
This morning, I got out the grinder and put some holes in the side to fit the water inlet and shower.
I took a mid day break and picked up 2 1/2" 4x8 sheets of marine plywood and delivered to the cabinet guy. He's going to start framing out the cabinets and get me a quote for a stainless top, hopefully this week.
On to the big work:
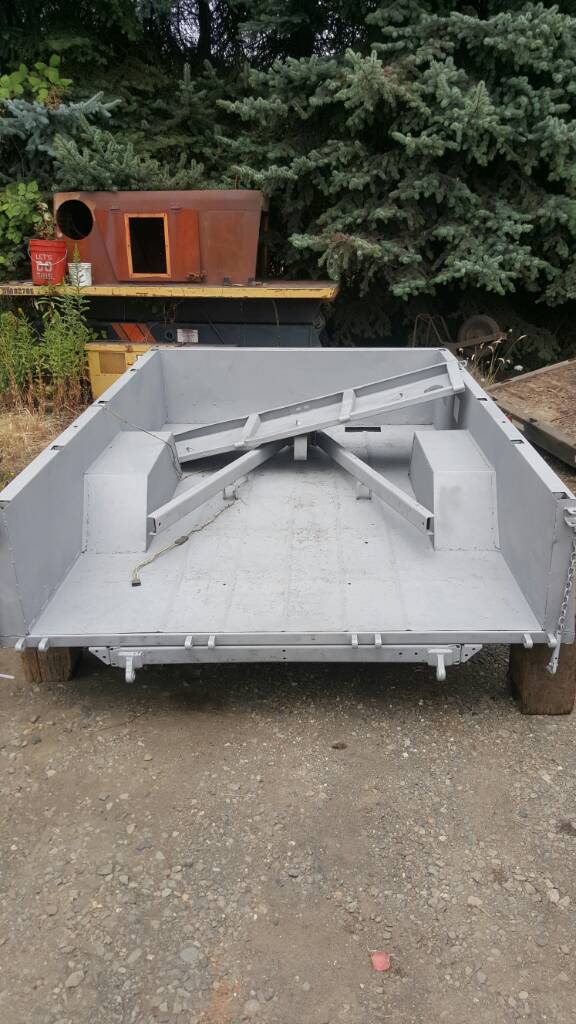
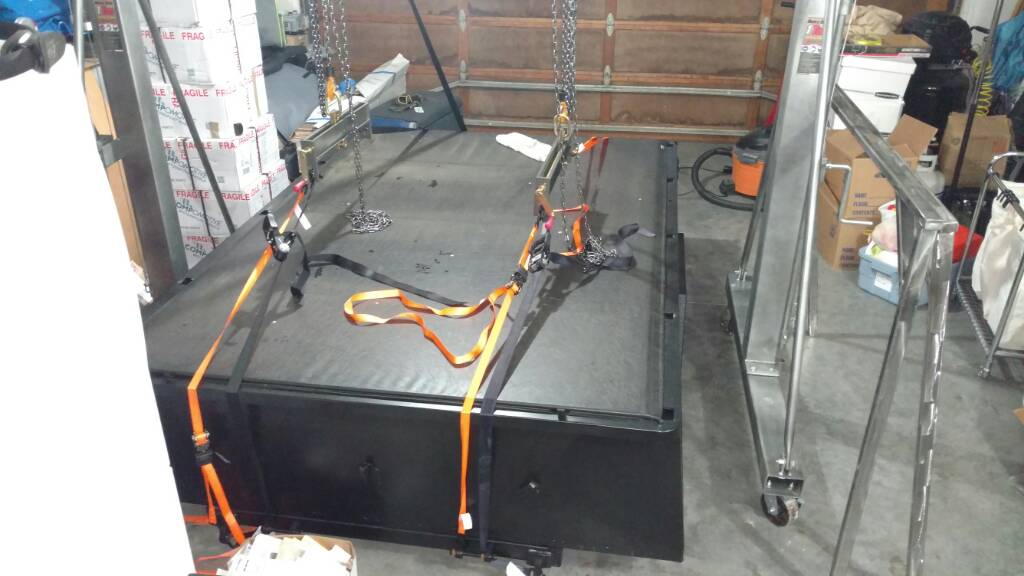
I got 4 6 tonne Jack stands and blocked up the body. I removed the final attachments and disconnected the axle. I had no idea how I could get the axle out from under it. After much thought, I went back to my country boy roots and went hillbilly! I used 2 1000lb tiedown straps and attached them to the roof of my shitty apartment car port. I slowly ratcheted it up just enough to get the axle out. I rolled the axle out while my wonderful woman held the box still. Then it occurred to me that those tie down straps don't have the ability to ratchet open. Hmm. Now I have a box hanging from the roof of my shitty apartment car port and no way to get it down without dropping it. I rolled the other flatbed under and then after some fenagling, set up the Jack stands. I used my recovery Jack to lift up one end. Then I could loose the tie downs. The recovery Jack has a set-down option, so I could then lower it onto the flatbed. Bam!
My woman was impressed with my hillbilly ingenuity and the job is done. Ready for the sand blaster.


For sale: (sold)

----------
I started this project and thread back in May 2015. I planned to have the trailer match a 2013 Ford Raptor. Since starting this project, I have decided to sell the Raptor and go a slightly different direction. I have recently picked up a 2013 Land Rover LR4 and will be finishing this project to specifically compliment the LR4.
Here's a recap of where the project is now:
Purpose: we love tent camping in remote areas. What I hope to create is a camping Base Camp that I can easily tow to remote areas that will support us while we're off the grid.
Budget: $9k
The plan:
Base: M101 (1991) military trailer 3500 lb off-road capacity.
Propane - support cooking and hot water & generator.
Electric - power lights, plugins, ARB fridge, water pump. - possibly rechargeable via solar, shore power, deep cell batteries
Water - ample potable water for cooking, showers, drinking, hand washing
Tent - rack mounted fold out ARB Simpson III tent for 3+ campers
Air - ability to run power tools and air up.
Galley - sink, stove, fridge, grille
Storage - chairs, camping misc
Day 1
Bought the M101 trailer full of tube steel $500
Drug it from Seattle to Portland behind Raptor
Day 6
Sold the steel in the trailer for a total of $128.40
Power washed the trailer and removed the top rack.
----------
Decided to go with the Timbren axle-less and use hub converters. I really really don't like hub converters, but this suspension looks amazing. They already have electric brakes, so everything will be in place.
-----------
Roughed out the parts layout today. I've been getting lots in the mail this week. Also found a rv parts outlet locally!
----------
Outfitter flaked, so I bought an 8x8 flat bed and started dismantling today. Finish tomorrow and move axle-less trailer to flatbed. Need to get some quotes for prep (sandblast or dip) before bedliner goes on.
Sometimes (all of the time) I wish I had a shop. We're buying a ranch later this year, but it can't happen soon enough.
----------
Bed slider finally arrived. I pick it up tomorrow. Almost done stripping the trailer and ready to move it to the flatbed. Found a new sandblast co that I'll get a quote from. Picked up two cutting wheels for my grinder. Gotta make some cutout templates and get to cutting. Eek!
----------
Picked up the bed slider, tent, annex, and tonneau cover today.
Dropped off the bed slide for the cabinet & countertop to be fabricated. Yay!
----------
Made cardboard templates of the 3 holes I need to cut. Used some soap stone to trace them onto the box. Headed to the coast today, but I'll cut these out, hopefully Sunday/Monday.
Yesterday I picked up 4 24" Jack stands to put under while I remove the suspension. I had flashbacks of coyote sawing the board he was sitting on over the cliff. Lol don't want to remove 1 too many suspension bolts and end up with a head in the shape of a pistachio. I really hope to have this thing to the sandblaster Monday.
-----------
Today was a fun one, partly because I'm off work all week and partly because I completed a part of the project that I had no idea if I could actually do, almost completely, by myself.
This morning, I got out the grinder and put some holes in the side to fit the water inlet and shower.
I took a mid day break and picked up 2 1/2" 4x8 sheets of marine plywood and delivered to the cabinet guy. He's going to start framing out the cabinets and get me a quote for a stainless top, hopefully this week.
On to the big work:
I got 4 6 tonne Jack stands and blocked up the body. I removed the final attachments and disconnected the axle. I had no idea how I could get the axle out from under it. After much thought, I went back to my country boy roots and went hillbilly! I used 2 1000lb tiedown straps and attached them to the roof of my shitty apartment car port. I slowly ratcheted it up just enough to get the axle out. I rolled the axle out while my wonderful woman held the box still. Then it occurred to me that those tie down straps don't have the ability to ratchet open. Hmm. Now I have a box hanging from the roof of my shitty apartment car port and no way to get it down without dropping it. I rolled the other flatbed under and then after some fenagling, set up the Jack stands. I used my recovery Jack to lift up one end. Then I could loose the tie downs. The recovery Jack has a set-down option, so I could then lower it onto the flatbed. Bam!
My woman was impressed with my hillbilly ingenuity and the job is done. Ready for the sand blaster.
For sale: (sold)
----------