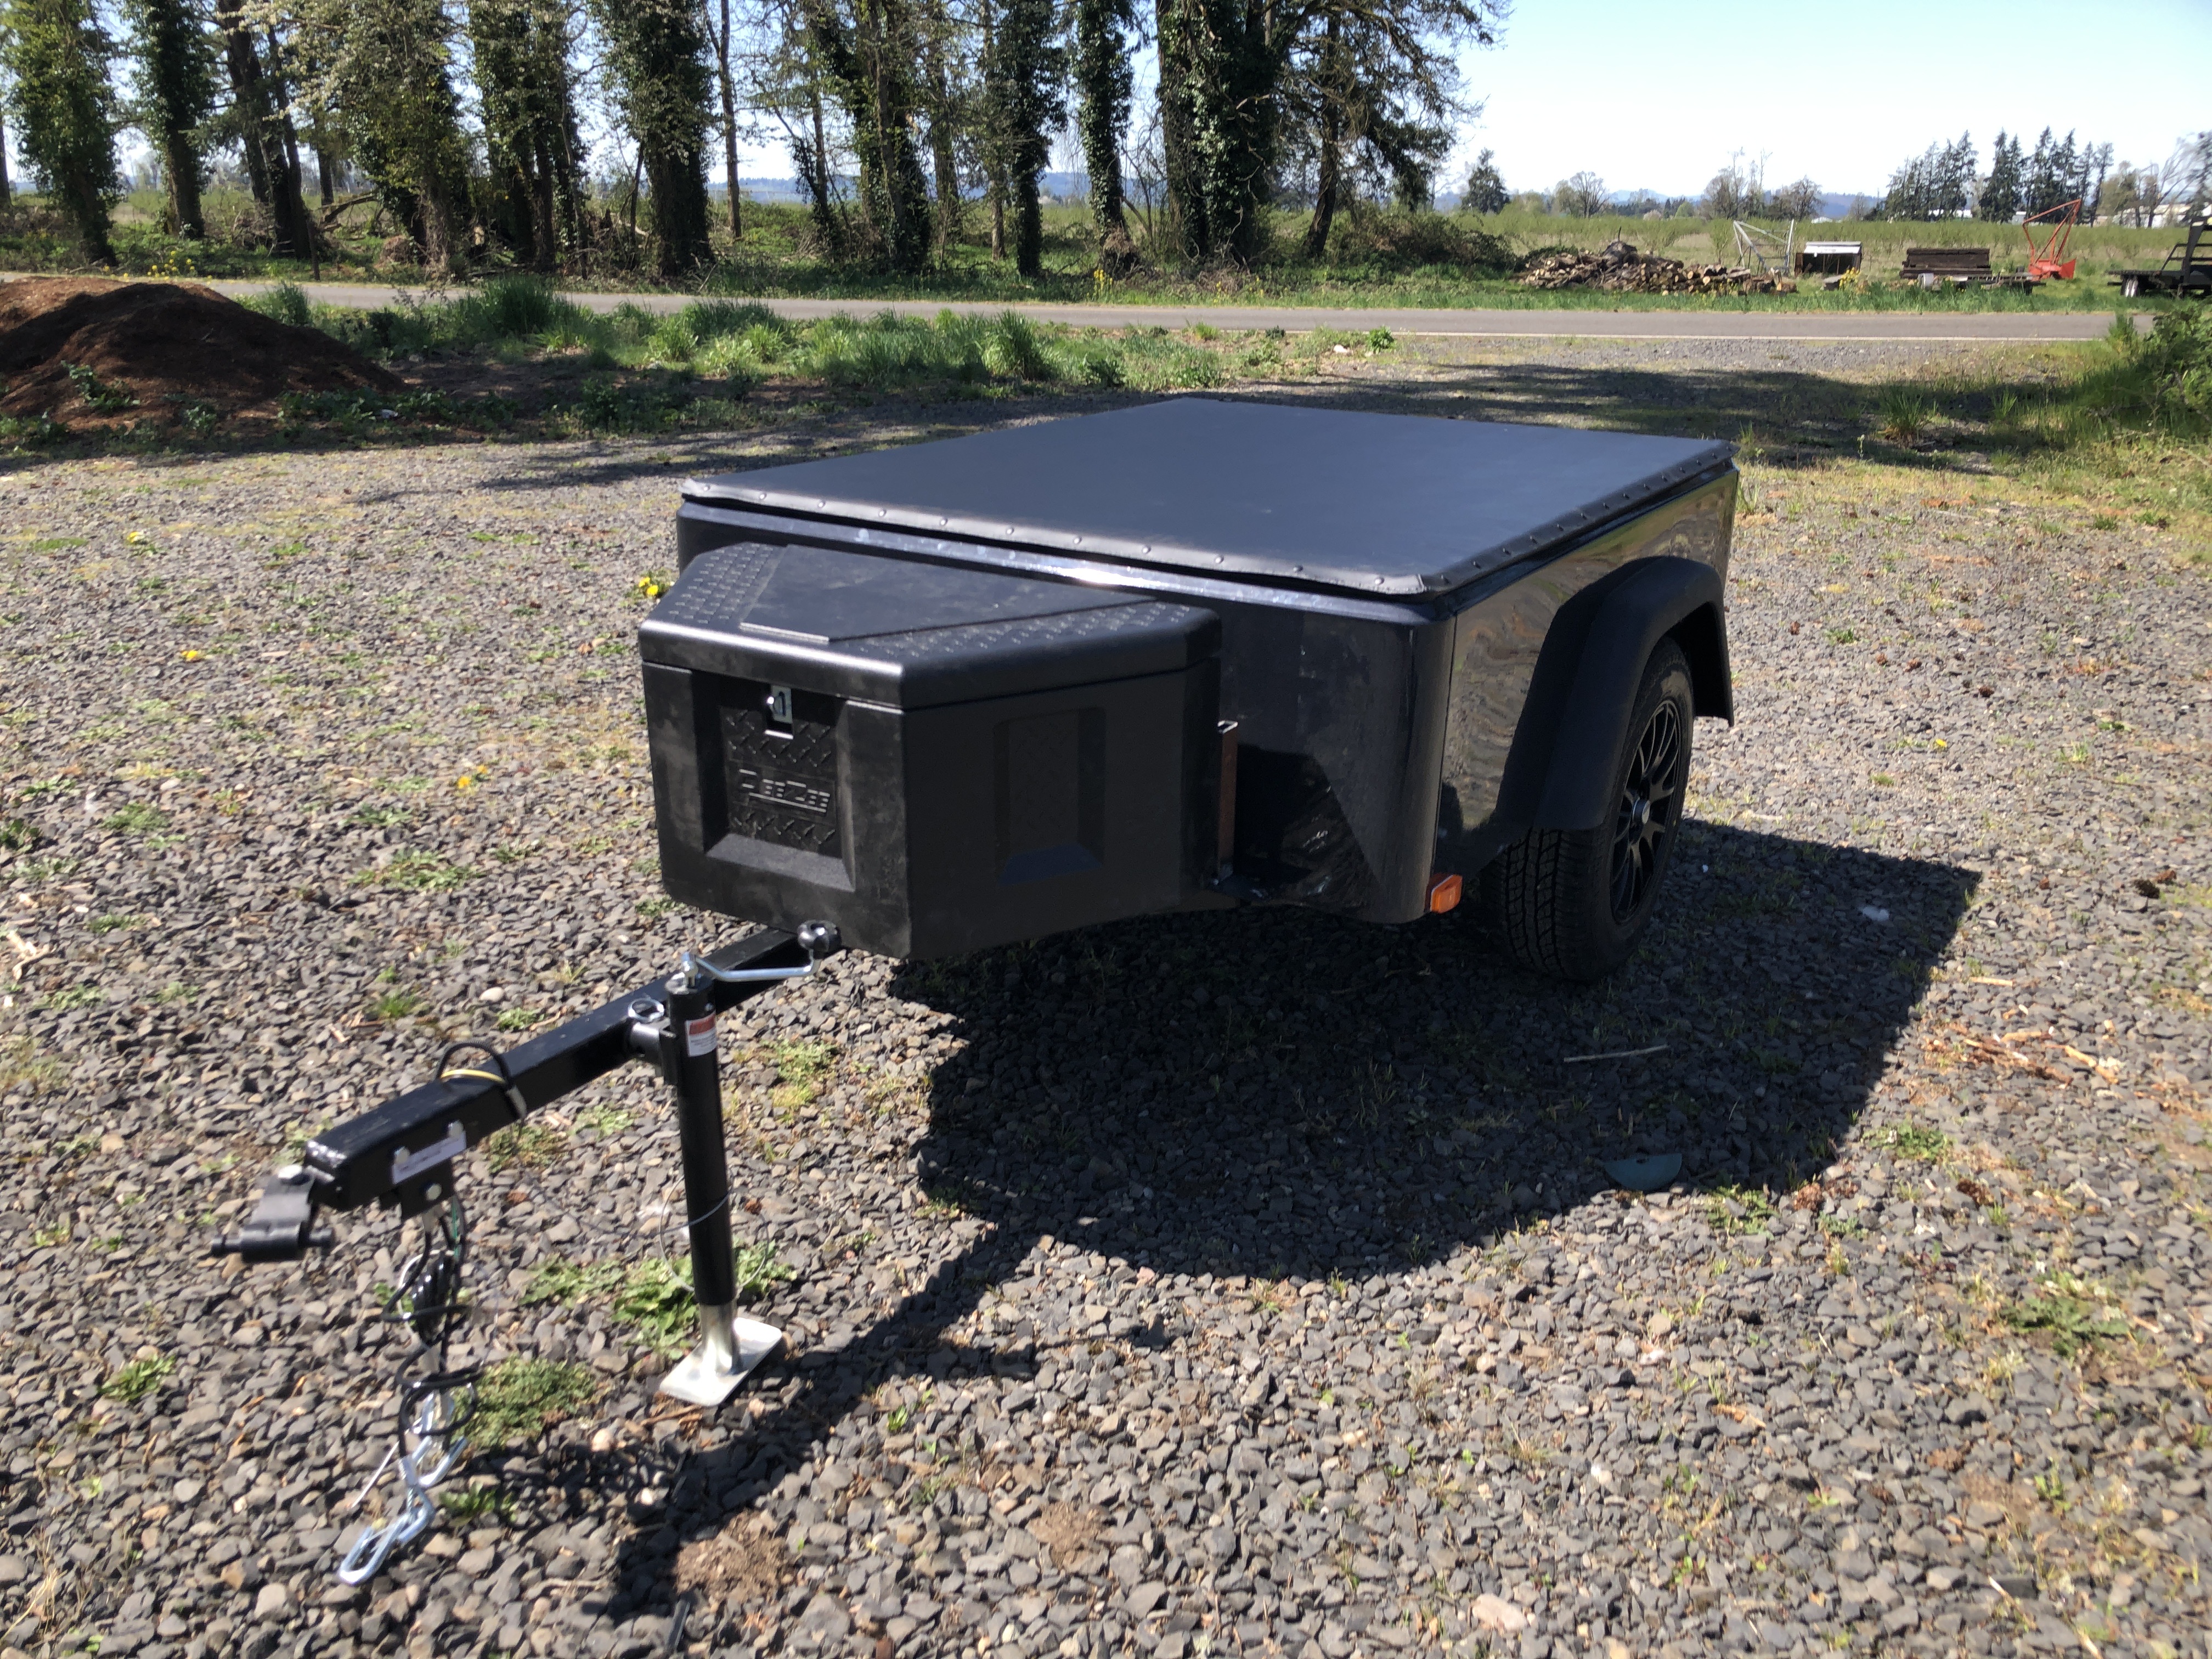
Jeffs DINOOT trailer build - Extended J Series

  • HTML tutorial

JeffnMar

Rank IV
Launch Member

Enthusiast III

1,116
Oregon
First Name
Jeff
Last Name
Wilson
Member #

17026

Greetings all , starting this thread for my Dinoot J-series extended build to pull behind my 2019 Subaru Outback. I have been overloading for awhile and I finally the pulled the trigger to build an overland trailer that fit my needs. When looking for a trailer I looked at :
  • Customization : I have had my RTT ( Roof Top Tent) on top of the Subie for a couple of years now , which has worked out fine for most of the areas we frequent as we Overland in Oregon and Washington . We have really enjoyed our set up ( at first) , but as we have gone on more trips, acquired more gear the Subie was getting full. We looked into possibly getting a teardrop but weight really became an issue ( The Subaru Outback does have a 2700lb towing capacity) , but when you start adding water / gear / etc things add up. We then looked into overland trailers and there was no real setup that really wouldn't require some modifications to suit our needs. Fast foreward to DINOOT and the option to build our DIY trailer to suit our needs. ]\

  • Weight: my 2019 outback does have a tow capacity of 2700 lbs, but some of the trailer options out their we looked at (smittybuilt / CVT /ETC) were quite heavy and I didn't want to strain my CVT transmission. The DINOOT after all said and done on my build with the RTT installed will come in at around 600lbs about half the weight of the lighest teardrop we could find. Now I realize an Outback is not a tow vehicle ( for reference we downsized from a 2010 Chevy Silverado 2500HD that we used to tow or 26 foot travel trailer) . I know my limitations , and now that the kids are grown we tend to focus more on the journey and not really the destination , so the Subaru fit or needs ( MPG / comfort on long road trips / room / AWD ). I couldn't be more pleased with the rig , for me and our needs the Outback is simply THE BEST choice for us and I haven't looked back.

  • Support / Customer Service : I talked to Scott at length via phone and email and his customer service is TOP NOTCH , there is no 'stupid question' and he does an excellent job helping answer questions and helping decide options to fit your needs. Plus , I live about 45 minutes from his shop so no brainer :-) .
Did my research , like working DIY projects ( specifically with my two boys 18/21 ) and thought this would be a great fit! If you have made it this far in this post , thank you :-) , I just wanted to share my thoughts on "the why" so I can focus on the build! Will post pictures and progress as I go , feel free to follow along and comment as needed!

Thanks All!
 

JeffnMar

Rank IV
Launch Member

Enthusiast III

1,116
Oregon
First Name
Jeff
Last Name
Wilson
Member #

17026

Picked up the trailer and took inventory of parts and the adventure begins. My brother in law has a great shop for this project and he is allowing me to take up some space as we start this grand adventure!

Got the trailer up on jack stands and got it degreased and etched ready for Primer and Paint.

I used POR15 degreaser where we used spray bottles , soaked in the degreaser (outside) and hosed it down. We then wiped it down and let it sit to dry.

" />

Next step we used POR15 metal cleaning / etching solution to get the trailer ready for primer. Again, we drenched the trailer with the solution, let it sit for 20 minutes and then washed it off. Took it back inside , we wiped it down with white cloth and *poof* , trailer is ready to be primed.

" />
 

JeffnMar

Rank IV
Launch Member

Enthusiast III

1,116
Oregon
First Name
Jeff
Last Name
Wilson
Member #

17026

Step 2: Now that the bare metal has been cleaned and prepped I was able to prime the trailer and the fiberglass frame pieces before we start rough fitting everything.

Little 600 grit sanding blocks for the cleaning and then wiped down with Denatured Alcohol and the primer went on with no problem. The primer I chose for the entire build was from restorative shop , I used the custom shop premium self etch primer . Primer went on great and dried quickly, not to humid today here in Oregon so I was in luck.

.


Once I got the primer on and let dry I was able to get the trailer frame painted with the final coat , for this I chose rust-oleum implement paint that I acquired from our local tractor supply store , for this I chose low gloss black . I have used this paint in the past it's ROCK SOLID when cured. This paint goes on like elmer glue , I was able to get the entire trailer frame painted up ,now to let it sit for a week in the shop to really let cure. I hope to work on the flooring next!


Last edited:

smritte

Rank V
Launch Member

Member III

2,827
Ontario California
First Name
Scott
Last Name
SMR
Member #

8846

Ham/GMRS Callsign
KO6BI
How well did the POR-15 etching solution work on the scale on your square tubing? I have having to grind it off before I paint.
 

JeffnMar

Rank IV
Launch Member

Enthusiast III

1,116
Oregon
First Name
Jeff
Last Name
Wilson
Member #

17026

seemed to work OK , I didn't have much problem .
 

JeffnMar

Rank IV
Launch Member

Enthusiast III

1,116
Oregon
First Name
Jeff
Last Name
Wilson
Member #

17026

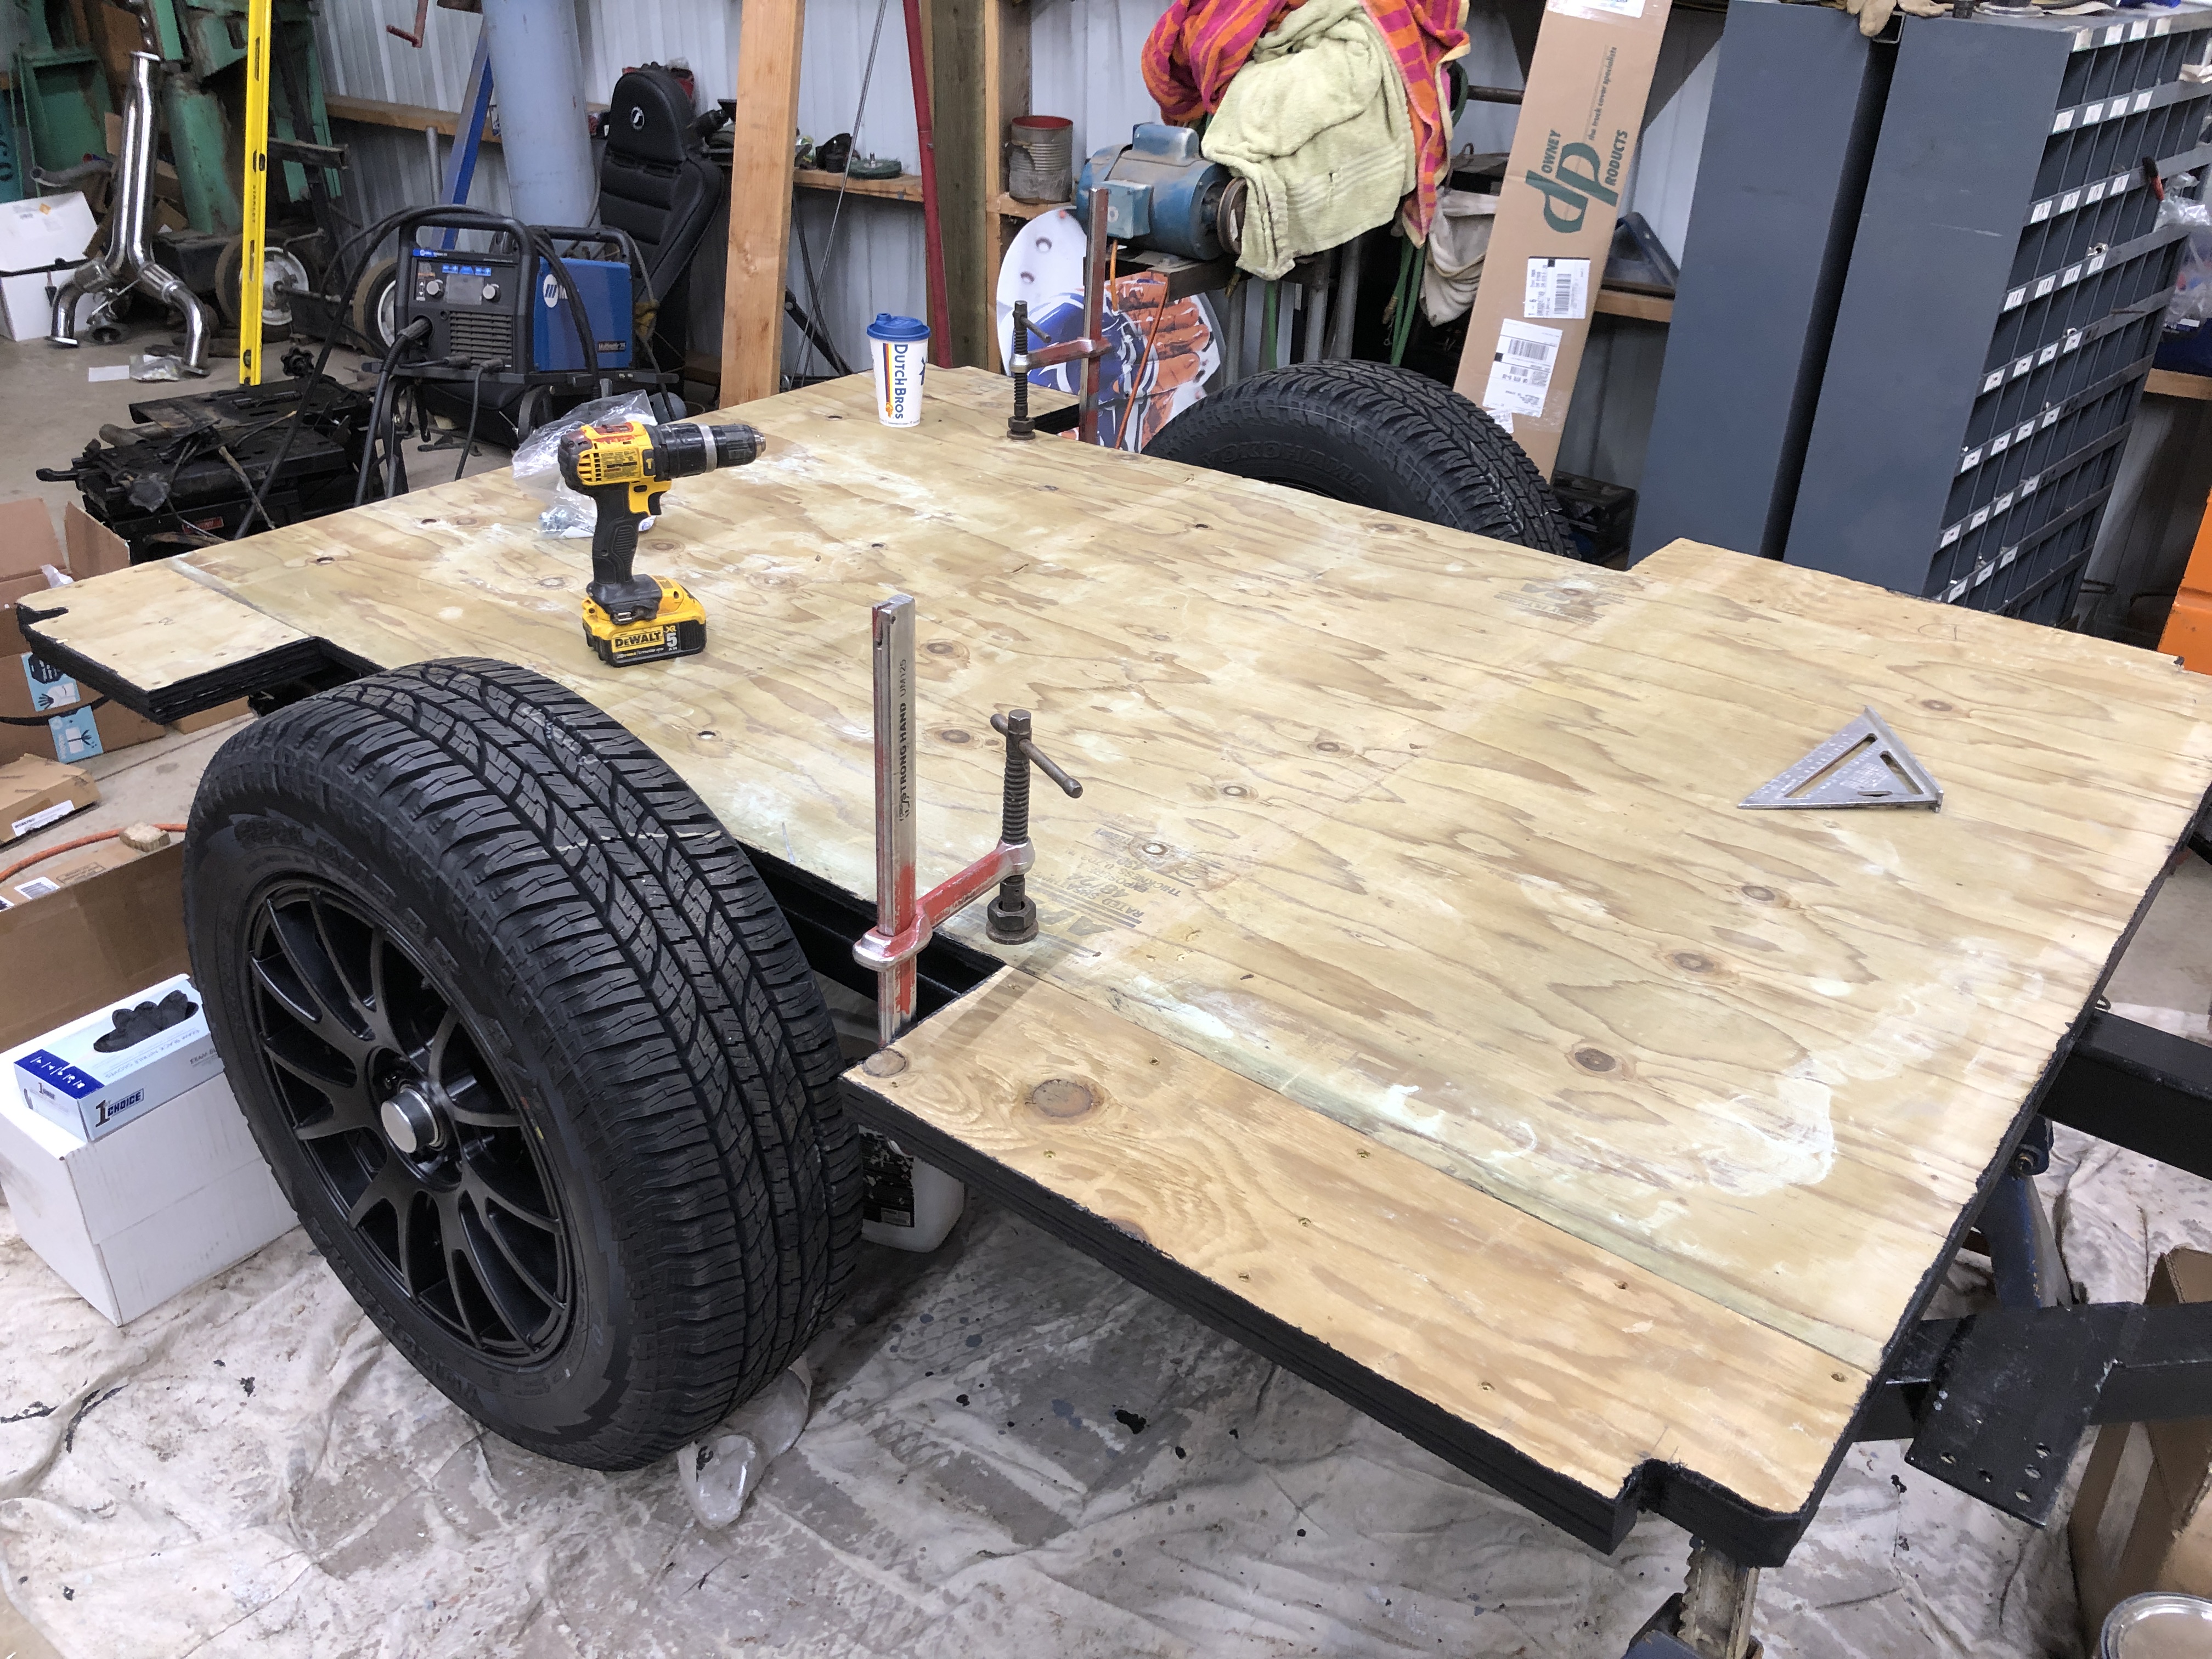
Today was spent getting the decking ready to attached to the trailer frame and get aligned for the fiberglass tub. I used treated plywood for this application , I plan on priming and putting on a roll on / spray on bedliner for the inside / outside to keep up with the rigors of the trail.

Below is a rough fitting before getting the glue and screws out to secure everything together.

 
  • Like
Reactions: 64Trvlr

JeffnMar

Rank IV
Launch Member

Enthusiast III

1,116
Oregon
First Name
Jeff
Last Name
Wilson
Member #

17026

I was a ble to work on the floor more today , after dry fitting everything I started to "Glue and Screw" , went together nice and after all together remeasured and everything was right where it needed to be , flooring fit like a glove on the frame.


Next we started dry fit the leaf springs and get ready for the axles /wheels /tires ....


JeffnMar

Rank IV
Launch Member

Enthusiast III

1,116
Oregon
First Name
Jeff
Last Name
Wilson
Member #

17026

Weekend update... We worked more on the suspension , axle, hubs and the floor of the trailer today with a quick dry fit of the fiberglass tub , all in all a very productive day , I cant wait to get the tires mounted and have a rolling frame ready :-) .

Started off cutting notches on all four corners of the frame to ensure the tub pieces fit together , measurements for spot on.


After we got the corners cut we moved onto the hubs and the axle. Got the bearings greased and hubs on the axle and got everything tightened down.


Next we got out the implement paint ( same stuff we used to paint the trailer frame) and coated the underside of the trailer flooring. We used treated plywood but this will give it extra protection, I plan on using a Bedliner for the inside of the trailer.


once we got that all done we flipped the frame around and we dry fitted the fiberglass tub, FIT LIKE A GLOVE :-) .


JeffnMar

Rank IV
Launch Member

Enthusiast III

1,116
Oregon
First Name
Jeff
Last Name
Wilson
Member #

17026

Another weekend and another few hours spent on completing the trailer :-)....

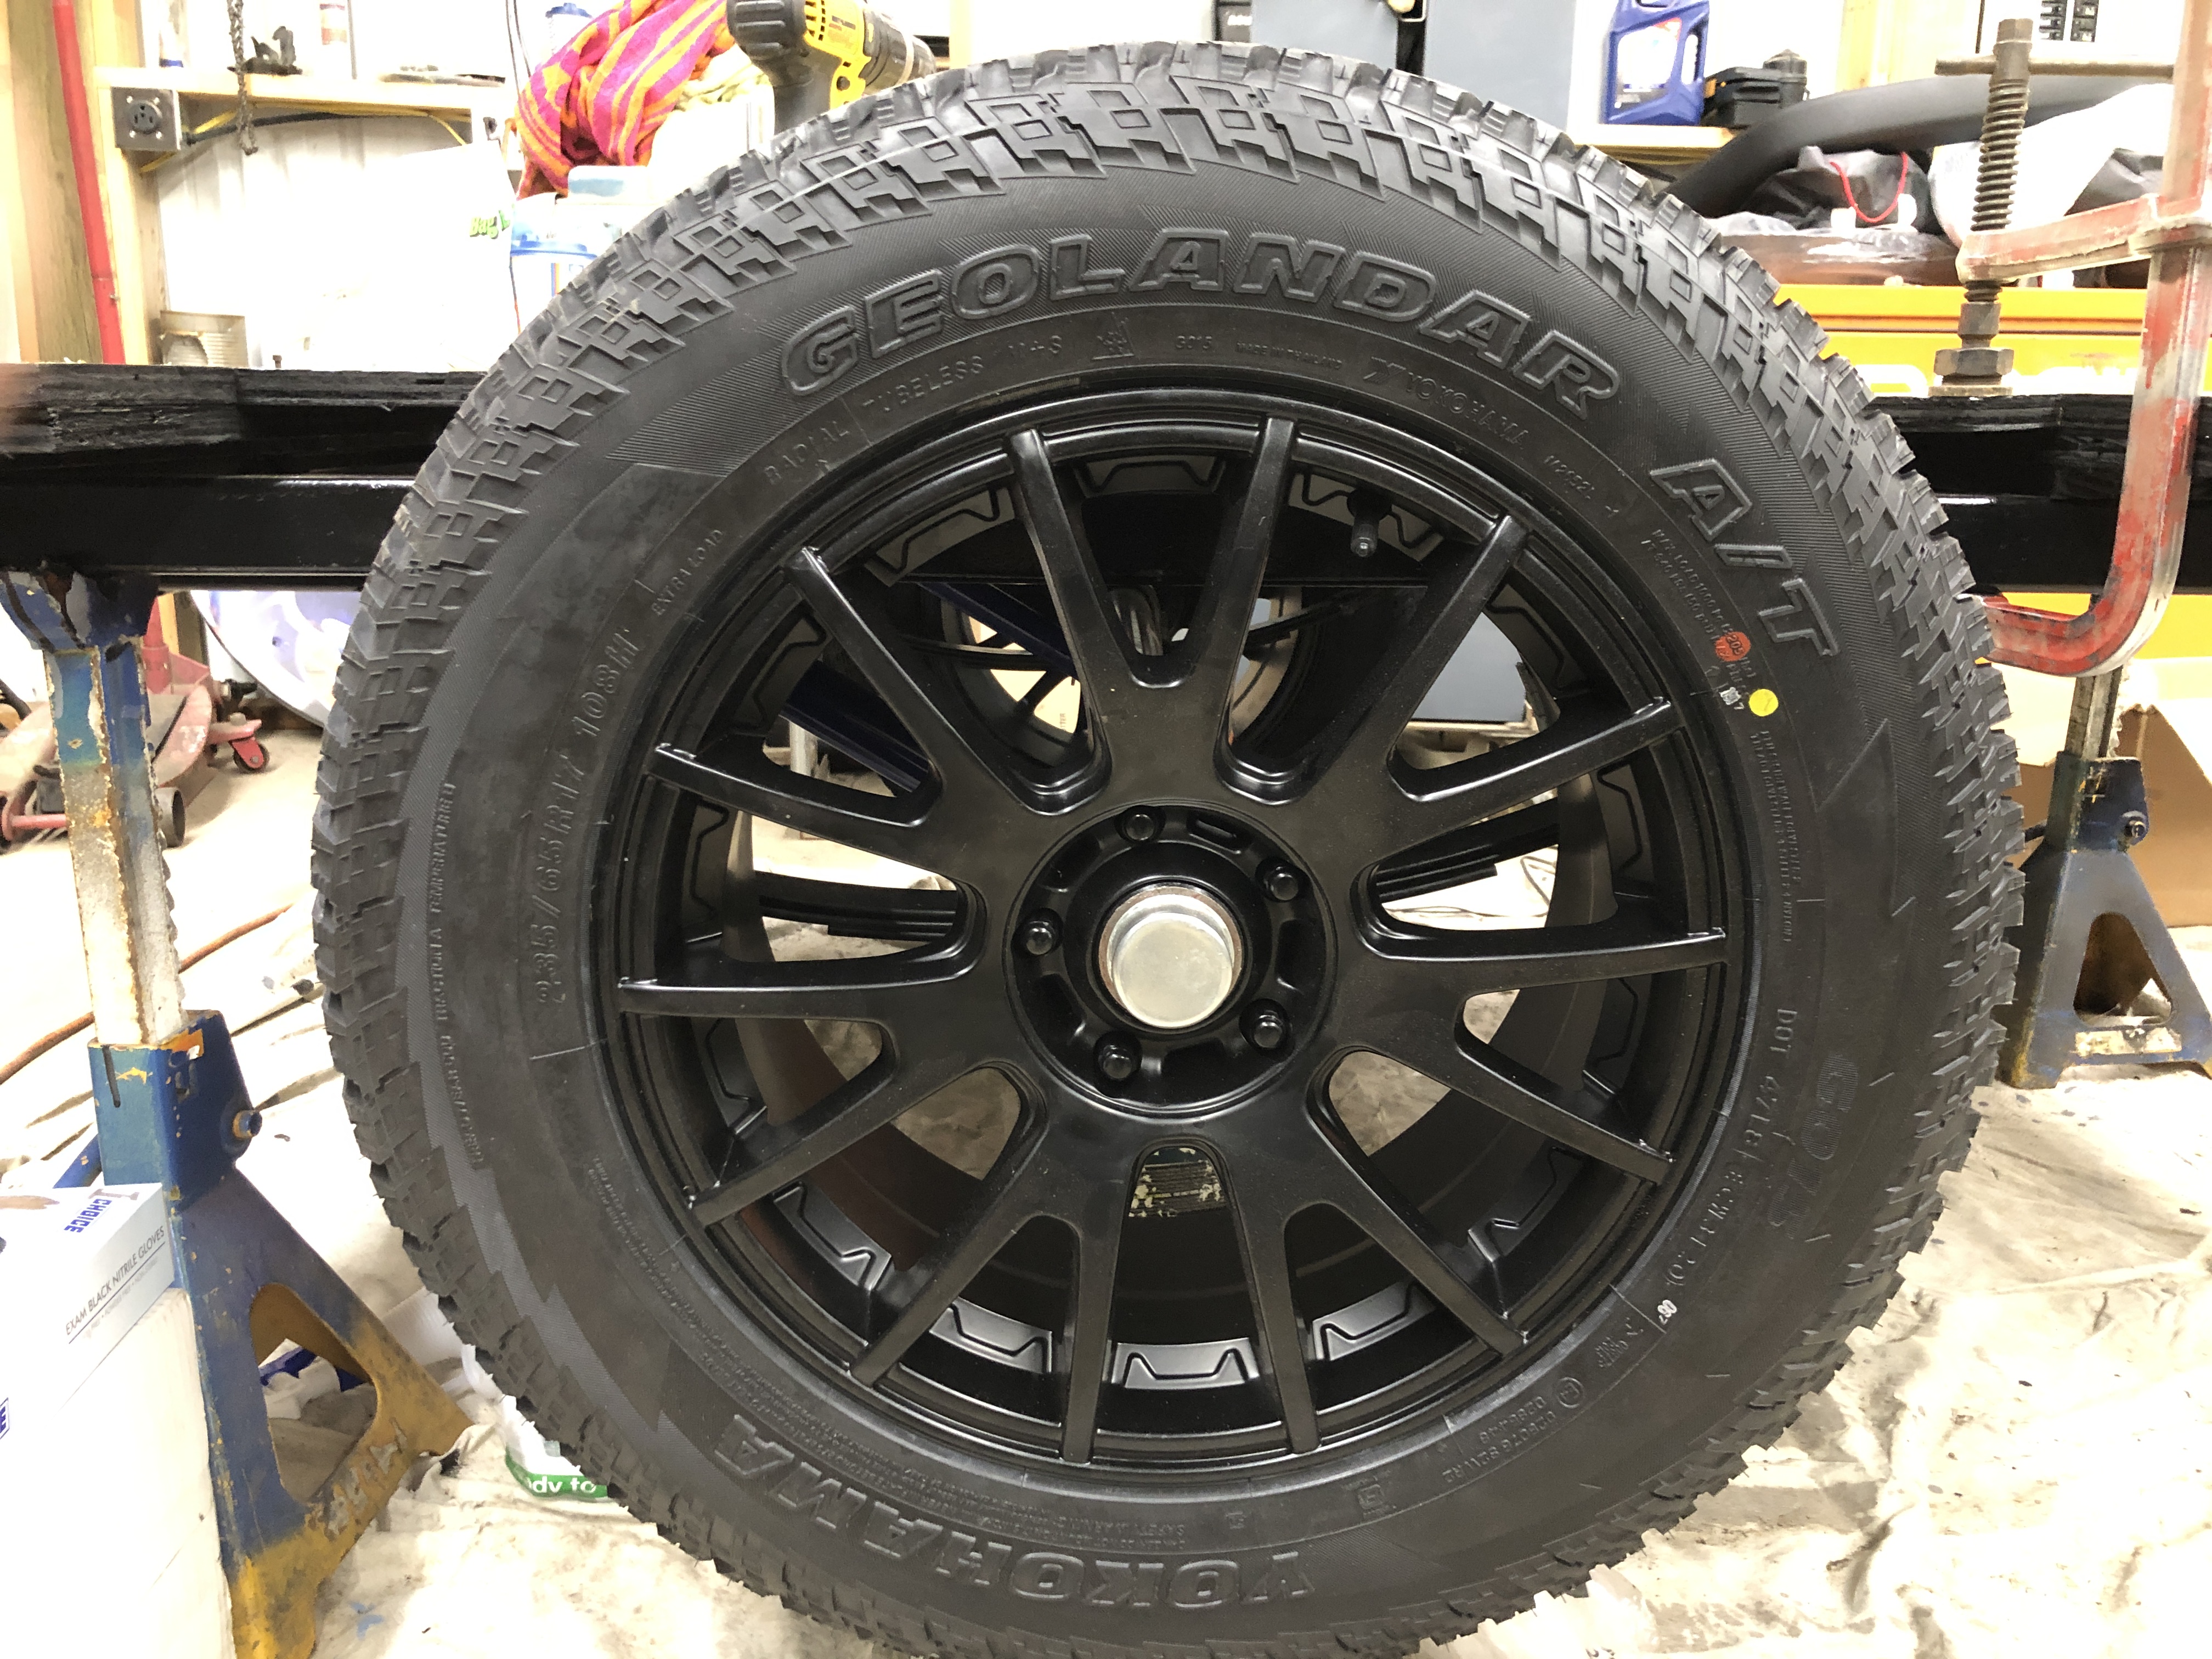
Worked on getting the wheels mounted , cutting out the fenders and getting a dry fit of the fiberglass tub before I start shooting paint.


I went with the same wheel and tire configuration that I have on my Subie. 17" Motegi wheels and Geolander AT GO15 tires ( I love these tires). Having one spare for my entire setup will certainly be nice while out on the road only having to carry one spare!

Wheels fit like a glove and the hubs were fastened securely without any play .


Next I moved onto getting it off the jack stands and let it sit on its own :-)


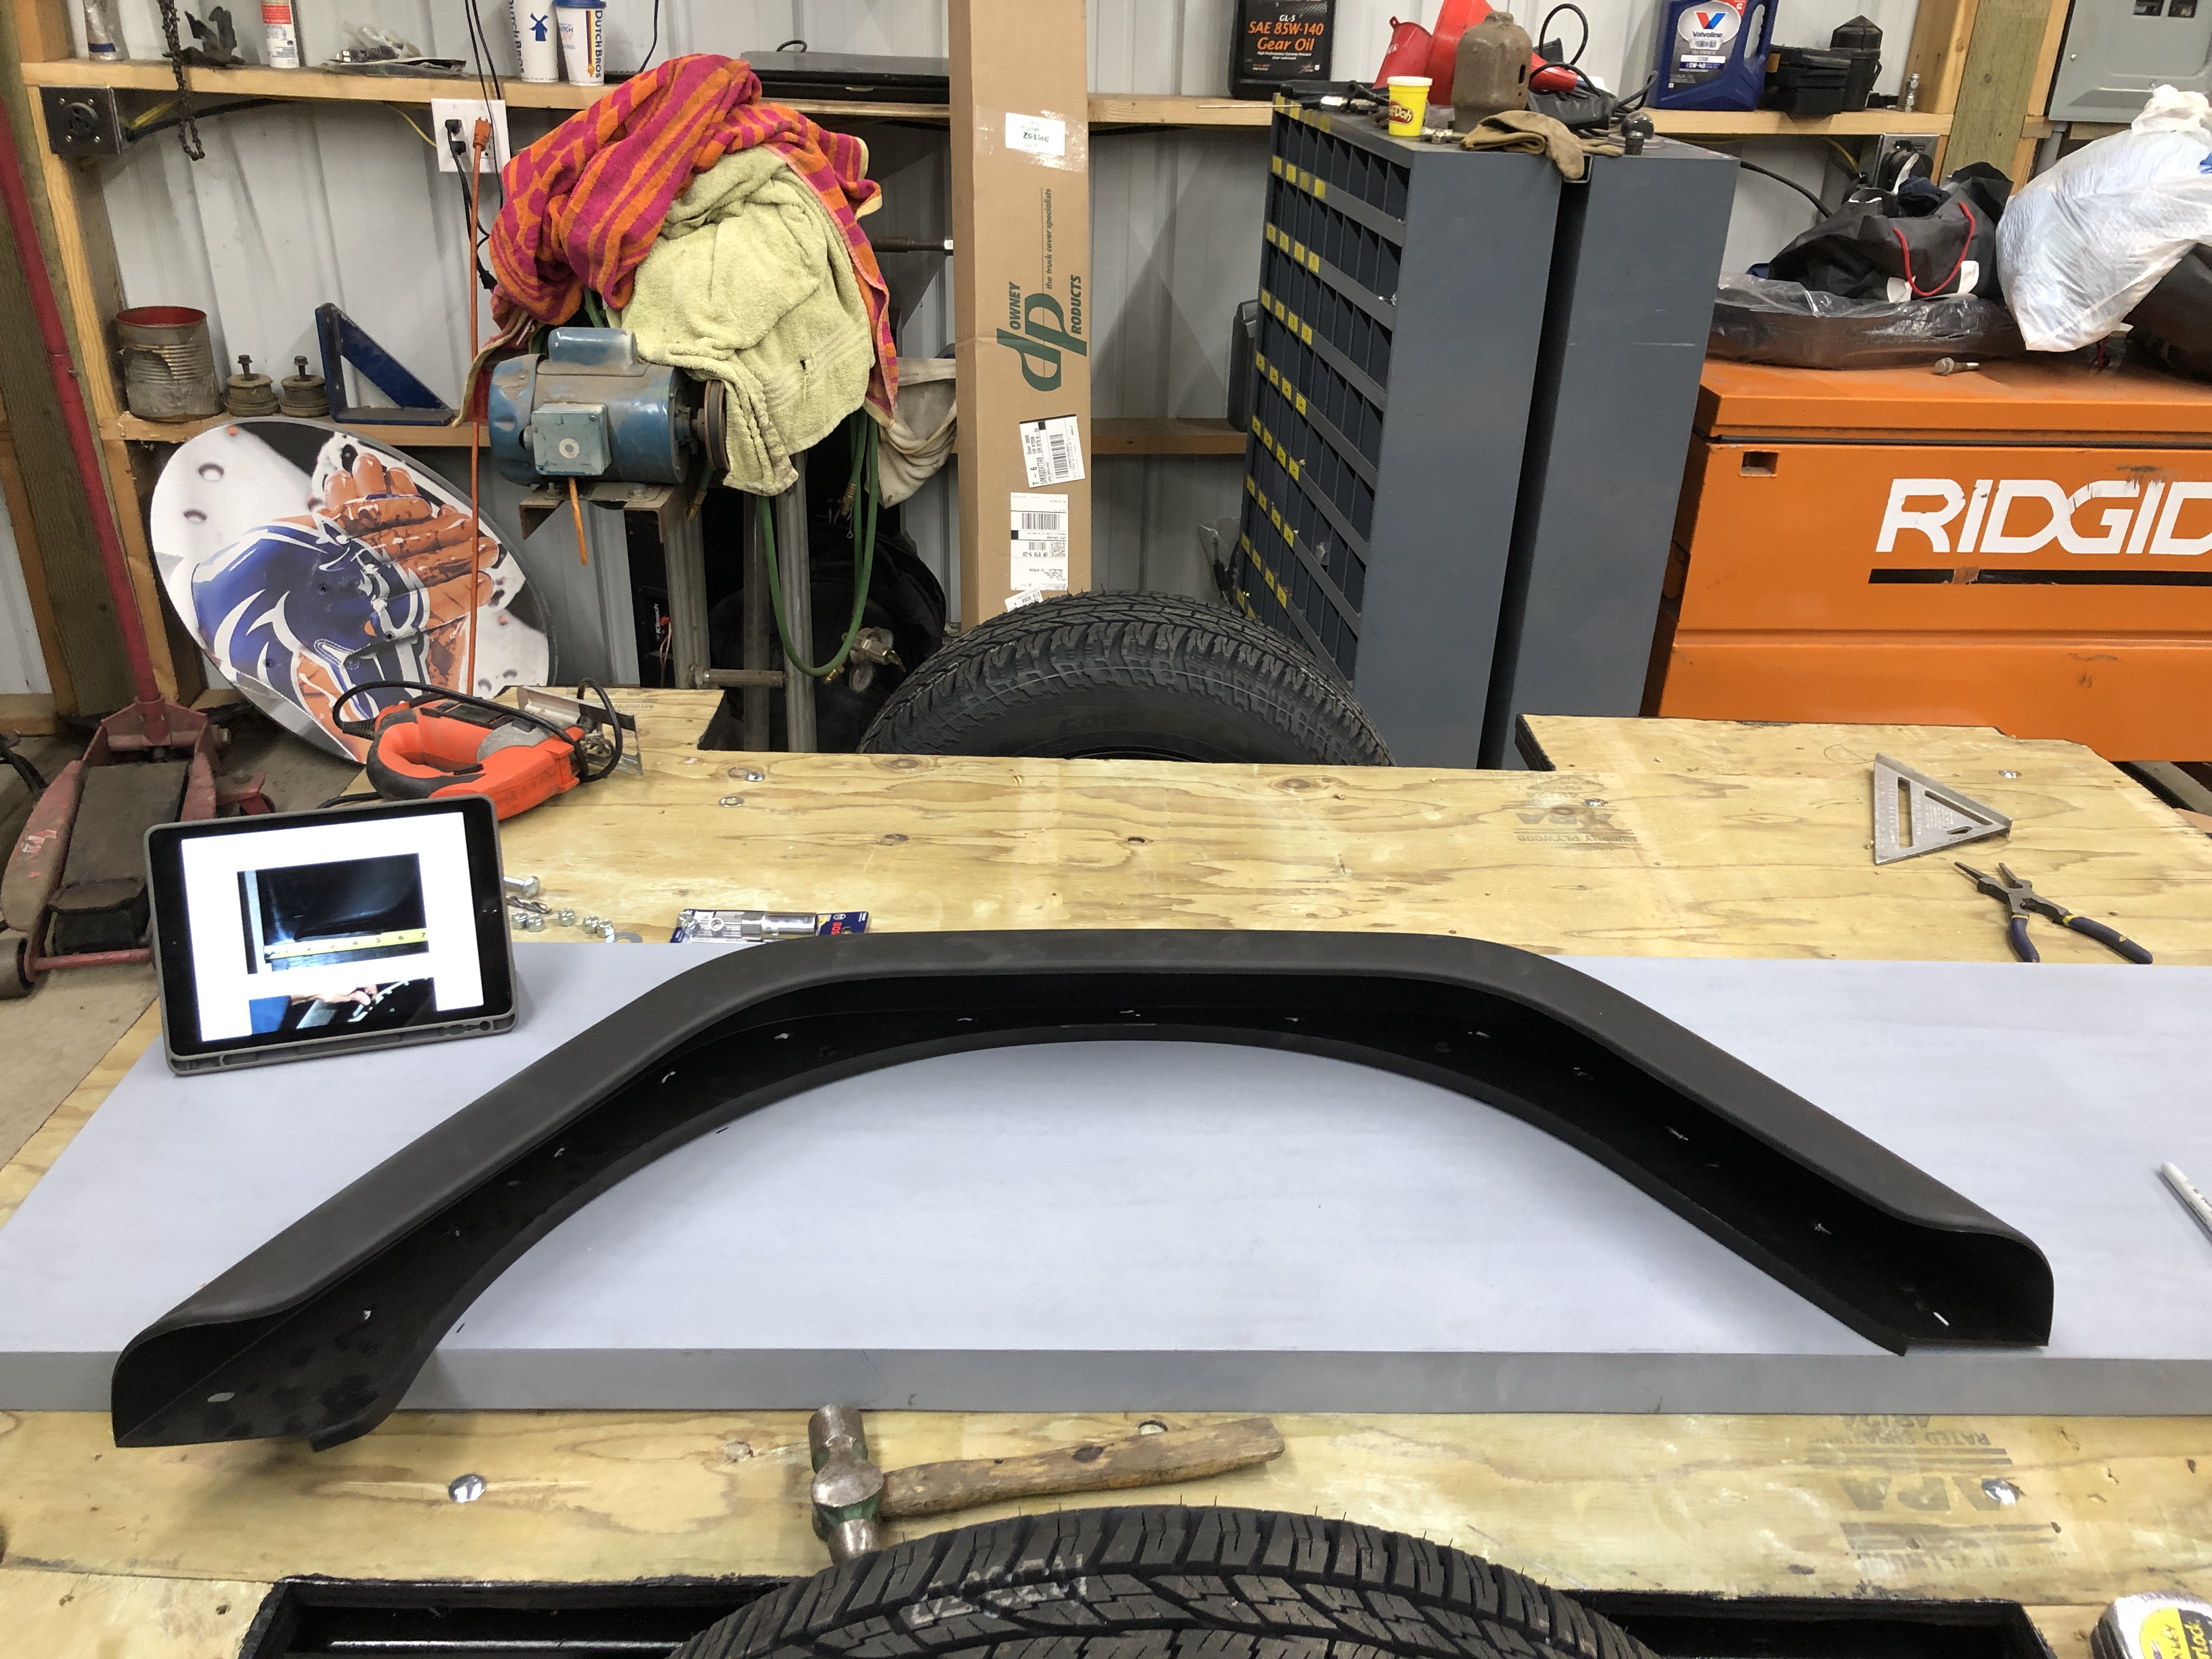
Next I started on the side panels and getting them ready to cut and get the fenders fitted . With my scroll saw in one hand and a deep breath I started cutting out the wheel well where I marked very carefully the outline of the fender flare.


After very carefully cutting and taking my time , everything lined up for both sides of the trailer ! WHEW!


Next we did a dry fit of the tub after the cuts and used clamps to make sure everything fit. Had to fine tune a few of the corners on the wood decking, but once they were cut everything came together nicely , good seals and everything was level!


JeffnMar

Rank IV
Launch Member

Enthusiast III

1,116
Oregon
First Name
Jeff
Last Name
Wilson
Member #

17026

Wanted to provide a recent update ... I was able to work on getting the rest of the rack system primered and ready for paint.


JeffnMar

Rank IV
Launch Member

Enthusiast III

1,116
Oregon
First Name
Jeff
Last Name
Wilson
Member #

17026

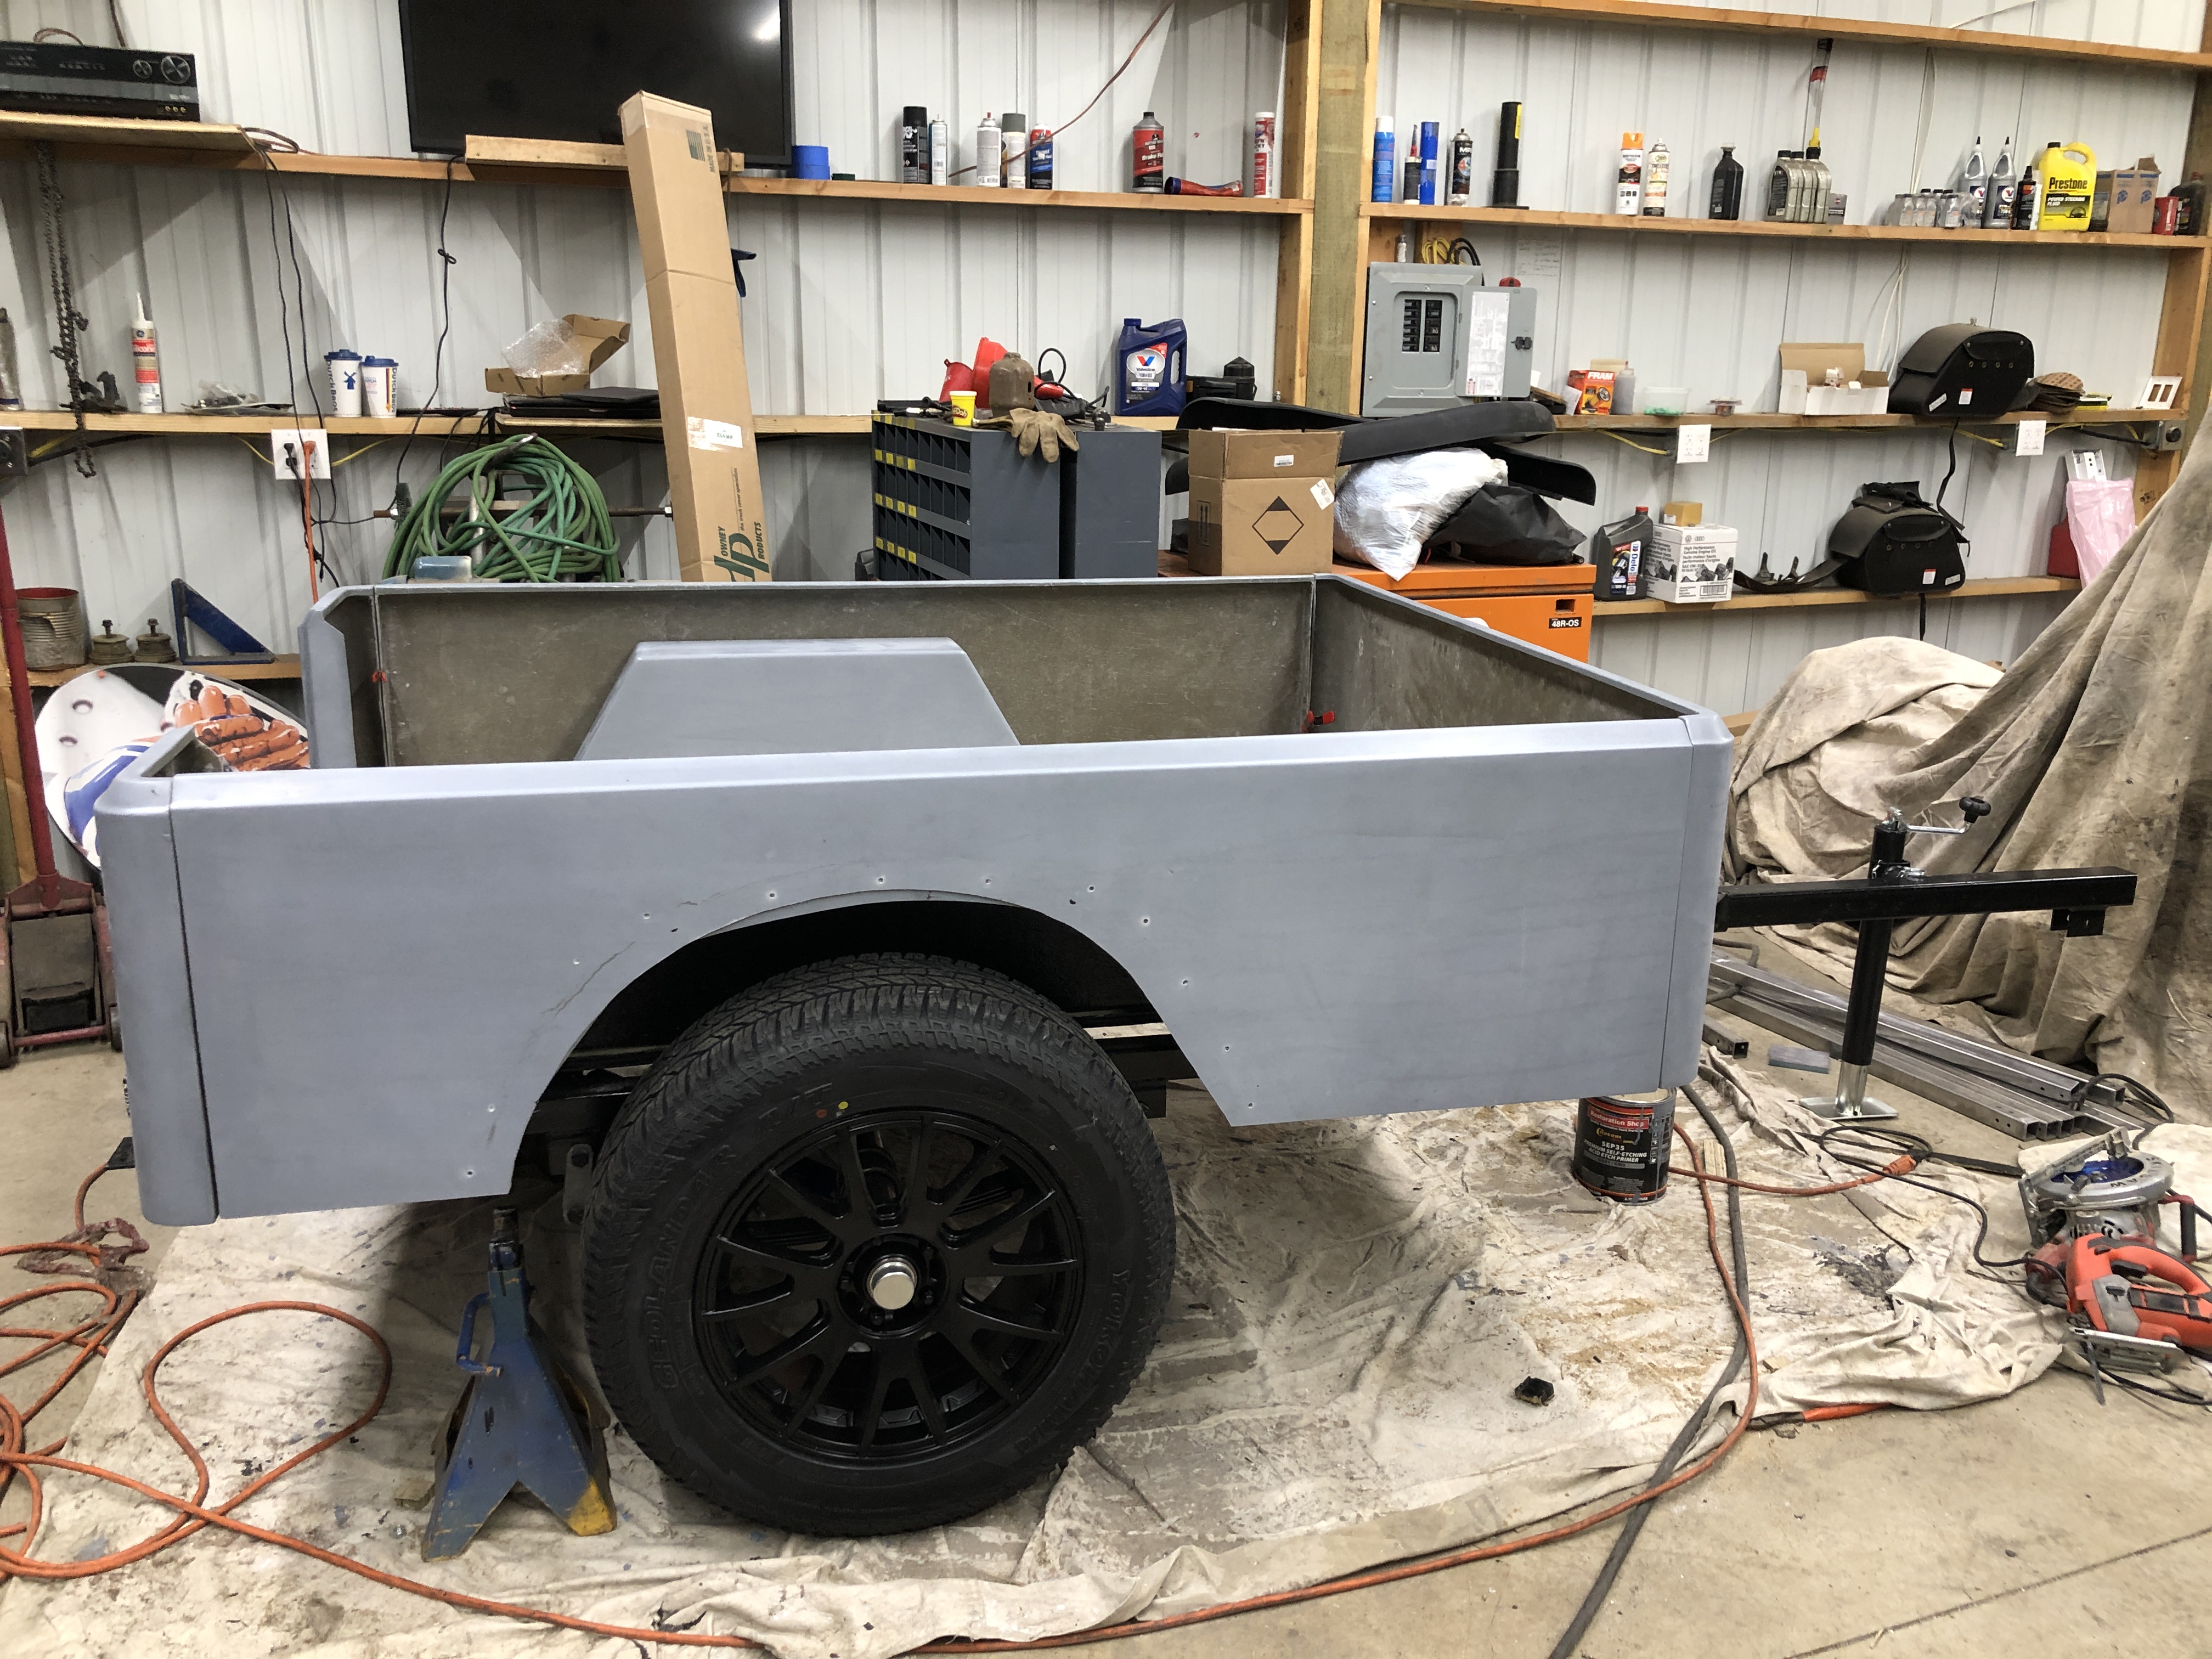
Today was spent sanding the fiberglass pieces and painting. I wanted the trailer to match my outback so I picked up a gallon of acrylic urethane paint matched to the color of the subie " magnetite gray" , shot all 5 pieces today and they turned out perfect. , the color match was spot on!
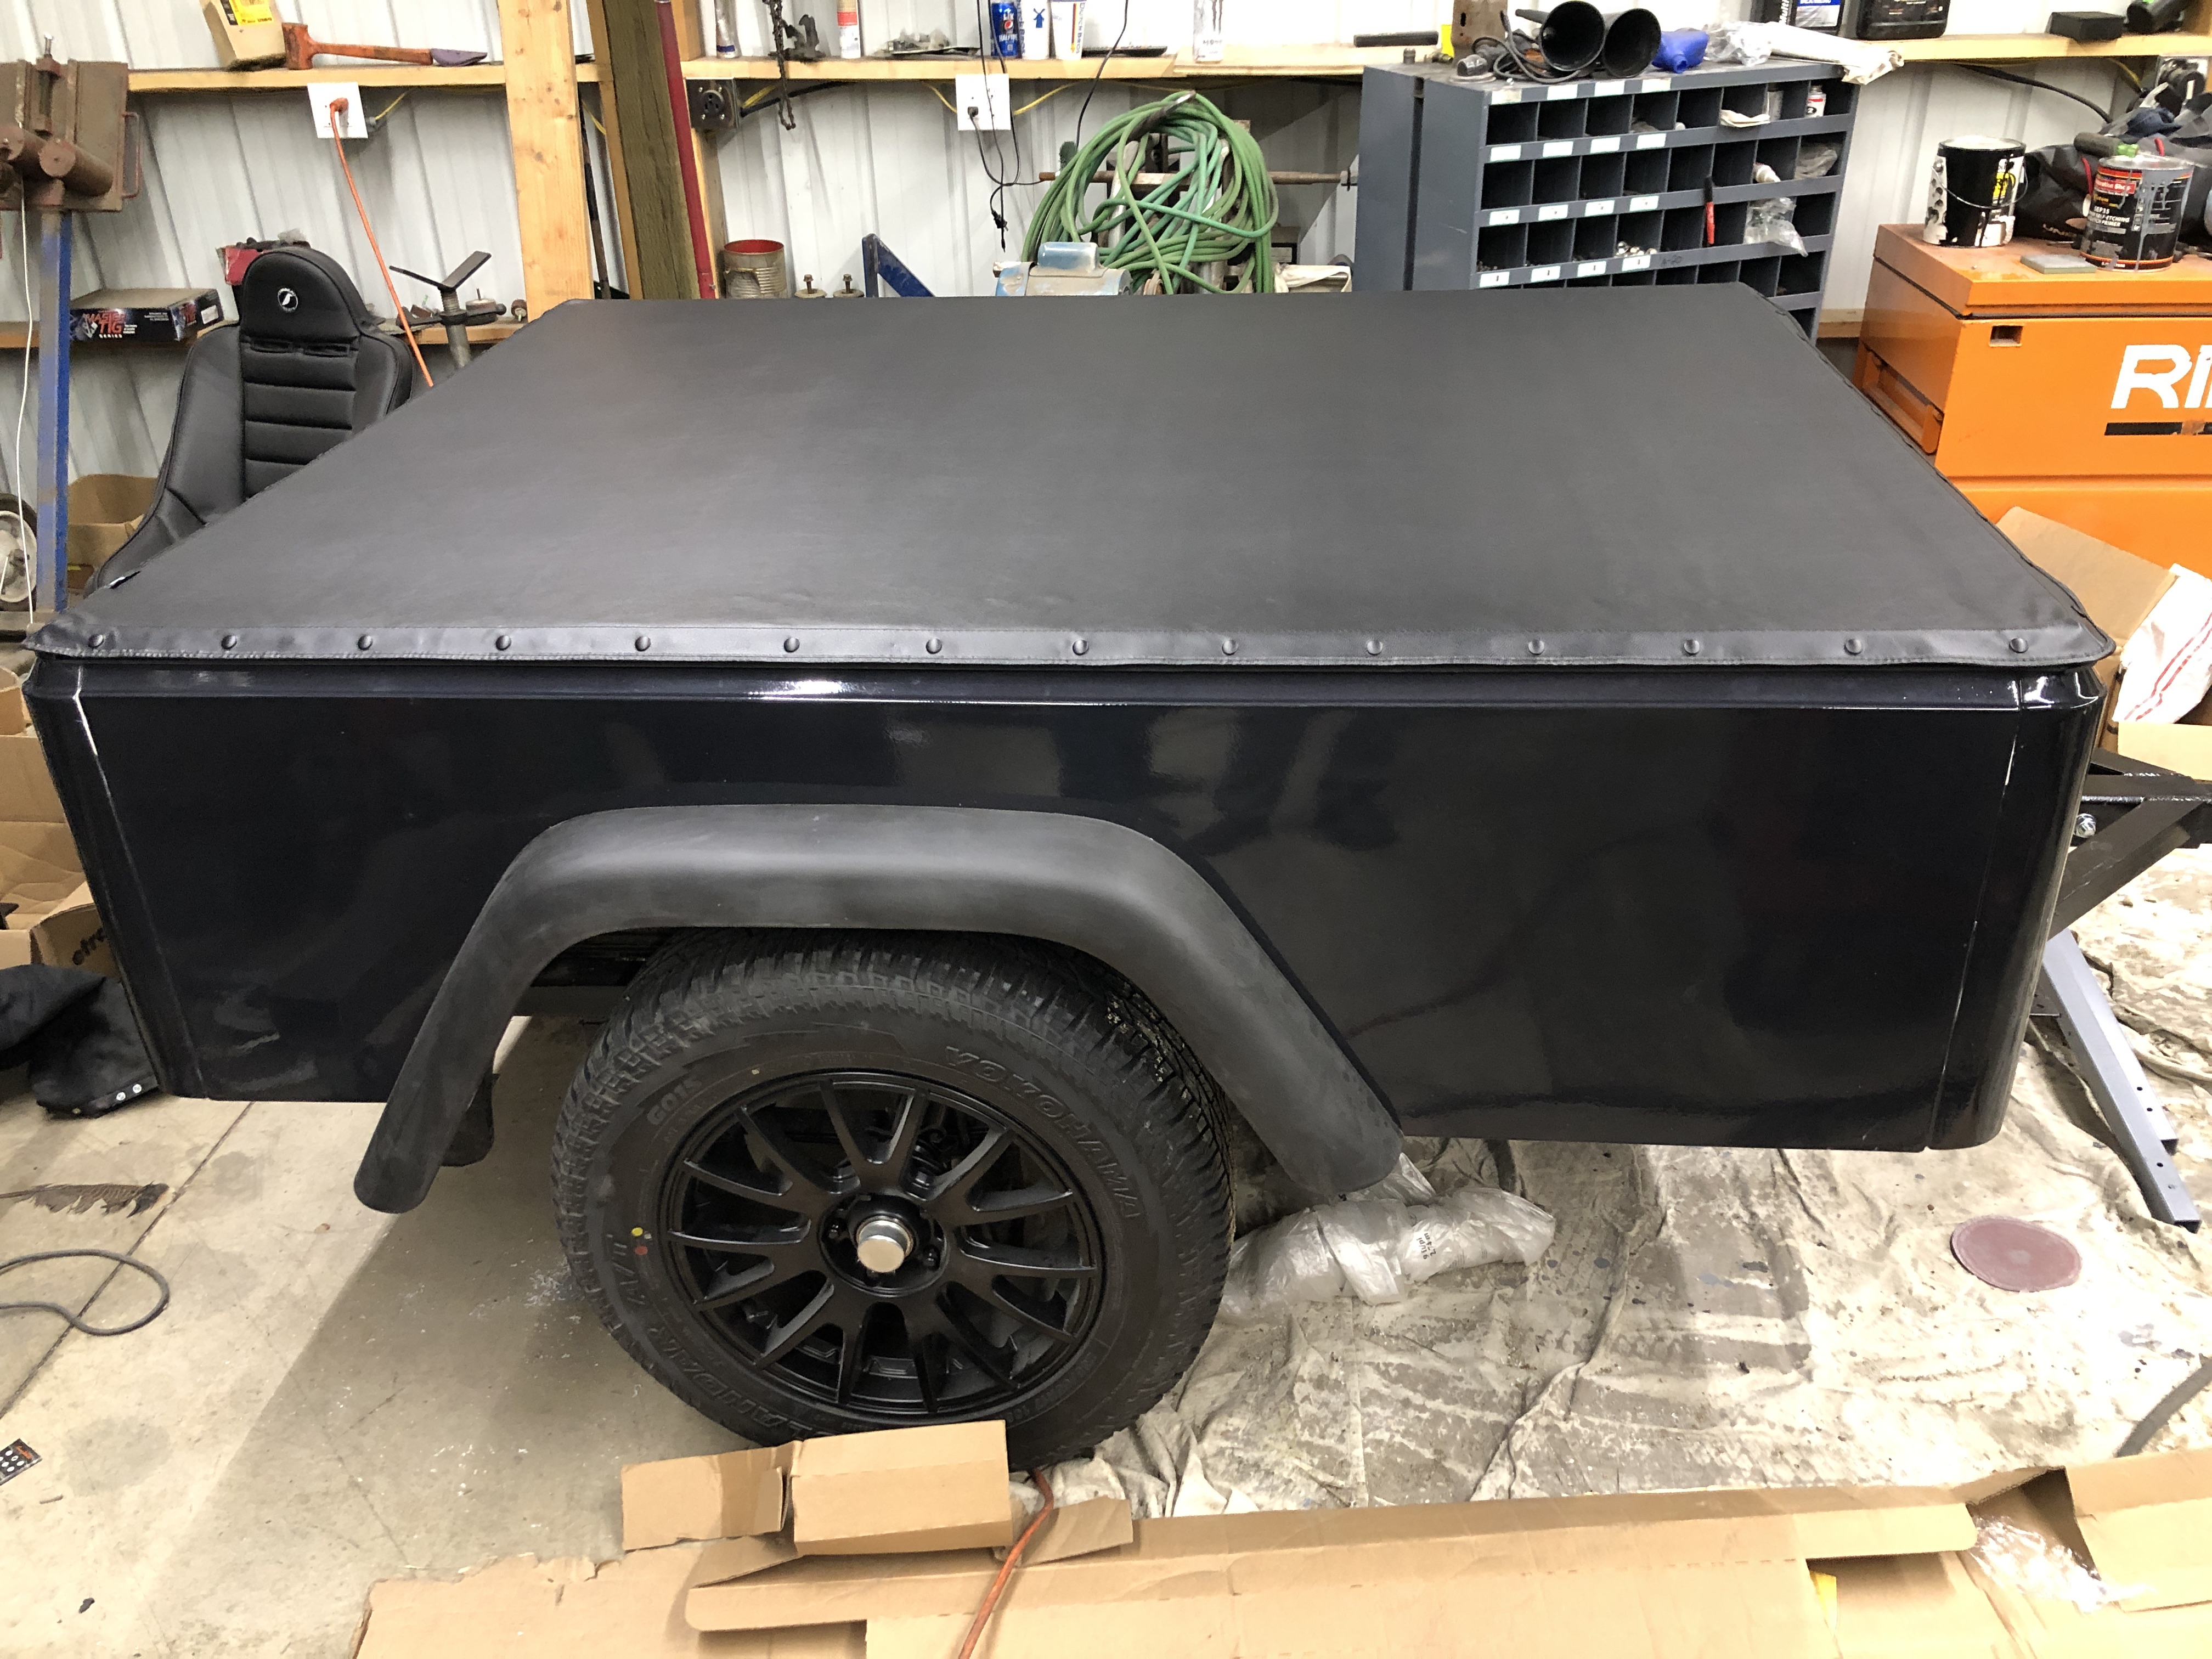
Letting things cure for awhile and then will start attacking the fiberglass pieces and getting the trailer sides bolted down.


JeffnMar

Rank IV
Launch Member

Enthusiast III

1,116
Oregon
First Name
Jeff
Last Name
Wilson
Member #

17026

Finally got some free time over the weekend to start putting the pieces into place , weekend was spent mounting the painted tub components ( 4 in total) to the trailer bed , for this I used 5/16 " bolts with washers. I then attached all for corners and finally added the tail gate.

All 4 parts mounted.


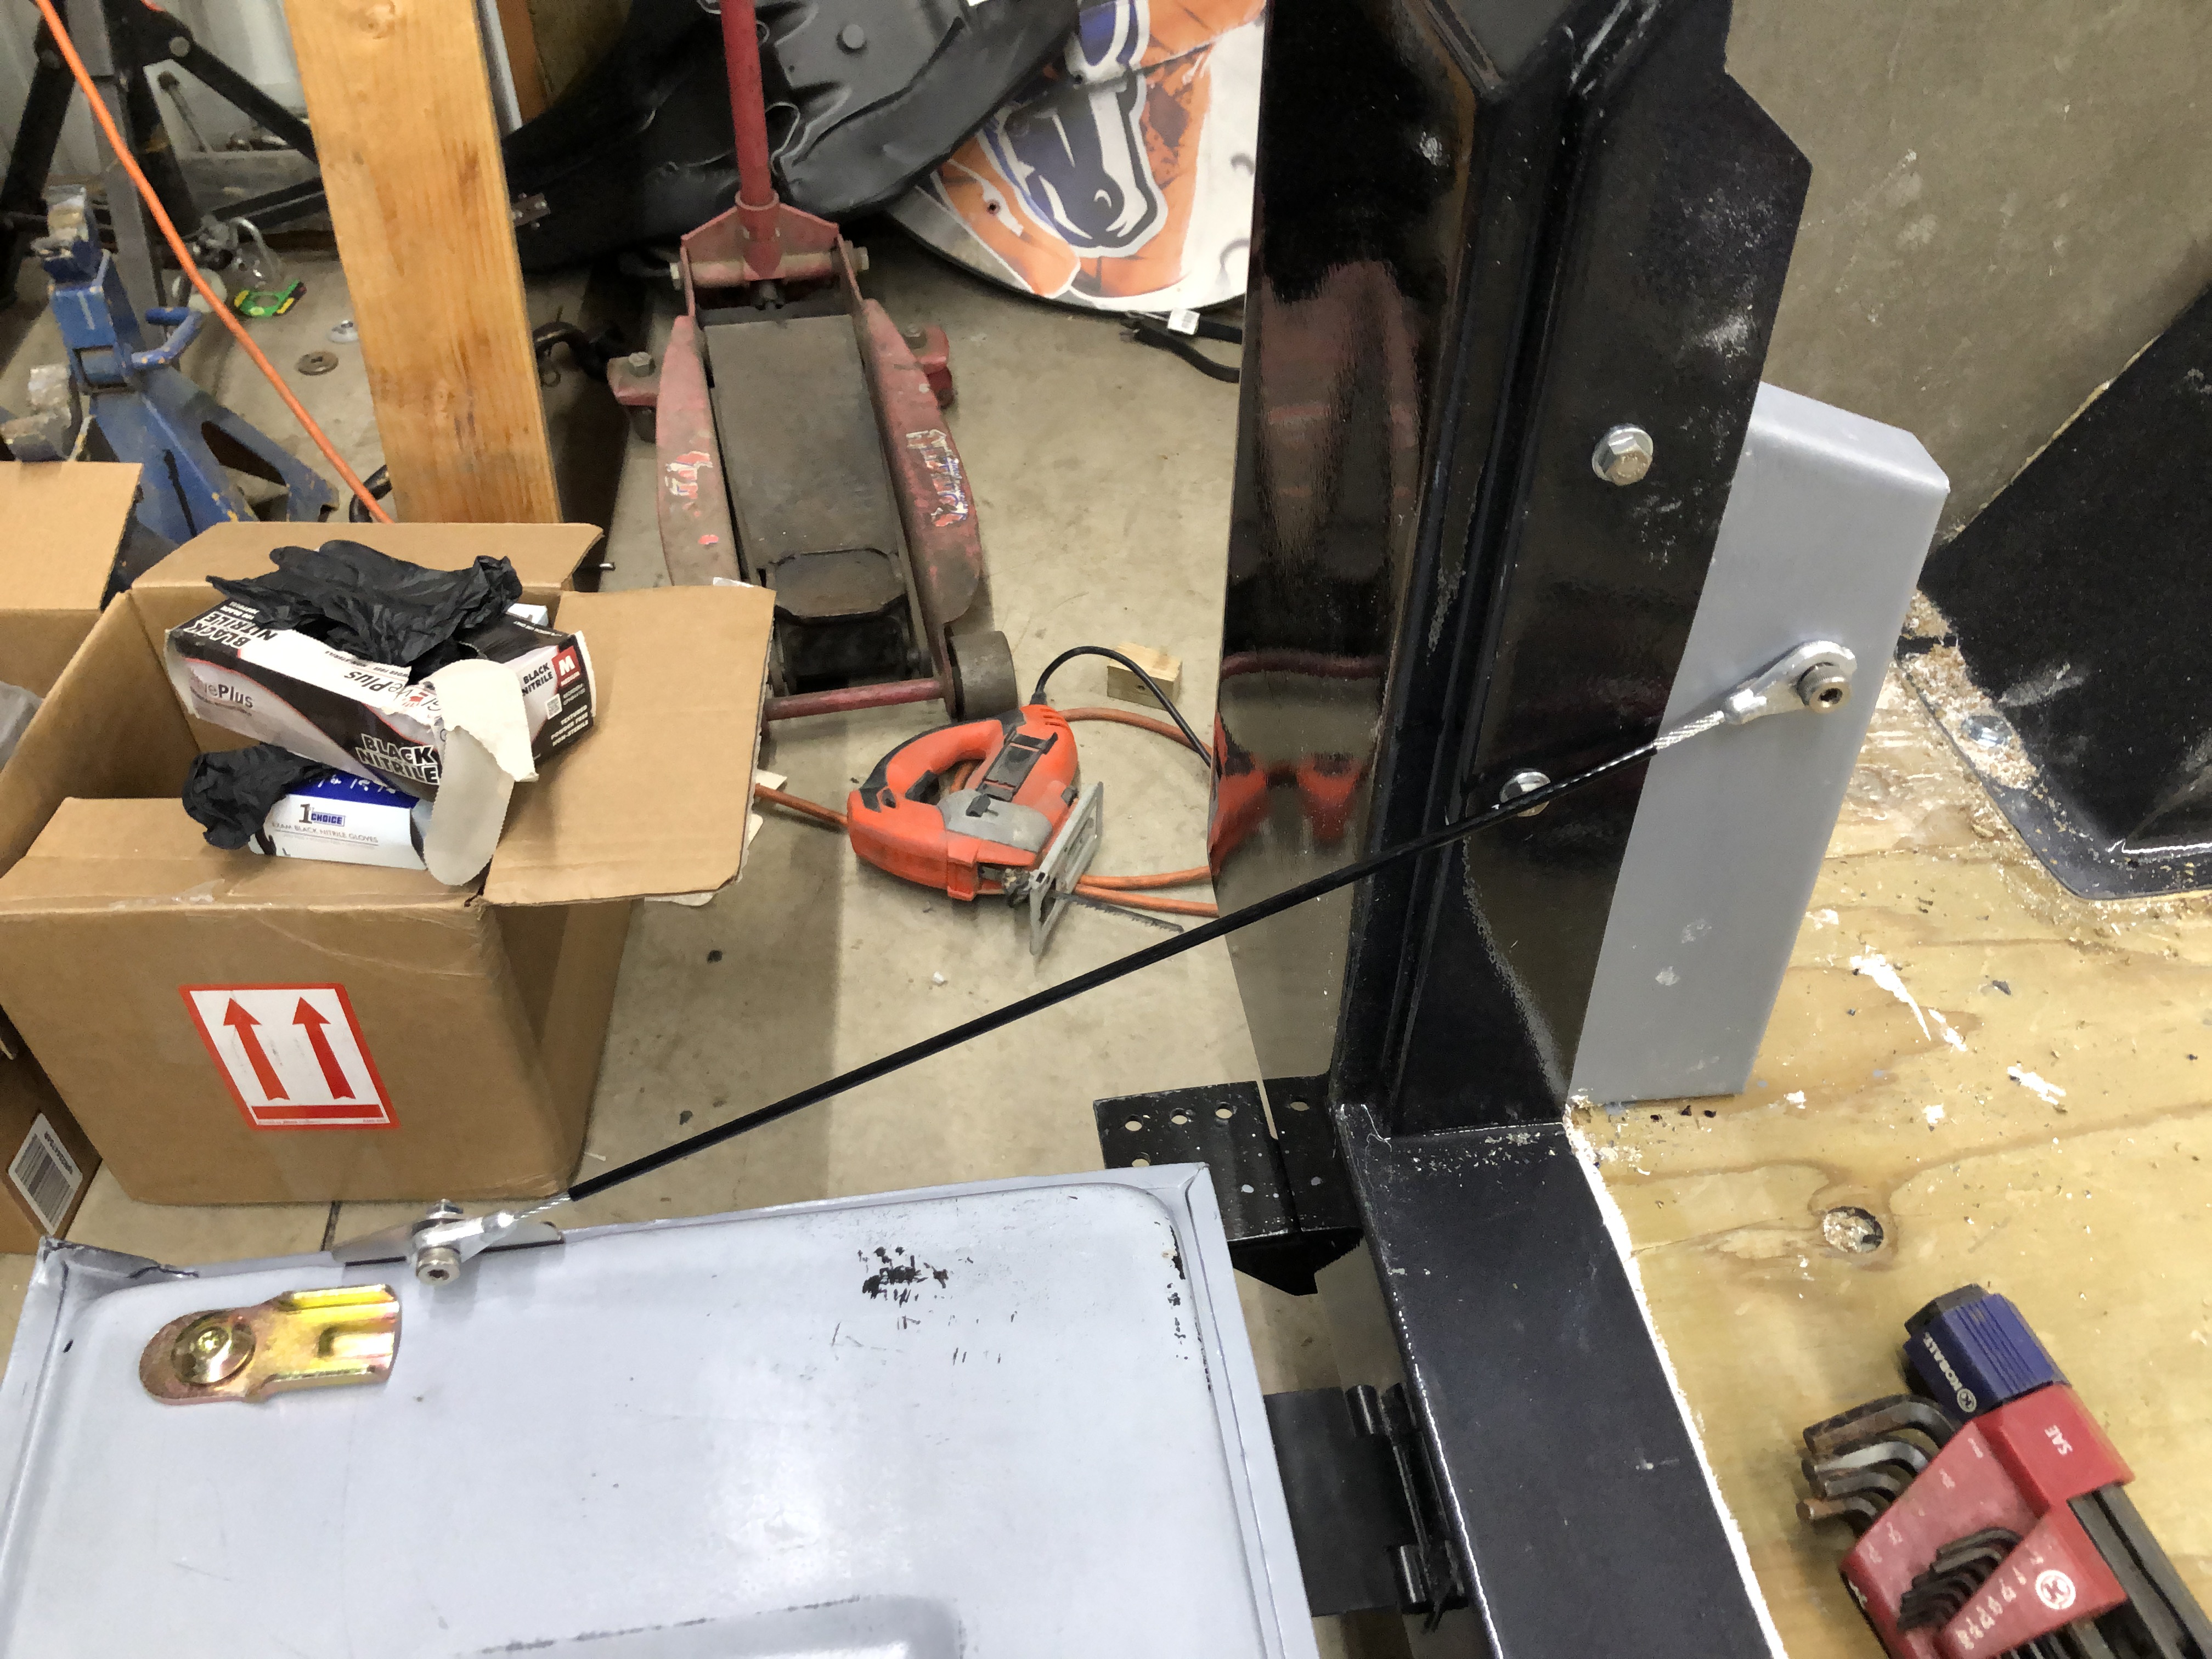
Attached the tail gate supports which I will also use to mount the tail gate cables.


Got ht tail gate attached and the cables attached.

 
  • Like
Reactions: Sparksalot

JeffnMar

Rank IV
Launch Member

Enthusiast III

1,116
Oregon
First Name
Jeff
Last Name
Wilson
Member #

17026

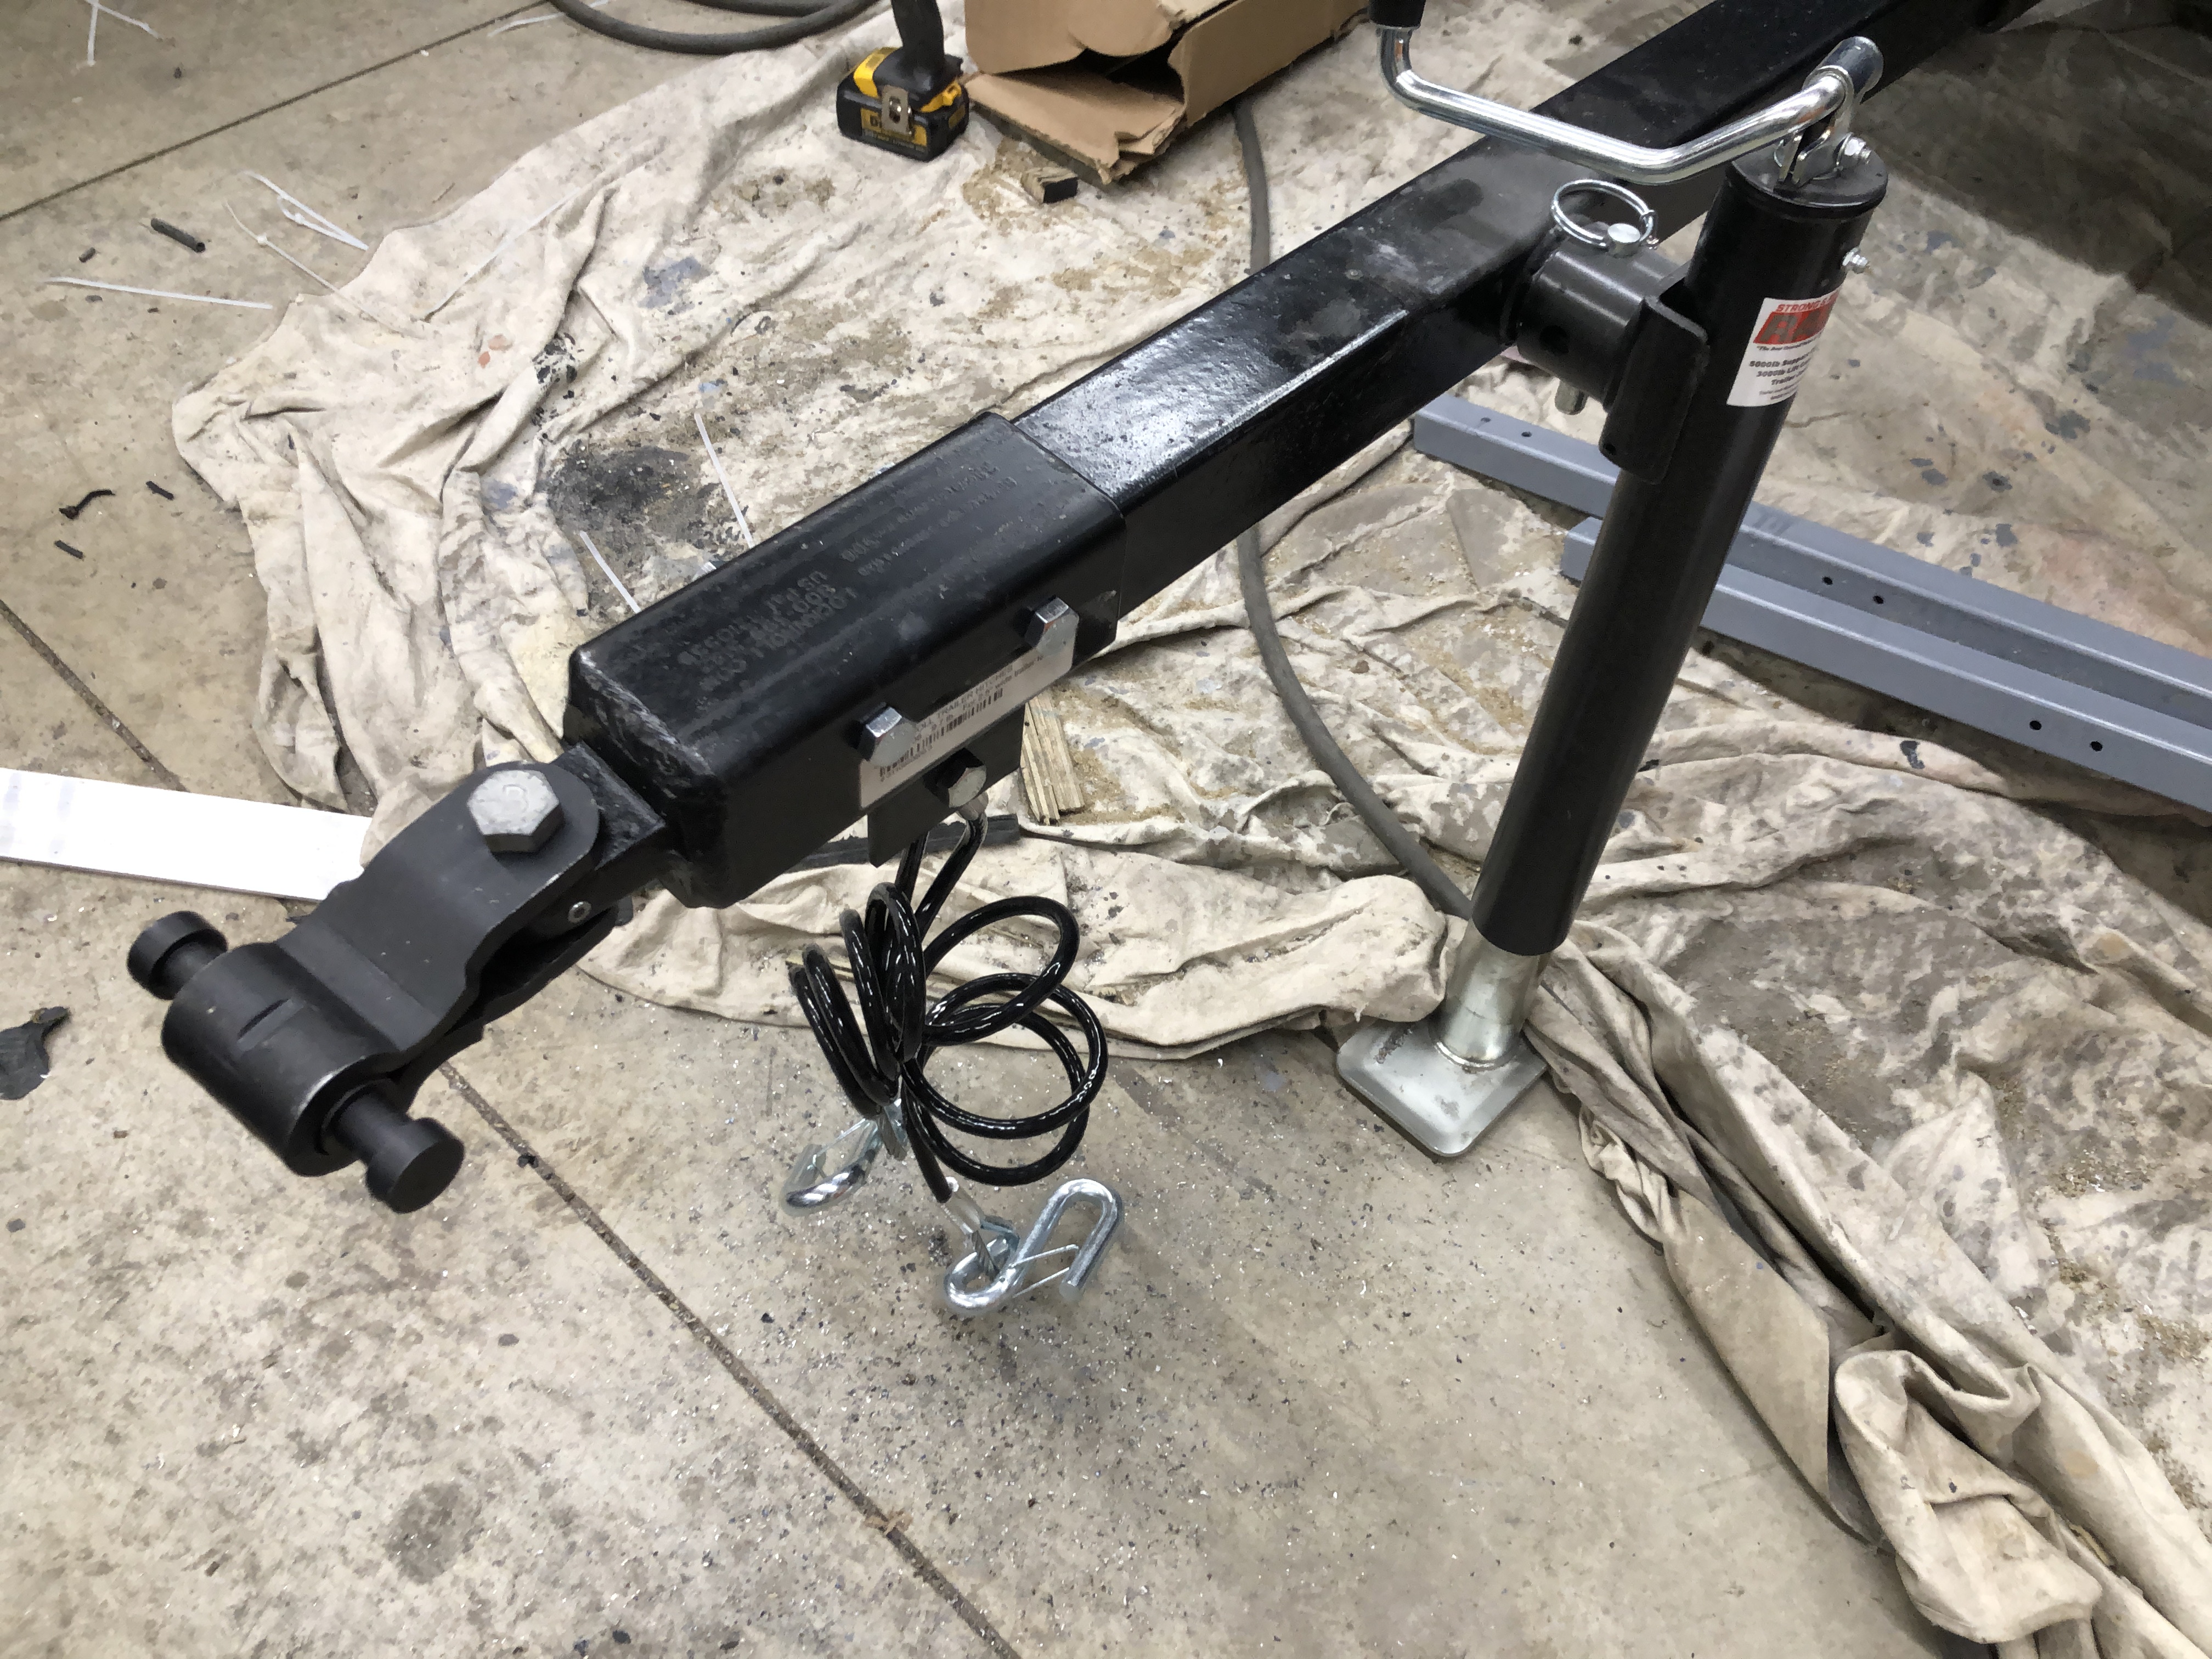
Next I started to work on the hitch and cover. I decided to go with the lock n roll system and of course the safety chains.

 
  • Like
Reactions: Sparksalot

JeffnMar

Rank IV
Launch Member

Enthusiast III

1,116
Oregon
First Name
Jeff
Last Name
Wilson
Member #

17026

Next I got the soft cover out and mounted the aluminum channel pieces that make up the frame , got it laid down and then clamped, then fitted the soft cover to ensure a good fit.


  • Like
Reactions: Sparksalot

JeffnMar

Rank IV
Launch Member

Enthusiast III

1,116
Oregon
First Name
Jeff
Last Name
Wilson
Member #

17026

Everytinh os coming together, I put a quick paint job on the rack system, I plan on paining again once it's all tougher but wanted a first coat over the primer before putting everything together. Once I get the rack system on I can start wiring.


JeffnMar

Rank IV
Launch Member

Enthusiast III

1,116
Oregon
First Name
Jeff
Last Name
Wilson
Member #

17026

Had some time over the weekend to work on the trailer. This weekend was spent sealing all the seams , getting the lighting installed , weld on a piece to help with stoasrge in front and get the tongue box aligned and then start getting the rack system com completed.


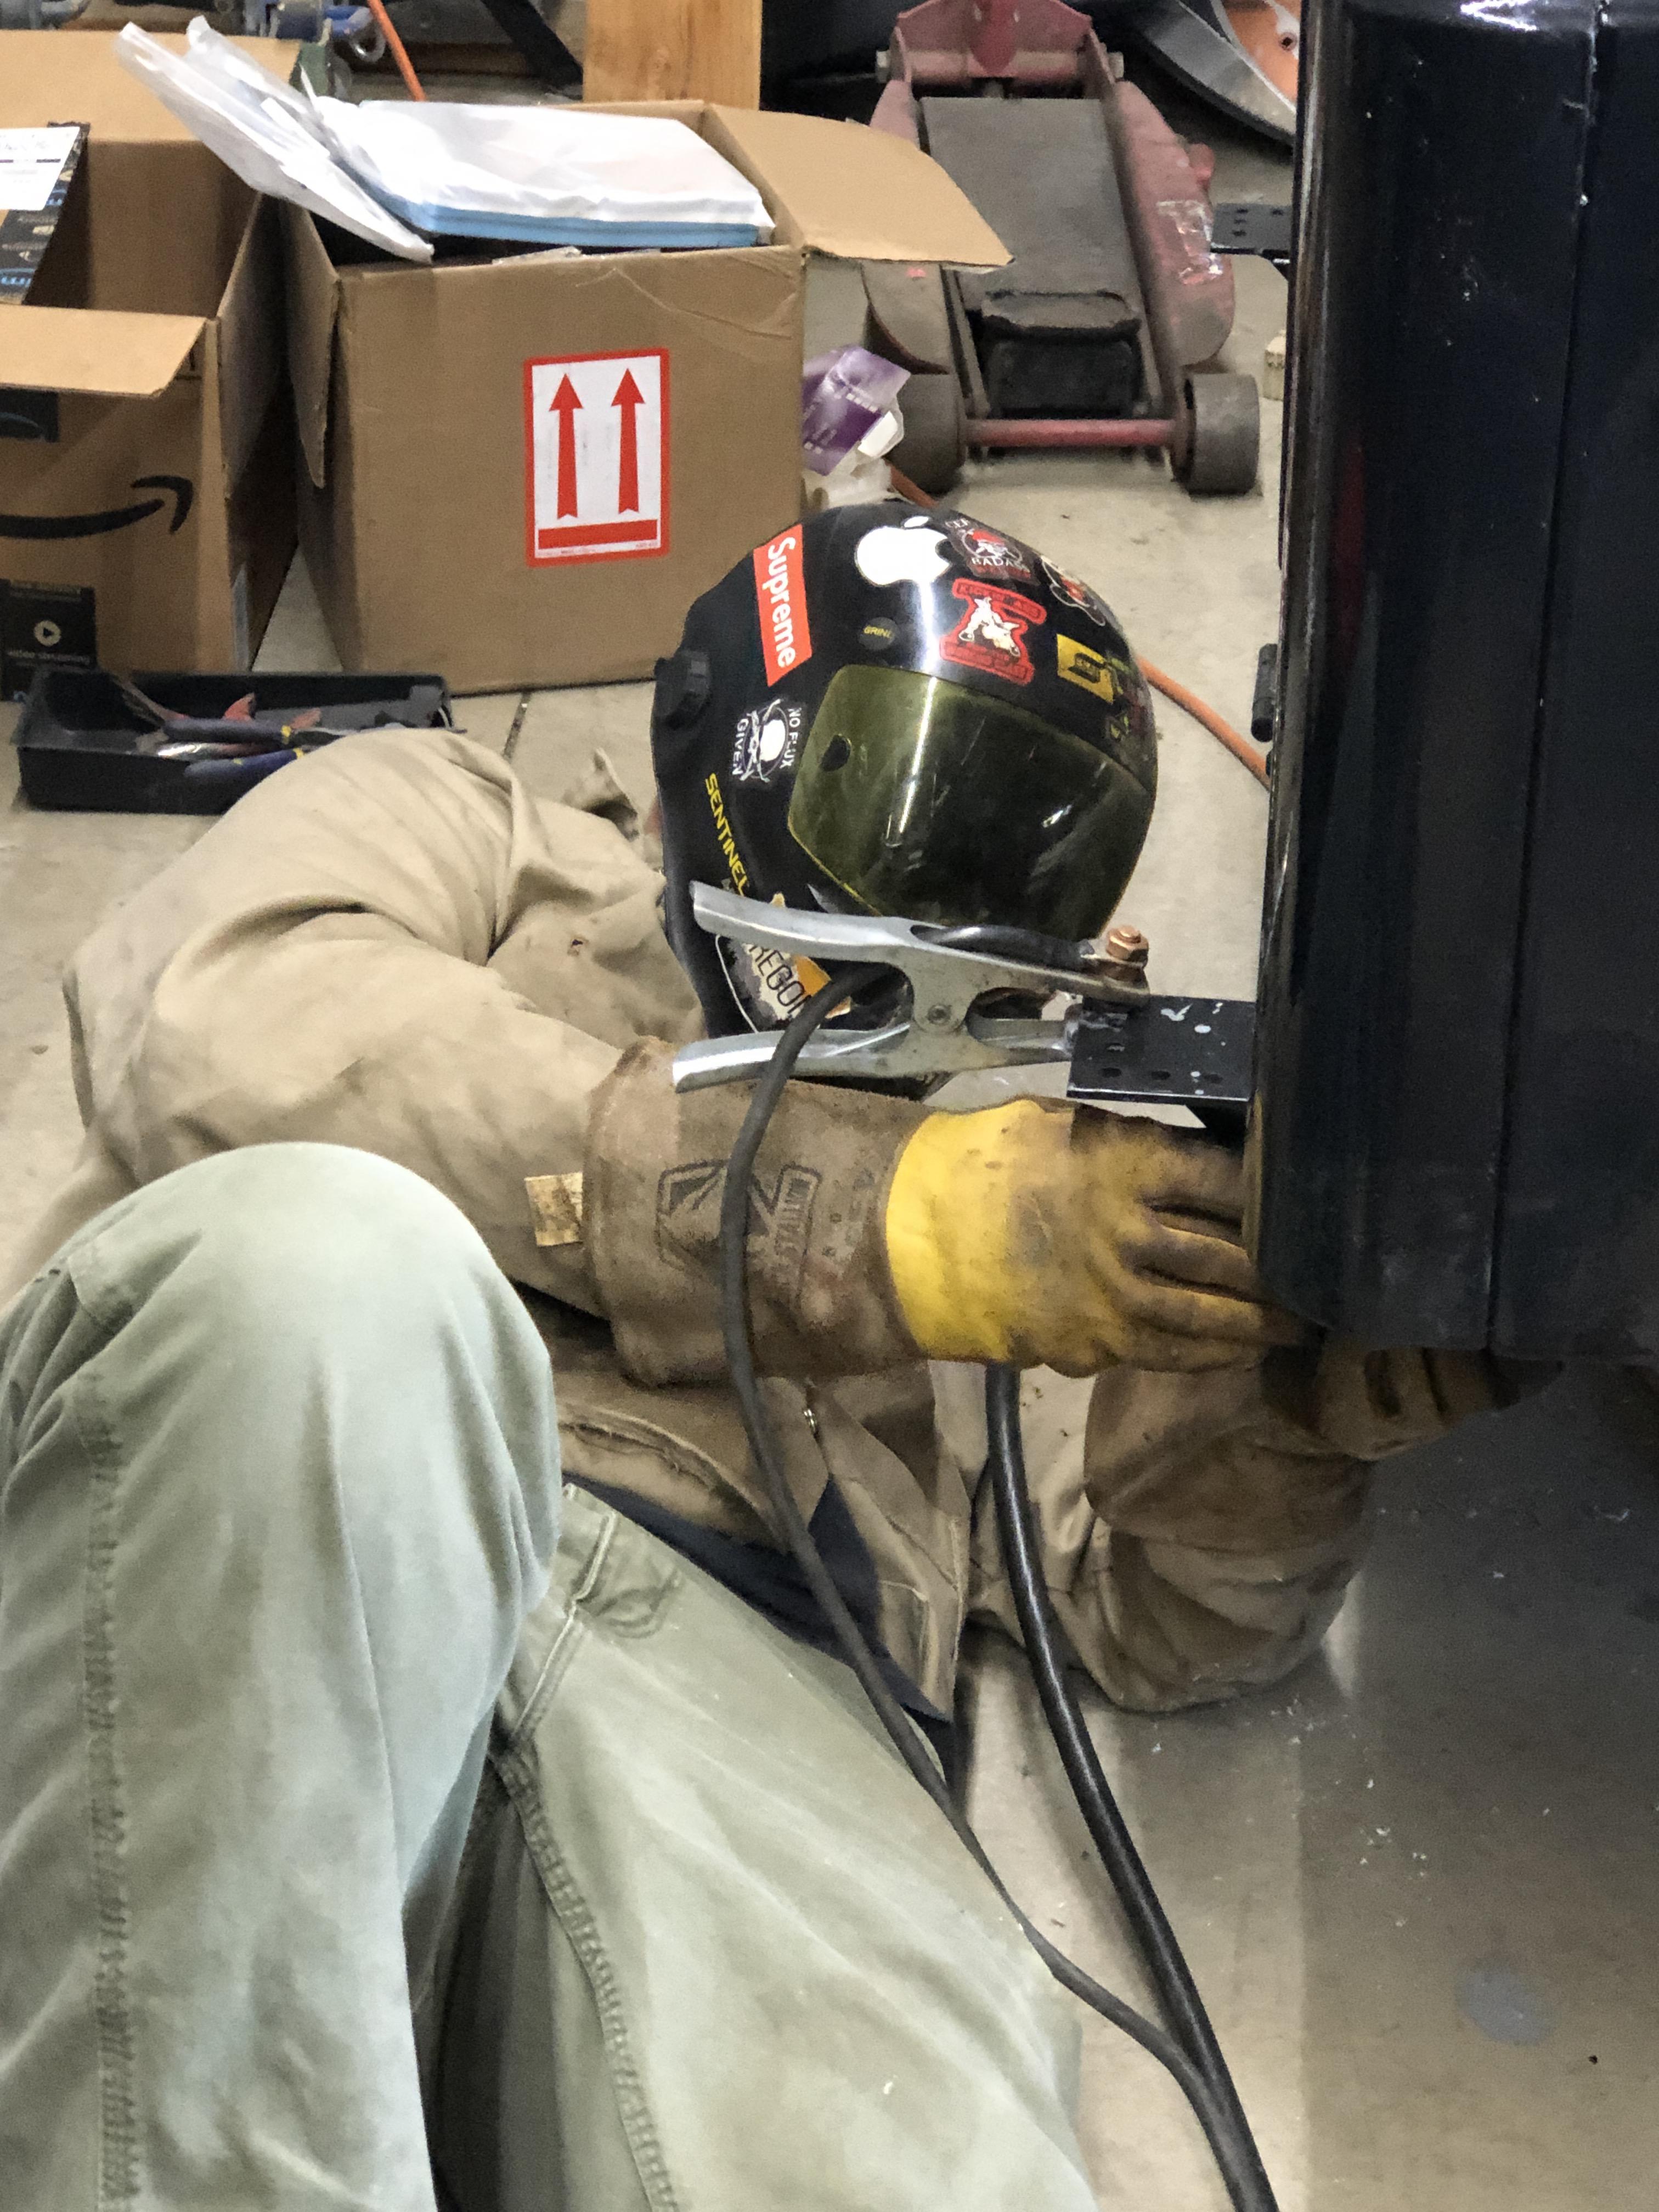
Welding on some jacks to help with stability of the trailer when the RTT is in use.


Here they are in action!


JeffnMar

Rank IV
Launch Member

Enthusiast III

1,116
Oregon
First Name
Jeff
Last Name
Wilson
Member #

17026

Next I got some black rubber sealant and got the seams all buttoned up , really worked well around the fender flares.


JeffnMar

Rank IV
Launch Member

Enthusiast III

1,116
Oregon
First Name
Jeff
Last Name
Wilson
Member #

17026

worked on a getting a small frame built toward the front of the trailer , not sure if I am going to store my rotopax cans there or use this area to store my 100W solar panels, time will tell :-). ..Either way it's nice to have a small nit of storage right behind the tongue box.


JeffnMar

Rank IV
Launch Member

Enthusiast III

1,116
Oregon
First Name
Jeff
Last Name
Wilson
Member #

17026

Next I started on the rack system to support my RTT , all buttoned up , just need to throw on a final coat of implement paint and then get the RTT mounted.


  • Like
Reactions: Sparksalot