DIY Shower-Reading Room...check

  • HTML tutorial

lhoffm4

Rank III

Advocate I

778
Boise, Idaho
First Name
Lee
Last Name
Hoffman
Service Branch
US Navy
Not bad if I DO say so myself...
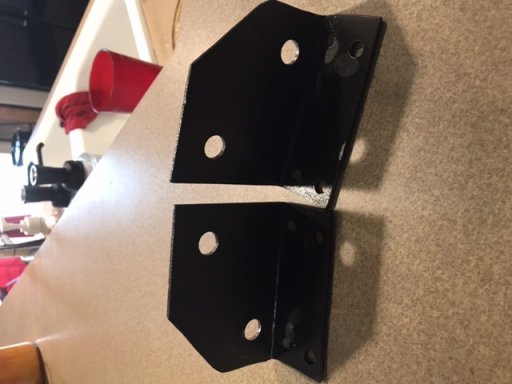
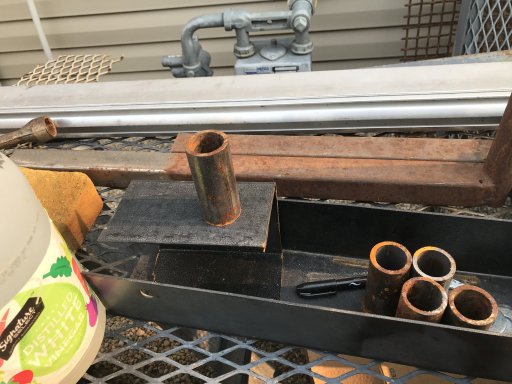
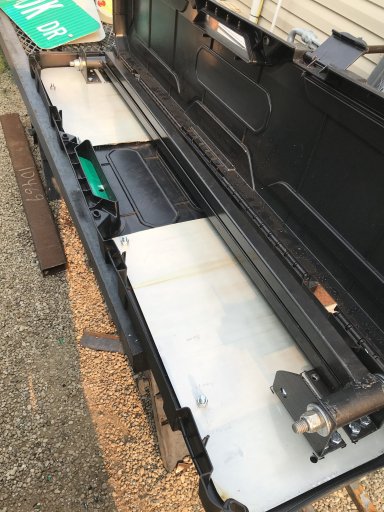
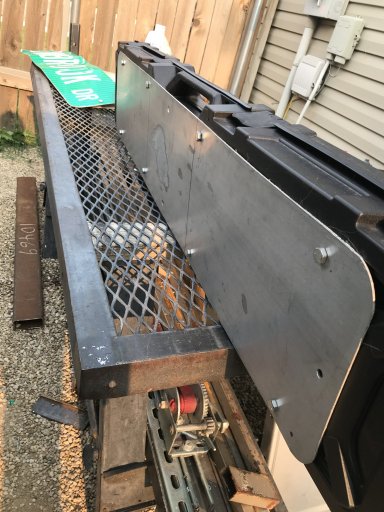
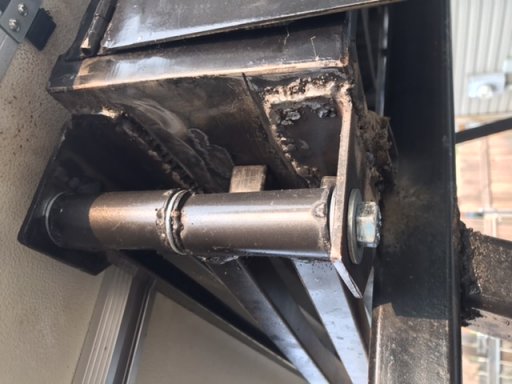
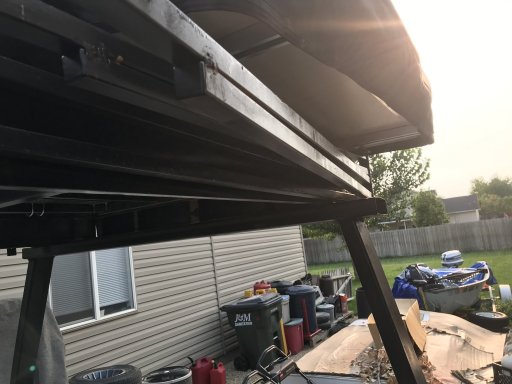
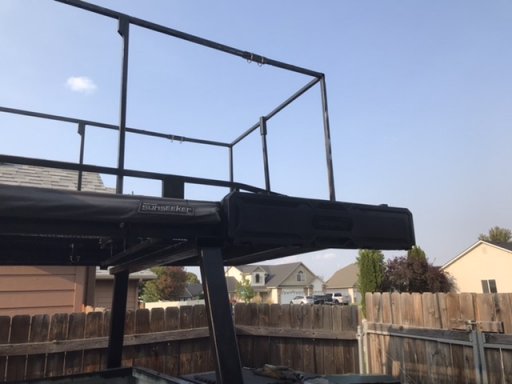
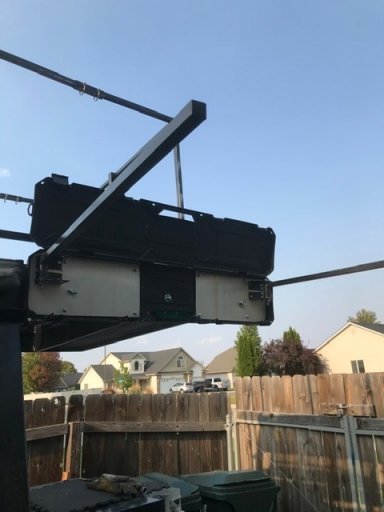
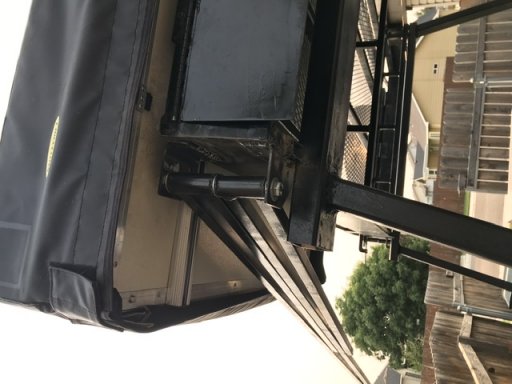
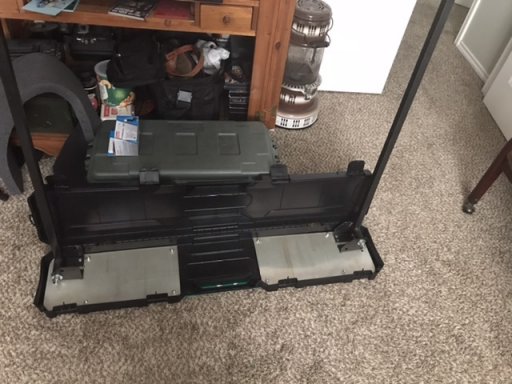
having a strong desire to enjoy some of the creature comforts, or at least being motivated to convince my beautiful Wife that overlanding/camping can be comfortable as well as scenic, I have been working on a few projects to enhance or glampify my trailer build. I just completed the 180 batwing skeleton/frame for the awning and today I finished the shower stall box and framework. Now it’s off to the local tentsmith to have them both skinned.

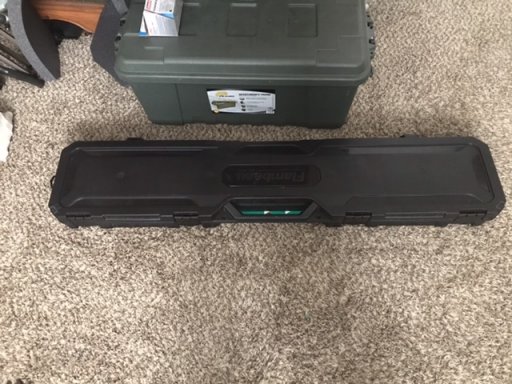
Next projects: Solar panels, folding guard rails for moving around on top of the food rack (because why not?) and dura-lining/painting the trailer. In between projects...Dirt Time!
 

Attachments

  • Like
Reactions: grubworm and EZE

lhoffm4

Rank III

Advocate I

778
Boise, Idaho
First Name
Lee
Last Name
Hoffman
Service Branch
US Navy
Roof rack, not food rack, lol. My phone is so much smarter than it gives me credit for (like my kids), it just does what it wants to instead of asking my opinion before doing dumb stuff...lol
 

grubworm

Rank V
Launch Member

Member III

2,358
louisiana
First Name
grub
Last Name
worm
Member #

17464

Service Branch
USN-Submarines
from what i can see in the pics, it looks good. i have a rhino rack batwing on our 5x8 camper and the plastic pivots break real easily...if yours are all metal, then it should hold up really well. we wanted a shower and went with a collapsible shower tent and a bug sprayer. our last trip out in west texass had a wind pick up the tent and throw it into a pile of cactus...i obviously need better, so curious what youre building. is your shower a case that mounts to the side of your trailer and it opens and the legs fold out? do they have vertical support, or just supported by the hinges? guess you are having custom curtains made and they will fold up into the case for storage. what material for a curtain? i would guess that you are going heavier than a shower curtain from walmart
 

lhoffm4

Rank III

Advocate I

778
Boise, Idaho
First Name
Lee
Last Name
Hoffman
Service Branch
US Navy
from what i can see in the pics, it looks good. i have a rhino rack batwing on our 5x8 camper and the plastic pivots break real easily...if yours are all metal, then it should hold up really well. we wanted a shower and went with a collapsible shower tent and a bug sprayer. our last trip out in west texass had a wind pick up the tent and throw it into a pile of cactus...i obviously need better, so curious what youre building. is your shower a case that mounts to the side of your trailer and it opens and the legs fold out? do they have vertical support, or just supported by the hinges? guess you are having custom curtains made and they will fold up into the case for storage. what material for a curtain? i would guess that you are going heavier than a shower curtain from walmart
So, lots of great questions. First, I watched a few dozen DIY vids on YouTube to decide I liked the hard shell gun case idea. The vids I watched for the awnings and showers got me thinking about materials and I for sure didn’t want hinges that were weak points that would be broken by wind, without working for it. A trip to a metal scrap yard and I was able to find some square tubing and some Chanel and such I could make hinge brackets and hinges themselves from. I’ve always been a decent “monkey see, monkey do” sort, so I borrowed a friends welder and played with it a little before starting my projects. My oldest Son is a trained welder, so he gave me some pointers too.

The shower case bolts to my roof rack with wing-nuts. The arms cross each other but one sits higher, like your own arms would if you crossed them. The curtain will attach to them with strap material at the top but have a hem in the bottom with some sort of rod material to stiffen the curtain as it hangs and help keep the shape square at the ground level. There will likely be some peg-out points on the lower corners, but no support poles to hold the arms up. Steel hinges and short arms (36inch) make support poles not necessary. The batwing awning will have support poles but will not need them to deploy, only for tie-down supports. The awning arms have a truss welded in to provide strength and support during set up and pack up. I will add some pics of the hinges and truss design. Metal is quite forgiving as a medium. The whole“monkey-see-monkey do” thing helps too!

I have been leaning toward a sprayer shower apparatus too, partly because they are cheap, portable and can easily be stowed, but have not ruled out a more complex “road-shower” style build, also from scrap-yard material.

I will have the curtain made from a rip stop material similar to my Smittybilt Overlander XL, but I will have the tent-smith add a layer of non-see thru material on one side, to beef up the curtain and negate silouetting when someone uses it.

I will add a few more pics to help show the hinges and truss design better.
 
  • Like
Reactions: grubworm

lhoffm4

Rank III

Advocate I

778
Boise, Idaho
First Name
Lee
Last Name
Hoffman
Service Branch
US Navy
Here are some more pics of the shower and the awning frames. The hinges are similar because the functionality is similar, just some round tube pieces welded to some square tube stock. The hinge brackets for the shower are the same size and shape as the ones for the awning, most not as thick of material. The shower brackets are about 1/8th inch thick the awning brackets are about 1/4 inch thick. I remade them heavier because the 8ft awning arms flexed the thinner ones too much.

Hopefully these pics show the idea better than my text. Let me know if you want more pics.

Oh, and the $12 gun case I bought at Wally-world, I reinforced with aluminum street sign material from the scrap yard and some steel nuts and bolts. This was done to stiffen the cheap gun case as well as better support the hinges holding the shower arms. Hope this helps.

I will post more pics after they are installed. Pics are better than my 1000 words...lol
 

Attachments

  • Like
Reactions: grubworm

lhoffm4

Rank III

Advocate I

778
Boise, Idaho
First Name
Lee
Last Name
Hoffman
Service Branch
US Navy
I also used 1/2x 5” and 1-2x 8 1/2” grade 8 bolts and washers for the hinges. I welded washers on each end of the round stock hinge barrels and will use molly grease to keep the hinges lubricated. Hammer-finish black paint to hade all my Oopses, because I suck at welding...haha!
 

grubworm

Rank V
Launch Member

Member III

2,358
louisiana
First Name
grub
Last Name
worm
Member #

17464

Service Branch
USN-Submarines
I also used 1/2x 5” and 1-2x 8 1/2” grade 8 bolts and washers for the hinges. I welded washers on each end of the round stock hinge barrels and will use molly grease to keep the hinges lubricated. Hammer-finish black paint to hade all my Oopses, because I suck at welding...haha!
i like it. that's a pretty damn good job and those hinges aren't breaking!
yeah...looks like you need to dial back the amps a bit and slow down. start at one corner and do a small circle for about 3 seconds with the gap between the 2 pieces of metal in the middle of the circle. that will melt both metals together in a pool and you will see ripples...when that happens, move out of the puddle about half the circle distance and let that area melt together (youll see the ripples) then move another half circle and keep going. you can either do small circles with the wire/rod or just go out of the puddle half way and and back and then half way and back and you will have a nice bead where the weld has consistent ripples and good penetration. your weld in the pics didnt look to penetrate all that well...good enough for what youre using it for, but it could be a lot stronger by slowing down and getting a nice red pool of melted metal before slowly moving ahead, always allowing the new melted metal to melt with the last little puddle you created. your welds had splatter, so amps are too high and the wire/rod is mostly melting on top of the metals more than it is melting and penetrating into the metals and maybe the metal is also a bit dirty or rusted. prep is half the battle...
your fab work is really nice and if you dont want metal to metal contact and need grease, you can use nylon washers or inserts or even brass ones. brass bushings are considered self lubricating because they are softer than steel and will wear away first without damage or wear to the other parts. just FYI in case you do more projects.
i'm going to use your shower idea and make one for our camp trailer.
very cool! i'm definitely inspired now to get out in the shop and start fabricating a shower.
 
Last edited:
  • Like
Reactions: lhoffm4

lhoffm4

Rank III

Advocate I

778
Boise, Idaho
First Name
Lee
Last Name
Hoffman
Service Branch
US Navy
i like it. that's a pretty damn good job and those hinges aren't breaking!
yeah...looks like you need to dial back the amps a bit and slow down. start at one corner and do a small circle for about 3 seconds with the gap between the 2 pieces of metal in the middle of the circle. that will melt both metals together in a pool and you will see ripples...when that happens, move out of the puddle about half the circle distance and let that area melt together (youll see the ripples) then move another half circle and keep going. you can either do small circles with the wire/rod or just go out of the puddle half way and and back and then half way and back and you will have a nice bead where the weld has consistent ripples and good penetration. your weld in the pics didnt look to penetrate all that well...good enough for what youre using it for, but it could be a lot stronger by slowing down and getting a nice red pool of melted metal before slowly moving ahead, always allowing the new melted metal to melt with the last little puddle you created. your welds had splatter, so amps are too high and the wire/rod is mostly melting on top of the metals more than it is melting and penetrating into the metals and maybe the metal is also a bit dirty or rusted. prep is half the battle...
your fab work is really nice and if you dont want metal to metal contact and need grease, you can use nylon washers or inserts or even brass ones. brass bushings are considered self lubricating because they are softer than steel and will wear away first without damage or wear to the other parts. just FYI in case you do more projects.
i'm going to use your shower idea and make one for our camp trailer.
very cool! i'm definitely inspired now to get out in the shop and start fabricating a shower.
Thanks. I always said if I had money or talent I’d be dangerous...lol. I guess as long as it all holds together, I will be Ok...
 
  • Like
Reactions: grubworm