
Contributor I
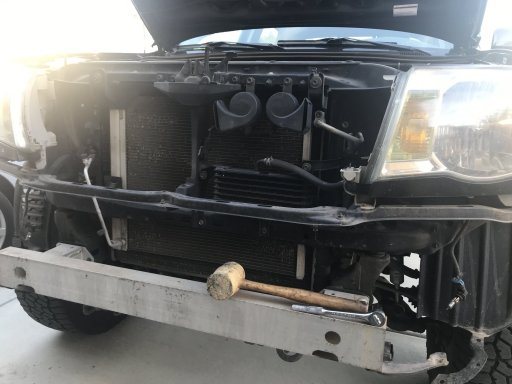
The quarantine build project finally happened. I opted for a DIY bumper kit from Coastal Offroad. I've been welding and fabricating, for a living, for the last 16 years, so I was confident I could handle this build. First things first, the removal of the front plastic "bumper" and aluminum cross member.
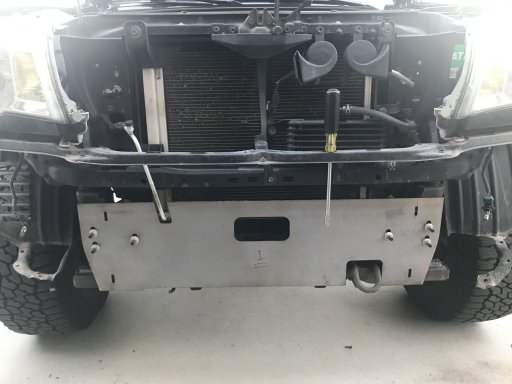
Next, it was time to mount the main plate, the plate that everything else would be built off of. This part is very simple, and all the holes and cut outs lined up perfectly.
From here, things slowed down a bit. I will say, the directions can be a challenge to understand at times, but there are two cad drawings in the directions that help quite a bit. One being a frontal view, and the other, from the rear. Each of these photos show each individual part numbered which corresponds to the parts list. The first piece to be added to the main plate, were the two pieces that will be the main recovery points on the bumper.
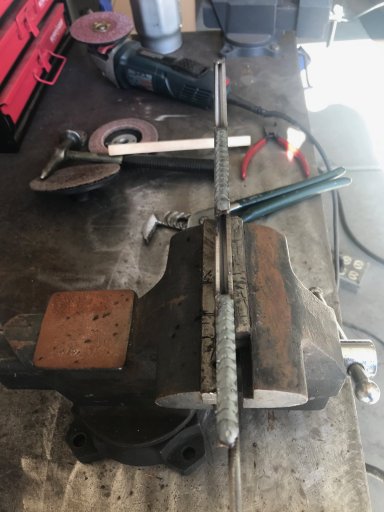
My first thought, was that this wouldn't be strong enough to do the job, but as the build progressed, they are tied in quite well and finish off being very solid. Also, the two factory recovery points are still easily accessible so there are options. The instructions suggest building the bumper one side at a time. Looking back, I would probably build it piece for piece, left and right. Another thing I did, was to add a bit of a chamfer to the pieces, because if not, some pieces would allow little penetration of the weld.
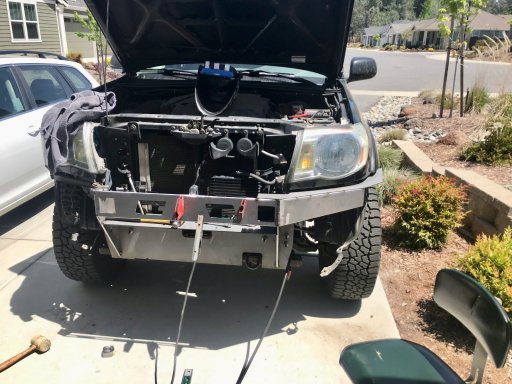
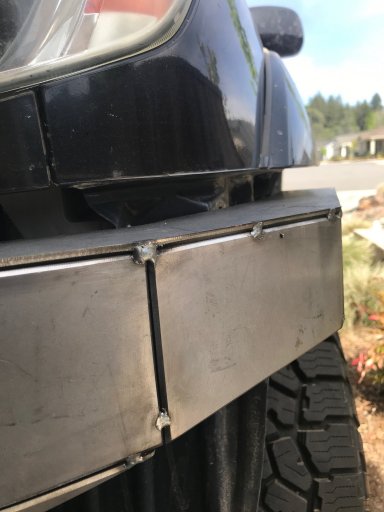
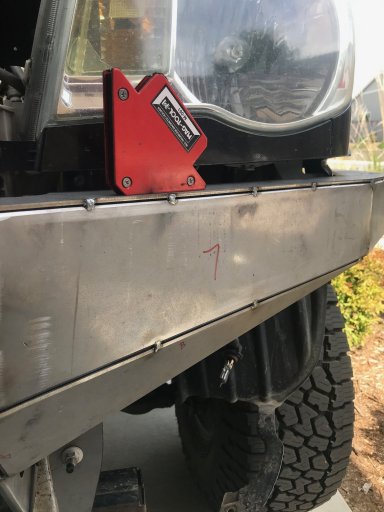
From here, its just piece by piece bevel and check, check again and tack in place. I did have to cut a couple of tacks to get the gap in the body lines to match up. Luckily, the fitment was good enough, that it didn't make any huge gaps to had to be filled. Seeing it all tacked together on the truck, was very satisfying it also marked the beginning of the longest process, the finish welding.
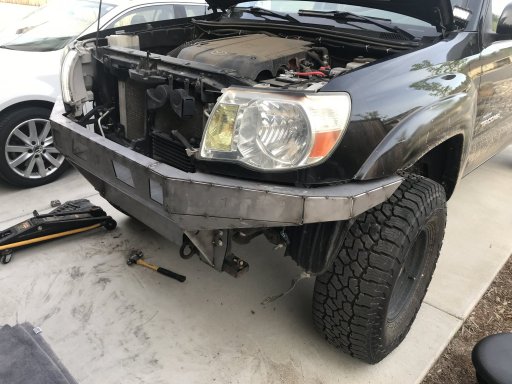
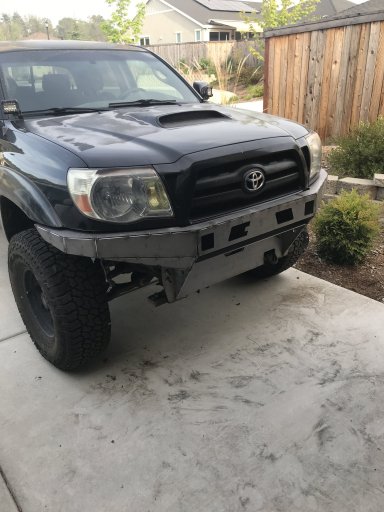
Finish welding, took quite a bit of time. I made a series of hot tacks, in short lengths to keep the heat down to minimize any warpage. I didn't get any photos of that process, because it was to involved in it and didn't want to loose momentum. After the last bead was laid, the task of smoothing the welds was next.
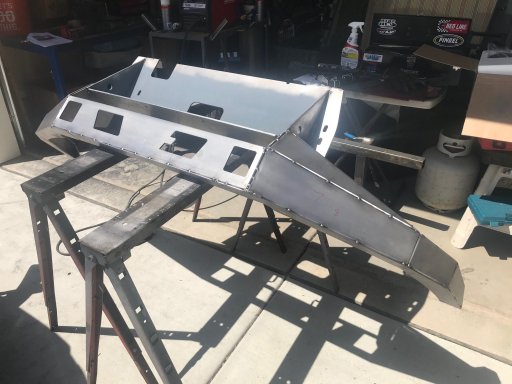
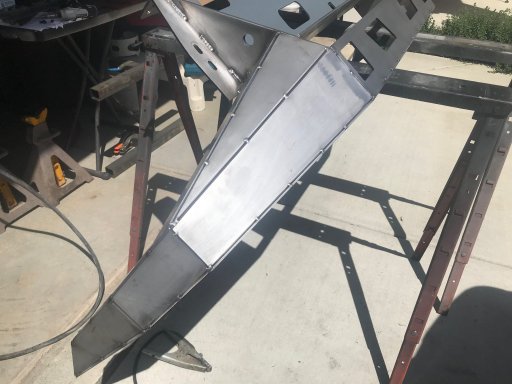
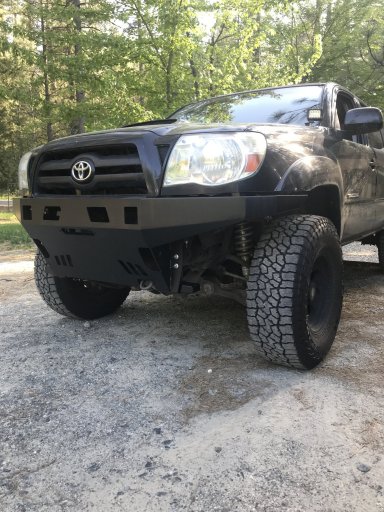
After all the smoothing was done, it was time for prime and paint. Im going with a simple rattle can paint job, because this bumper will see some abuse and touch up will be super easy. I went with Krylon Rust Tough. It goes on smooth and helps prevent rust, "duh" Im really happy with the finished bumper. It added a ton of clearance on the front, and exposes a lot of tire, helping those approach angles. Next up, will be the Smittybilt X2O 12k winch install. This will take some time and a little cutting as well. The thin bar, in the center of the radiator will have to be trimmed, and possibly relocate the transmission cooler. I'll try to document that as well.
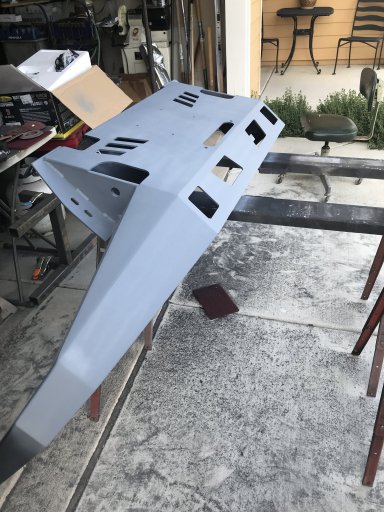
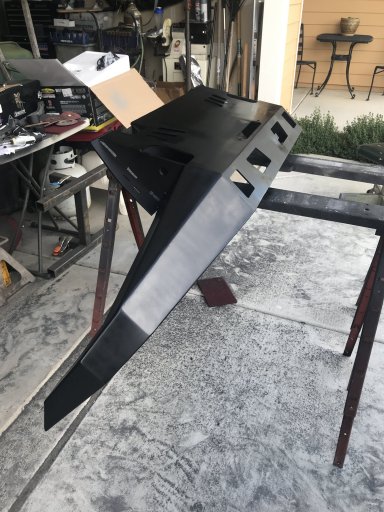

Next, it was time to mount the main plate, the plate that everything else would be built off of. This part is very simple, and all the holes and cut outs lined up perfectly.

From here, things slowed down a bit. I will say, the directions can be a challenge to understand at times, but there are two cad drawings in the directions that help quite a bit. One being a frontal view, and the other, from the rear. Each of these photos show each individual part numbered which corresponds to the parts list. The first piece to be added to the main plate, were the two pieces that will be the main recovery points on the bumper.

My first thought, was that this wouldn't be strong enough to do the job, but as the build progressed, they are tied in quite well and finish off being very solid. Also, the two factory recovery points are still easily accessible so there are options. The instructions suggest building the bumper one side at a time. Looking back, I would probably build it piece for piece, left and right. Another thing I did, was to add a bit of a chamfer to the pieces, because if not, some pieces would allow little penetration of the weld.


From here, its just piece by piece bevel and check, check again and tack in place. I did have to cut a couple of tacks to get the gap in the body lines to match up. Luckily, the fitment was good enough, that it didn't make any huge gaps to had to be filled. Seeing it all tacked together on the truck, was very satisfying it also marked the beginning of the longest process, the finish welding.


Finish welding, took quite a bit of time. I made a series of hot tacks, in short lengths to keep the heat down to minimize any warpage. I didn't get any photos of that process, because it was to involved in it and didn't want to loose momentum. After the last bead was laid, the task of smoothing the welds was next.


After all the smoothing was done, it was time for prime and paint. Im going with a simple rattle can paint job, because this bumper will see some abuse and touch up will be super easy. I went with Krylon Rust Tough. It goes on smooth and helps prevent rust, "duh"


