So where was I?
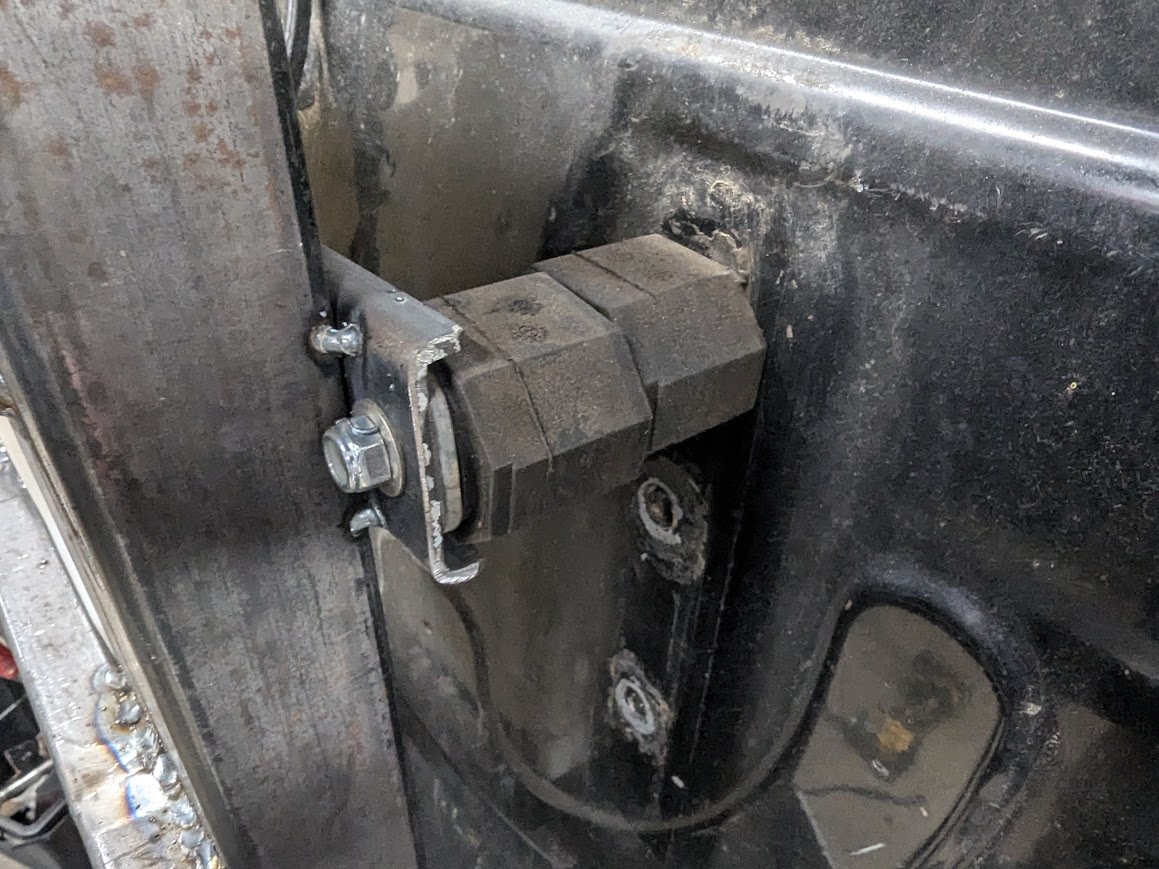
When I left off, had the basic structure assembled, and then I got some wheel studs for the spare mount. Once I had the tire up there, I found that there was more vibration than I like at the topside of things. I know a lot of Jeep guys set up things to use the factory "bumpstop" on the tailgate to minimize this, so figured I'd try to see how that would work using some old BMW engine mounts that conveniently screwed right into the holes on the door for the OEM spare mount. Tacked up a bracket on the swing-out and tested it out:
The result: better, but still not good. So after some brainstorming about how I could "lock down" the upper section - ruled out a latch (hard to access without some kind of creative pull, and also might rattle). Ruled out other bumpers (urethane, for instance), and did a bit of research on magnets. Sent an email to a magnet seller and showed him this thread. He recommended some neodymium magnets with a 60lb pull force, 10 bucks each. So I ordred a couple and was super-surprised that they weren't as big as expected. But man, they have some pulling power.
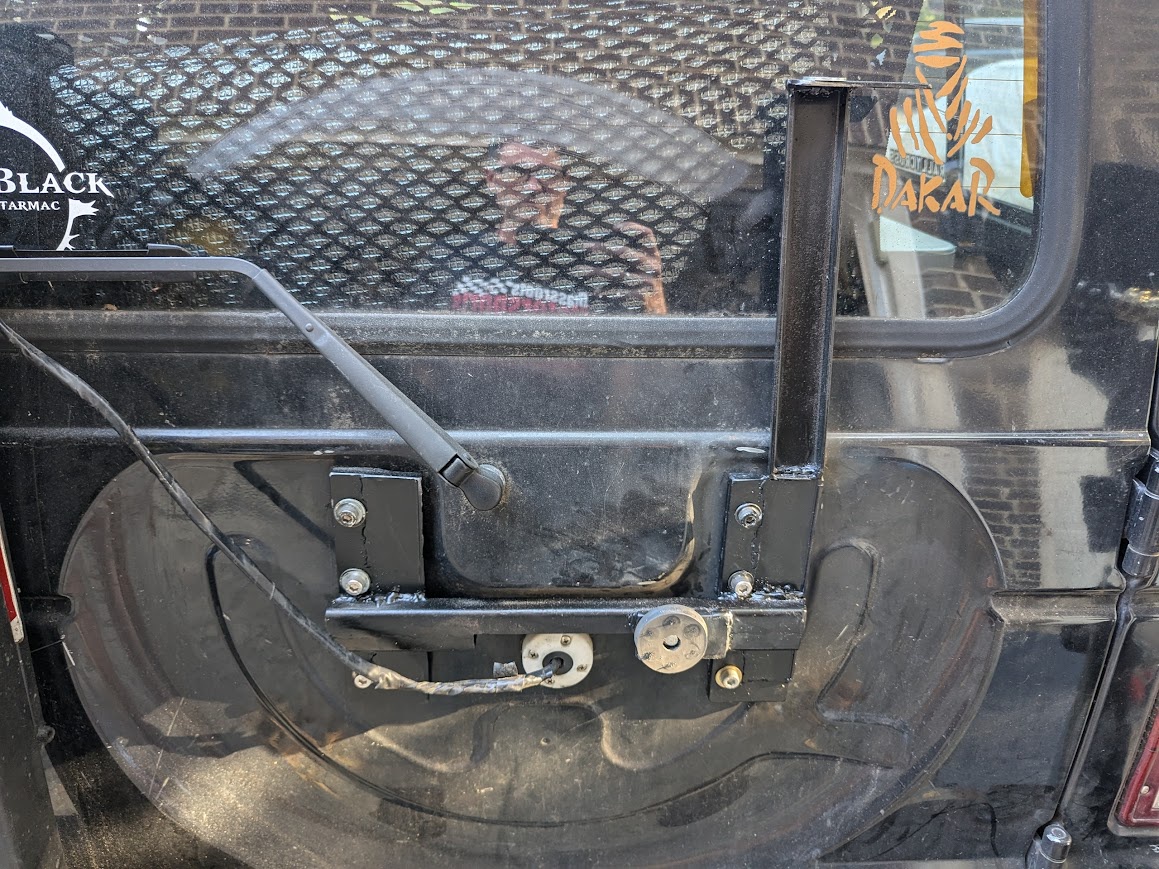
Long and short of it, I mounted them on my door-mounted bracket (which I had modified to serve a couple new purposes, including a new antenna mount), like so:
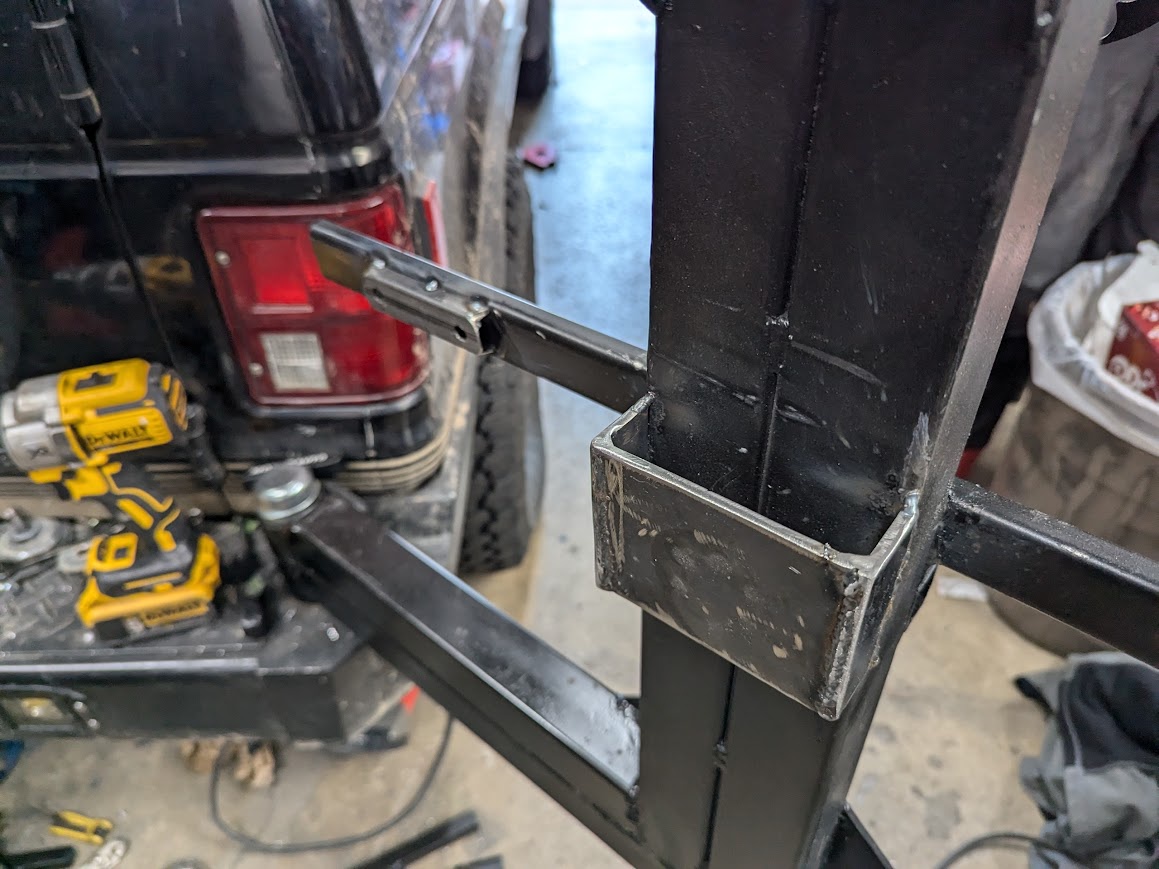
Then built a bracket off the back of the swing-out with a flat steel plate that , when closed, would be right up against the magnet. These mags aren't for pulling from distance, but they have big holding power once in contact:
Then tested....and this turned out to be a great idea. Got rid of 90%+ of the vibration and has enough pulling force to hold the swing-out against the reinforced rear door bracket, but still little enough that you can open the swing-out with a little pull when it's not latched. So pretty pleased with myself on that little thought!
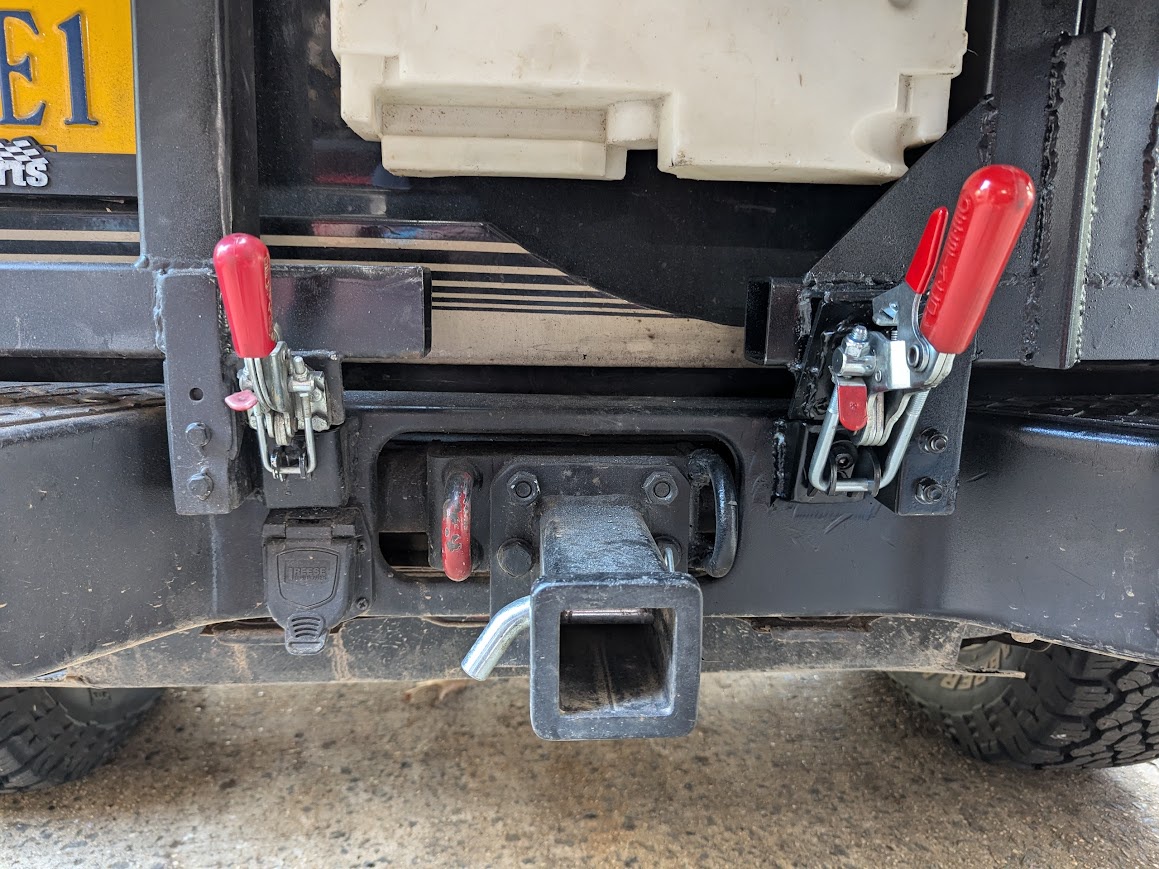
Speaking of latches, after building new brackets top/bottom I put on a De-Sta-Co pull latch just like the one on the smaller swing-out, except this latch is about twice the size (since it's a heavier swing-out). Basically I did things exactly the same as the other side, but bigger lol
I also built a little "ramp and hole" for the spring-pin on the pivot, to hold the swing=out open when it's open....
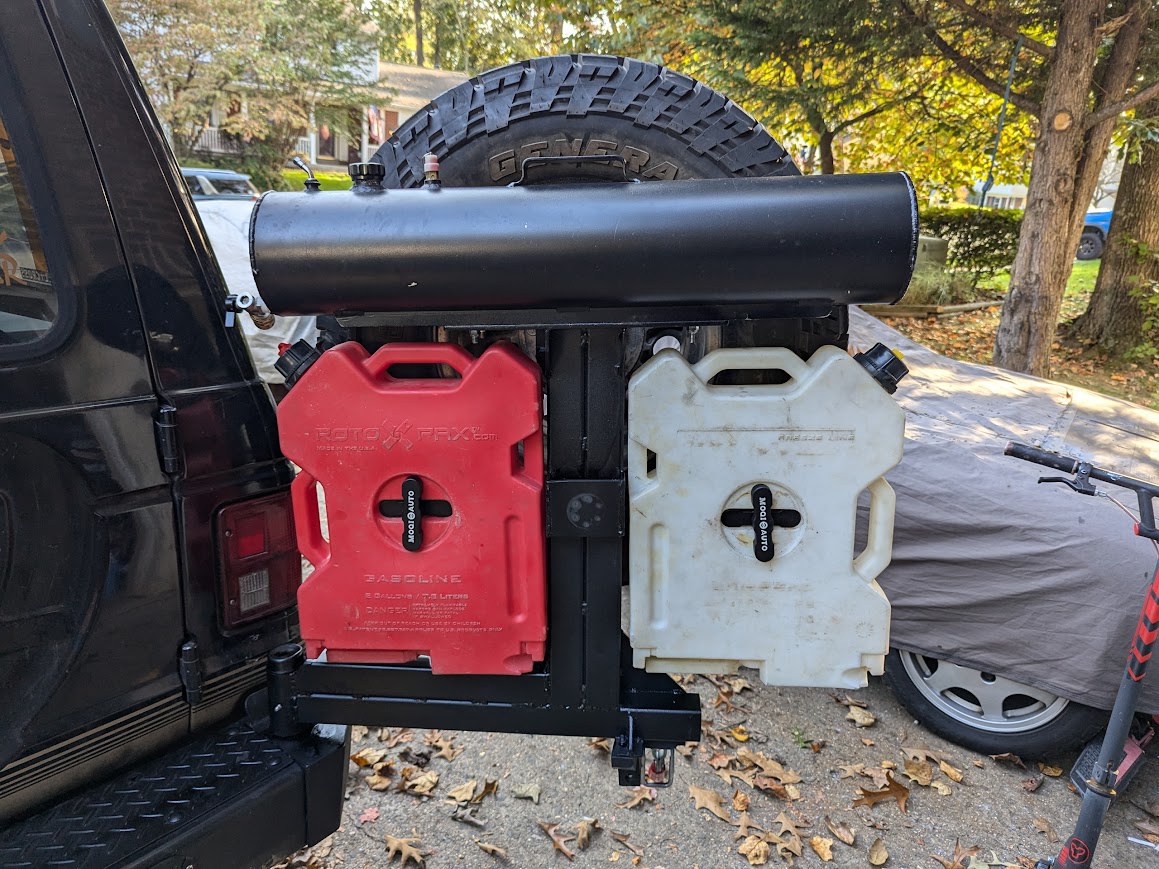
Ok, so I'm out of sequence here. My original design you saw in the last post had a single-bar lower crossbar. I thought this might have been causing the flex/vibration, so I added a second bar:
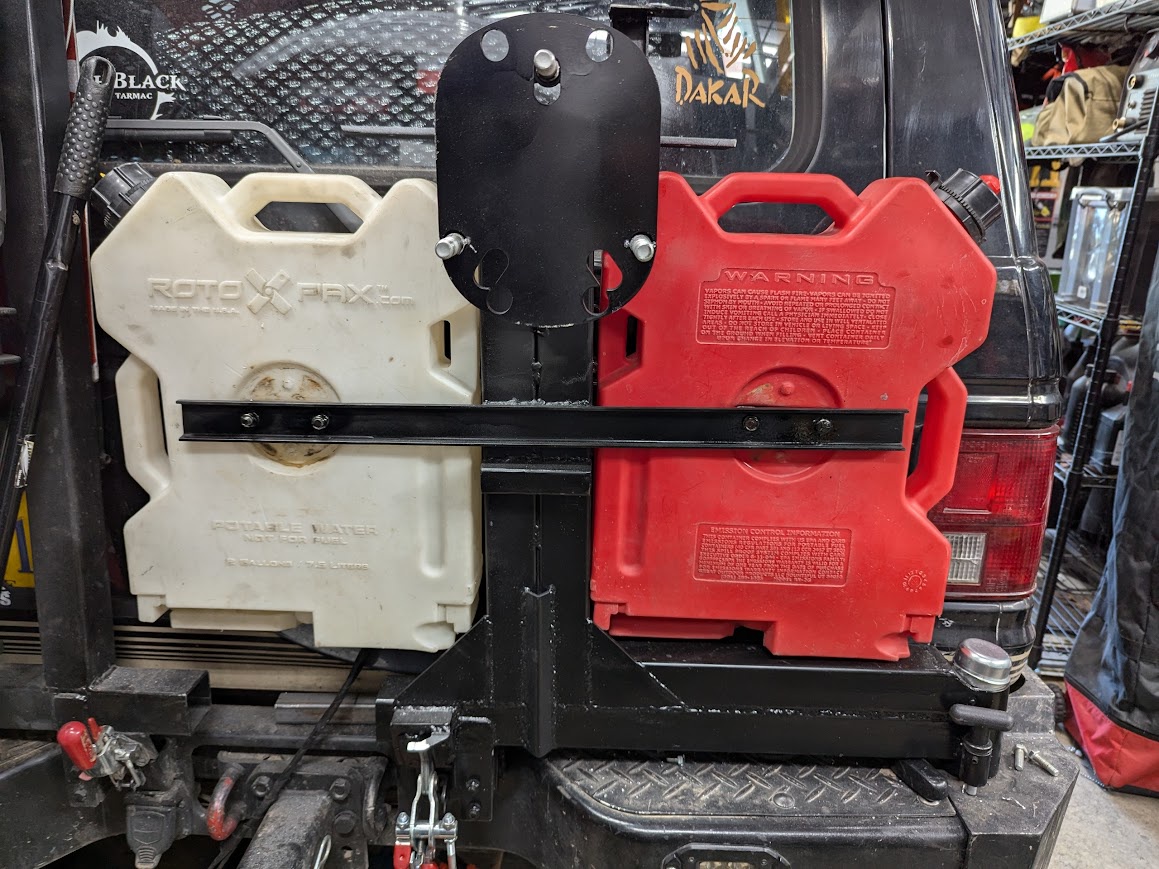
In this pic you can also see I had to cut off the crossbar for the Rotopax, since I needed to now relocate them 2" higher up to clear the lower bar (incidentally, the lower bar didn't help with the vibration so it wasn't a very productive effort overall).
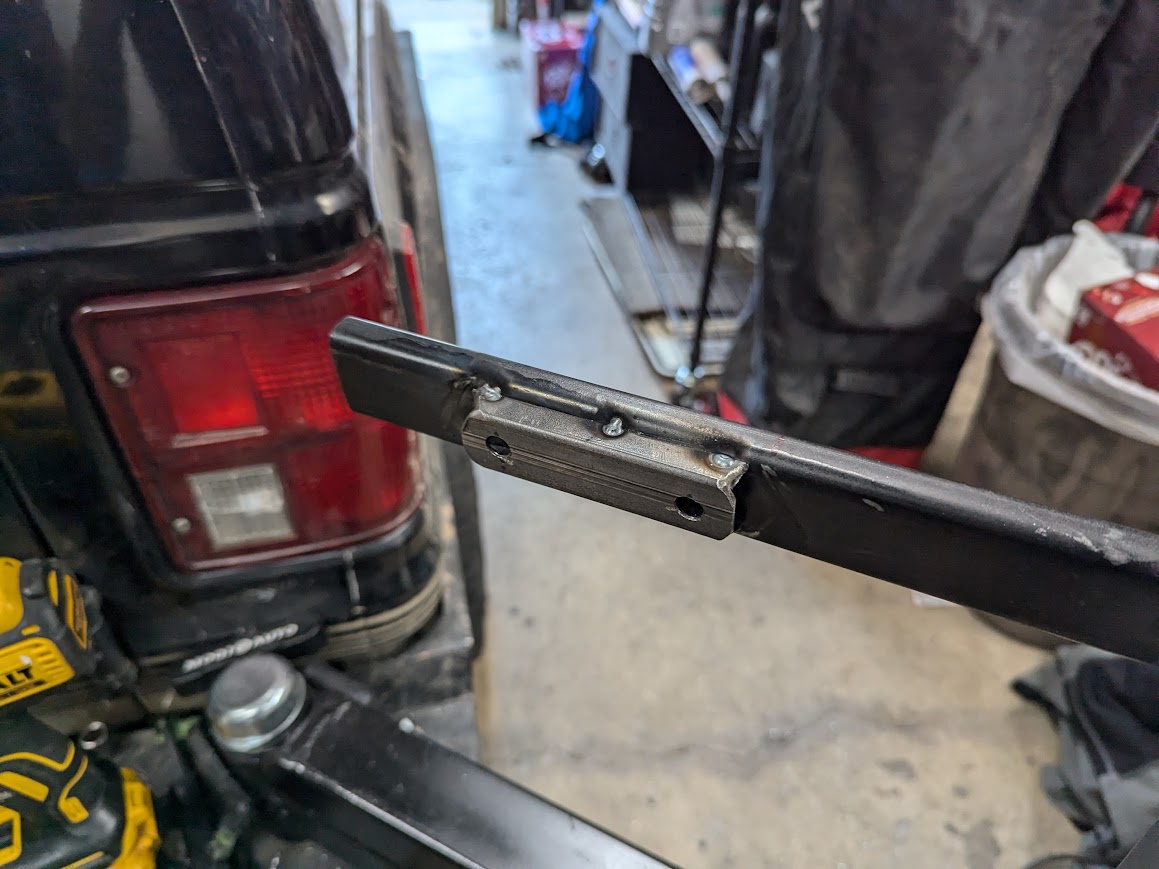
I also bought some knockoff Rotopax mounts off Amazon - they're not as good as the real ones, and are for the thinner 1-gallon cans, but figured for cheap they'd be better than my ghetto-fabbed ones that were functional, but inconvenient and really ugly. Tot get some extra length for the 2-gallon cans I have, I added a small extension
And then forgot to take pics of the actual mounts, whoops. But they look like Rotopax mounts, ya know?
So to mount those I had to drill new holes in that C-channel above. Busted out my drill and a fresh bit. Let me note here that for most of my time working, I wear some light welding gloves with leather gauntlets. I was done welding so took them off. So I'm drilling sideways, and of course have to use both hands with some force to keep the bit seated. As the second hole neared the end, the bit caught and broke. I've broken bits before, of course. But in this case, with my weight pushign forward, when it broke I fell forward and the jagged edge went right into my wrist. I noted the gloves earlier b/c if I still had them on this would be a nonstory. Instead, it slashed open my wrist, blood on the floor. Nobody home at the time, so after a couple minutes of panicked wrapping with paper towels, I basically held the wound together and lashed it shut with like 8 of the stretch fabric band-aids. Jumped in my car covered in steel dust and blood and hit the urgent care a couple miles away. I'll spare you the photo I took of it, but in the end I luckily didn't hit the artery (like 1cm away at most) or and tendons, and it just opened 2-3" gash in my arm that required 8 stitches. So.....wear your PPE, folks....even when it doesn't seem like you need it.

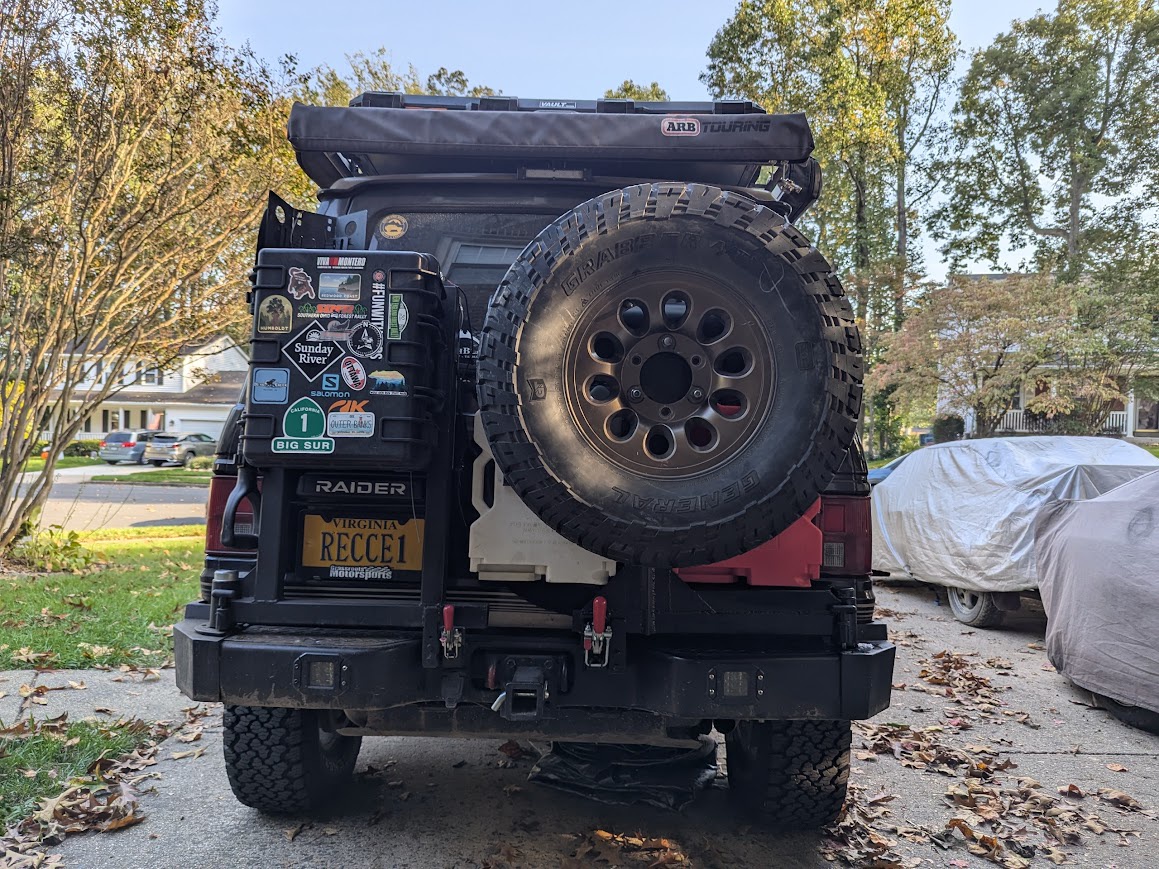
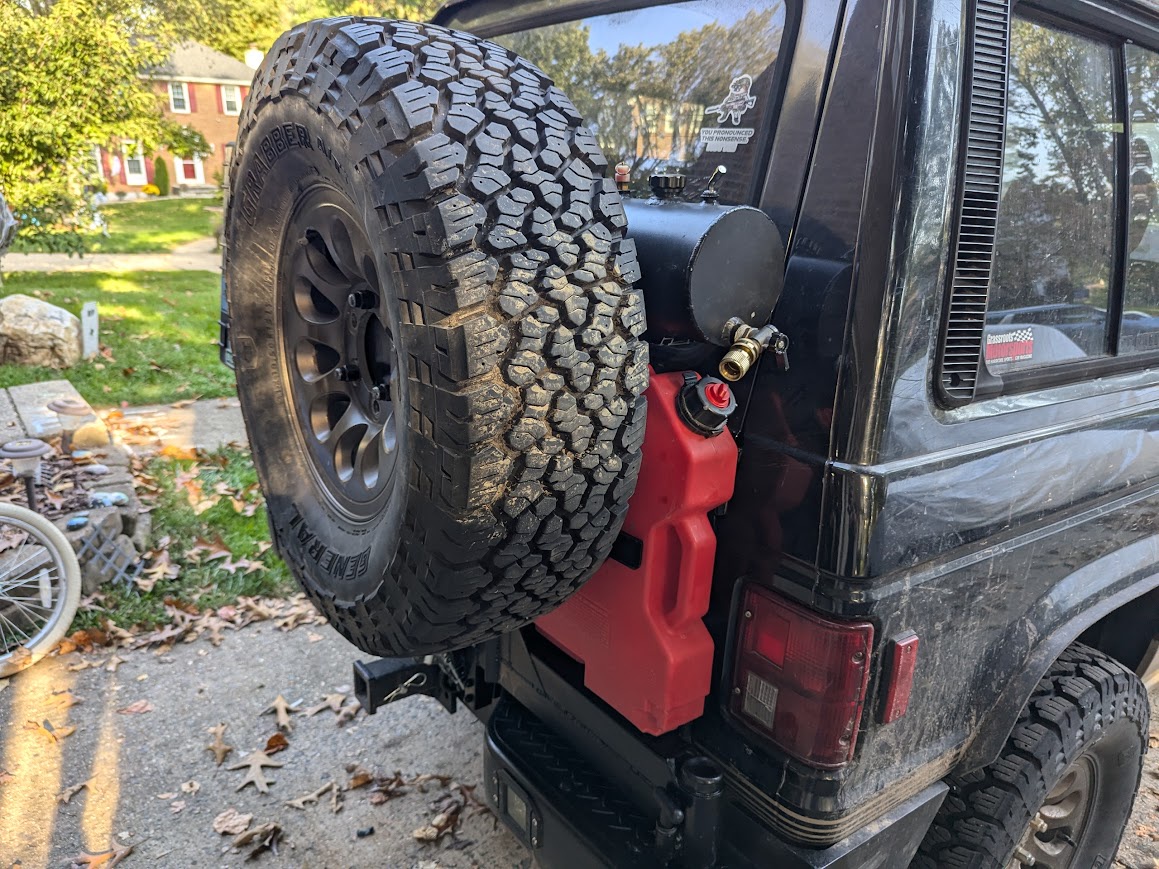
WIth that stiched up, of course I got back to work lol....finished those holes, mounted the rotopax, did a few remaining small welding things, and then pulled the swing-out off and gave it a few coats of paint and a coat or two of bedliner. Greased the bearings and installed everything as finished. Bolted on the water tank. Oh didn't mention that. I wnated to put my shower tank on this thing - you can see the flat mount plate on the last post but it's positioned to just barely clear bot the spare tire, the rear wiper, the antenna mount, and the rear glass. Much measuring and planning for sure. IT's set up so I can use it when closed, and when opened the spigot points toward my shower area (right rear of the truck). All in all, I spent a lot of time thinking about how I wanted things to fit, and luckily....they all fit correctly.
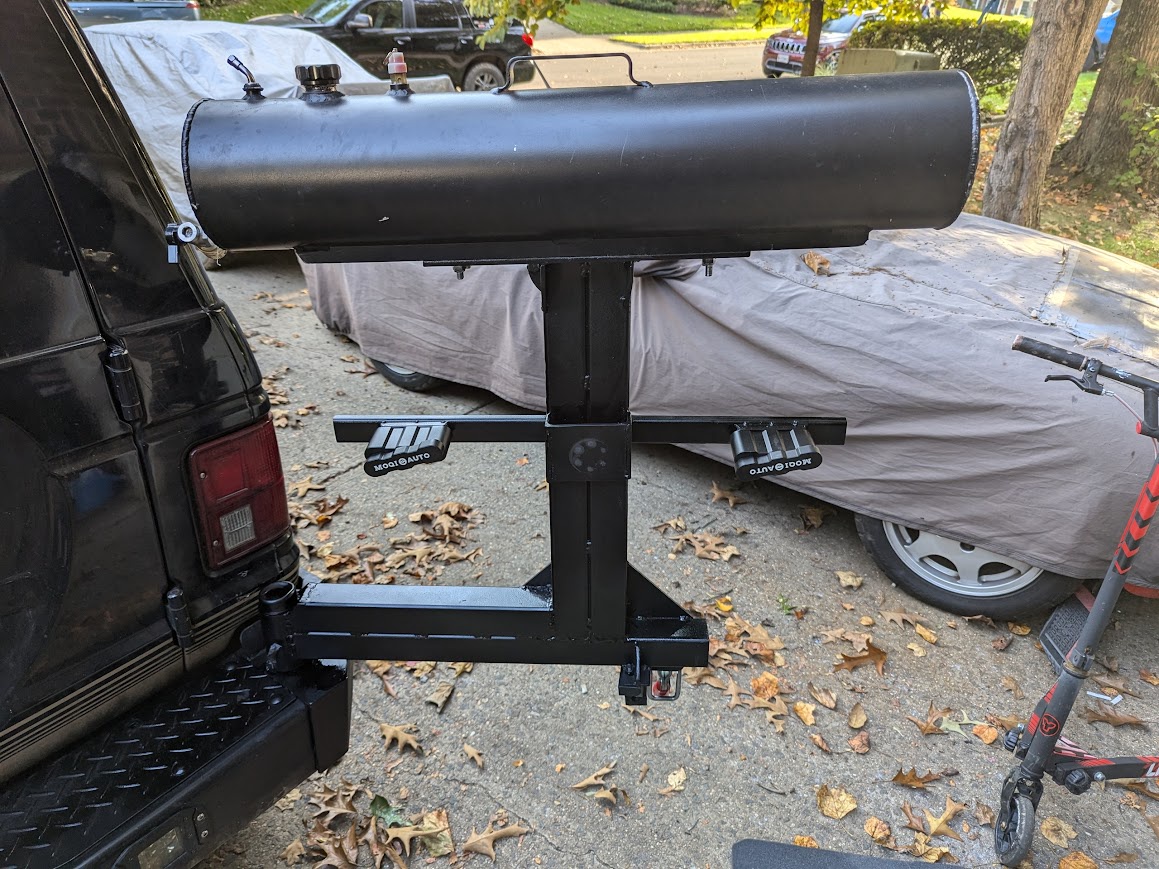
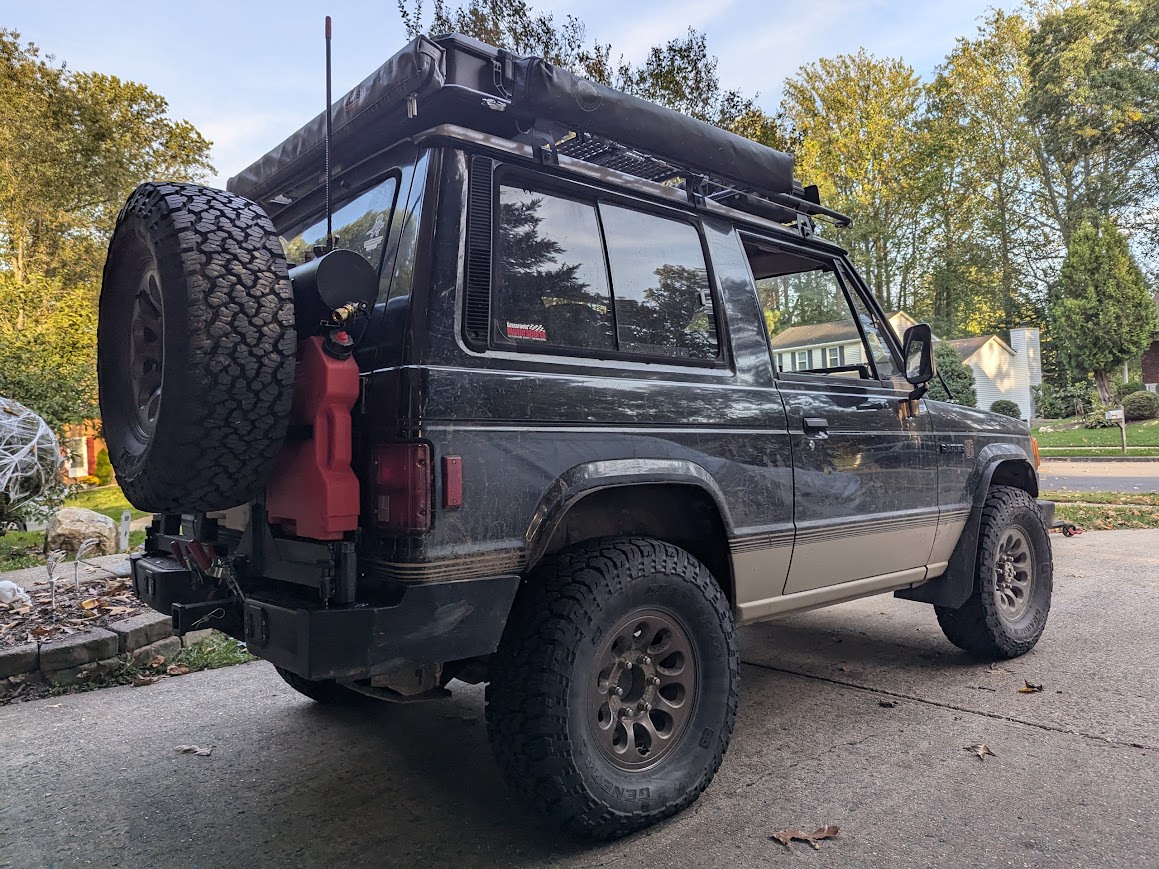
So here's the (mostly) finished product with all the accessories and crap bolted up (though I still need to relocate my high-mount 3rd brake light). All in all, no vibration that I can notice, everything fits as intended, and it seems to work fine and looks ok. Still a few ugly welds here and there because I don't take my time as much as I should, but overall looks and functions pretty good.
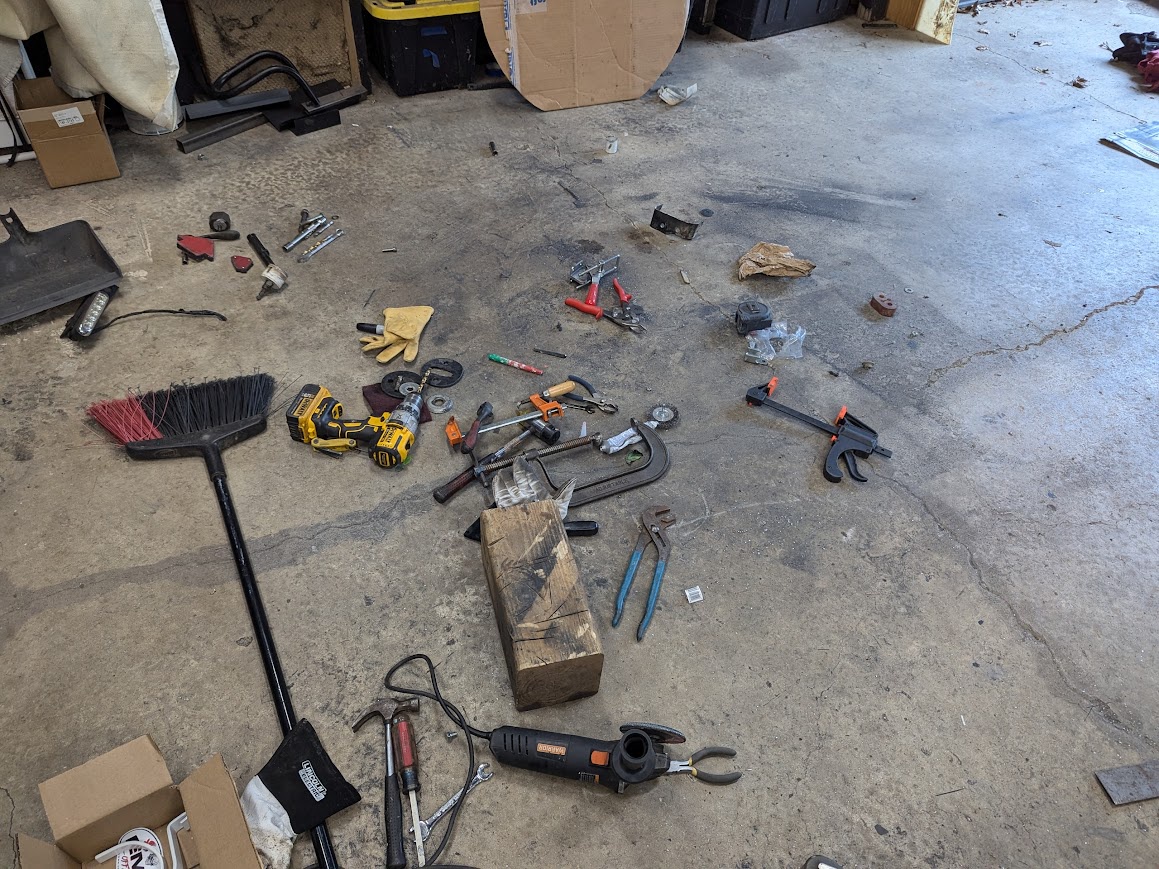
Now to clean up the garage disaster area, now that the Raider is back in the driveway
When I left off, had the basic structure assembled, and then I got some wheel studs for the spare mount. Once I had the tire up there, I found that there was more vibration than I like at the topside of things. I know a lot of Jeep guys set up things to use the factory "bumpstop" on the tailgate to minimize this, so figured I'd try to see how that would work using some old BMW engine mounts that conveniently screwed right into the holes on the door for the OEM spare mount. Tacked up a bracket on the swing-out and tested it out:
The result: better, but still not good. So after some brainstorming about how I could "lock down" the upper section - ruled out a latch (hard to access without some kind of creative pull, and also might rattle). Ruled out other bumpers (urethane, for instance), and did a bit of research on magnets. Sent an email to a magnet seller and showed him this thread. He recommended some neodymium magnets with a 60lb pull force, 10 bucks each. So I ordred a couple and was super-surprised that they weren't as big as expected. But man, they have some pulling power.
Long and short of it, I mounted them on my door-mounted bracket (which I had modified to serve a couple new purposes, including a new antenna mount), like so:
Then built a bracket off the back of the swing-out with a flat steel plate that , when closed, would be right up against the magnet. These mags aren't for pulling from distance, but they have big holding power once in contact:
Then tested....and this turned out to be a great idea. Got rid of 90%+ of the vibration and has enough pulling force to hold the swing-out against the reinforced rear door bracket, but still little enough that you can open the swing-out with a little pull when it's not latched. So pretty pleased with myself on that little thought!
Speaking of latches, after building new brackets top/bottom I put on a De-Sta-Co pull latch just like the one on the smaller swing-out, except this latch is about twice the size (since it's a heavier swing-out). Basically I did things exactly the same as the other side, but bigger lol
I also built a little "ramp and hole" for the spring-pin on the pivot, to hold the swing=out open when it's open....
Ok, so I'm out of sequence here. My original design you saw in the last post had a single-bar lower crossbar. I thought this might have been causing the flex/vibration, so I added a second bar:
In this pic you can also see I had to cut off the crossbar for the Rotopax, since I needed to now relocate them 2" higher up to clear the lower bar (incidentally, the lower bar didn't help with the vibration so it wasn't a very productive effort overall).
I also bought some knockoff Rotopax mounts off Amazon - they're not as good as the real ones, and are for the thinner 1-gallon cans, but figured for cheap they'd be better than my ghetto-fabbed ones that were functional, but inconvenient and really ugly. Tot get some extra length for the 2-gallon cans I have, I added a small extension
And then forgot to take pics of the actual mounts, whoops. But they look like Rotopax mounts, ya know?
So to mount those I had to drill new holes in that C-channel above. Busted out my drill and a fresh bit. Let me note here that for most of my time working, I wear some light welding gloves with leather gauntlets. I was done welding so took them off. So I'm drilling sideways, and of course have to use both hands with some force to keep the bit seated. As the second hole neared the end, the bit caught and broke. I've broken bits before, of course. But in this case, with my weight pushign forward, when it broke I fell forward and the jagged edge went right into my wrist. I noted the gloves earlier b/c if I still had them on this would be a nonstory. Instead, it slashed open my wrist, blood on the floor. Nobody home at the time, so after a couple minutes of panicked wrapping with paper towels, I basically held the wound together and lashed it shut with like 8 of the stretch fabric band-aids. Jumped in my car covered in steel dust and blood and hit the urgent care a couple miles away. I'll spare you the photo I took of it, but in the end I luckily didn't hit the artery (like 1cm away at most) or and tendons, and it just opened 2-3" gash in my arm that required 8 stitches. So.....wear your PPE, folks....even when it doesn't seem like you need it.
WIth that stiched up, of course I got back to work lol....finished those holes, mounted the rotopax, did a few remaining small welding things, and then pulled the swing-out off and gave it a few coats of paint and a coat or two of bedliner. Greased the bearings and installed everything as finished. Bolted on the water tank. Oh didn't mention that. I wnated to put my shower tank on this thing - you can see the flat mount plate on the last post but it's positioned to just barely clear bot the spare tire, the rear wiper, the antenna mount, and the rear glass. Much measuring and planning for sure. IT's set up so I can use it when closed, and when opened the spigot points toward my shower area (right rear of the truck). All in all, I spent a lot of time thinking about how I wanted things to fit, and luckily....they all fit correctly.
So here's the (mostly) finished product with all the accessories and crap bolted up (though I still need to relocate my high-mount 3rd brake light). All in all, no vibration that I can notice, everything fits as intended, and it seems to work fine and looks ok. Still a few ugly welds here and there because I don't take my time as much as I should, but overall looks and functions pretty good.
Now to clean up the garage disaster area, now that the Raider is back in the driveway


.jpg")


.jpg")


.jpg")